


First off, I’d like to say welcome again to carshype.com, formerly known as carsxhype.com, same ol’ folks, same great stuff, just a minor difference in the name. Now that thats out of the way, lets get started!
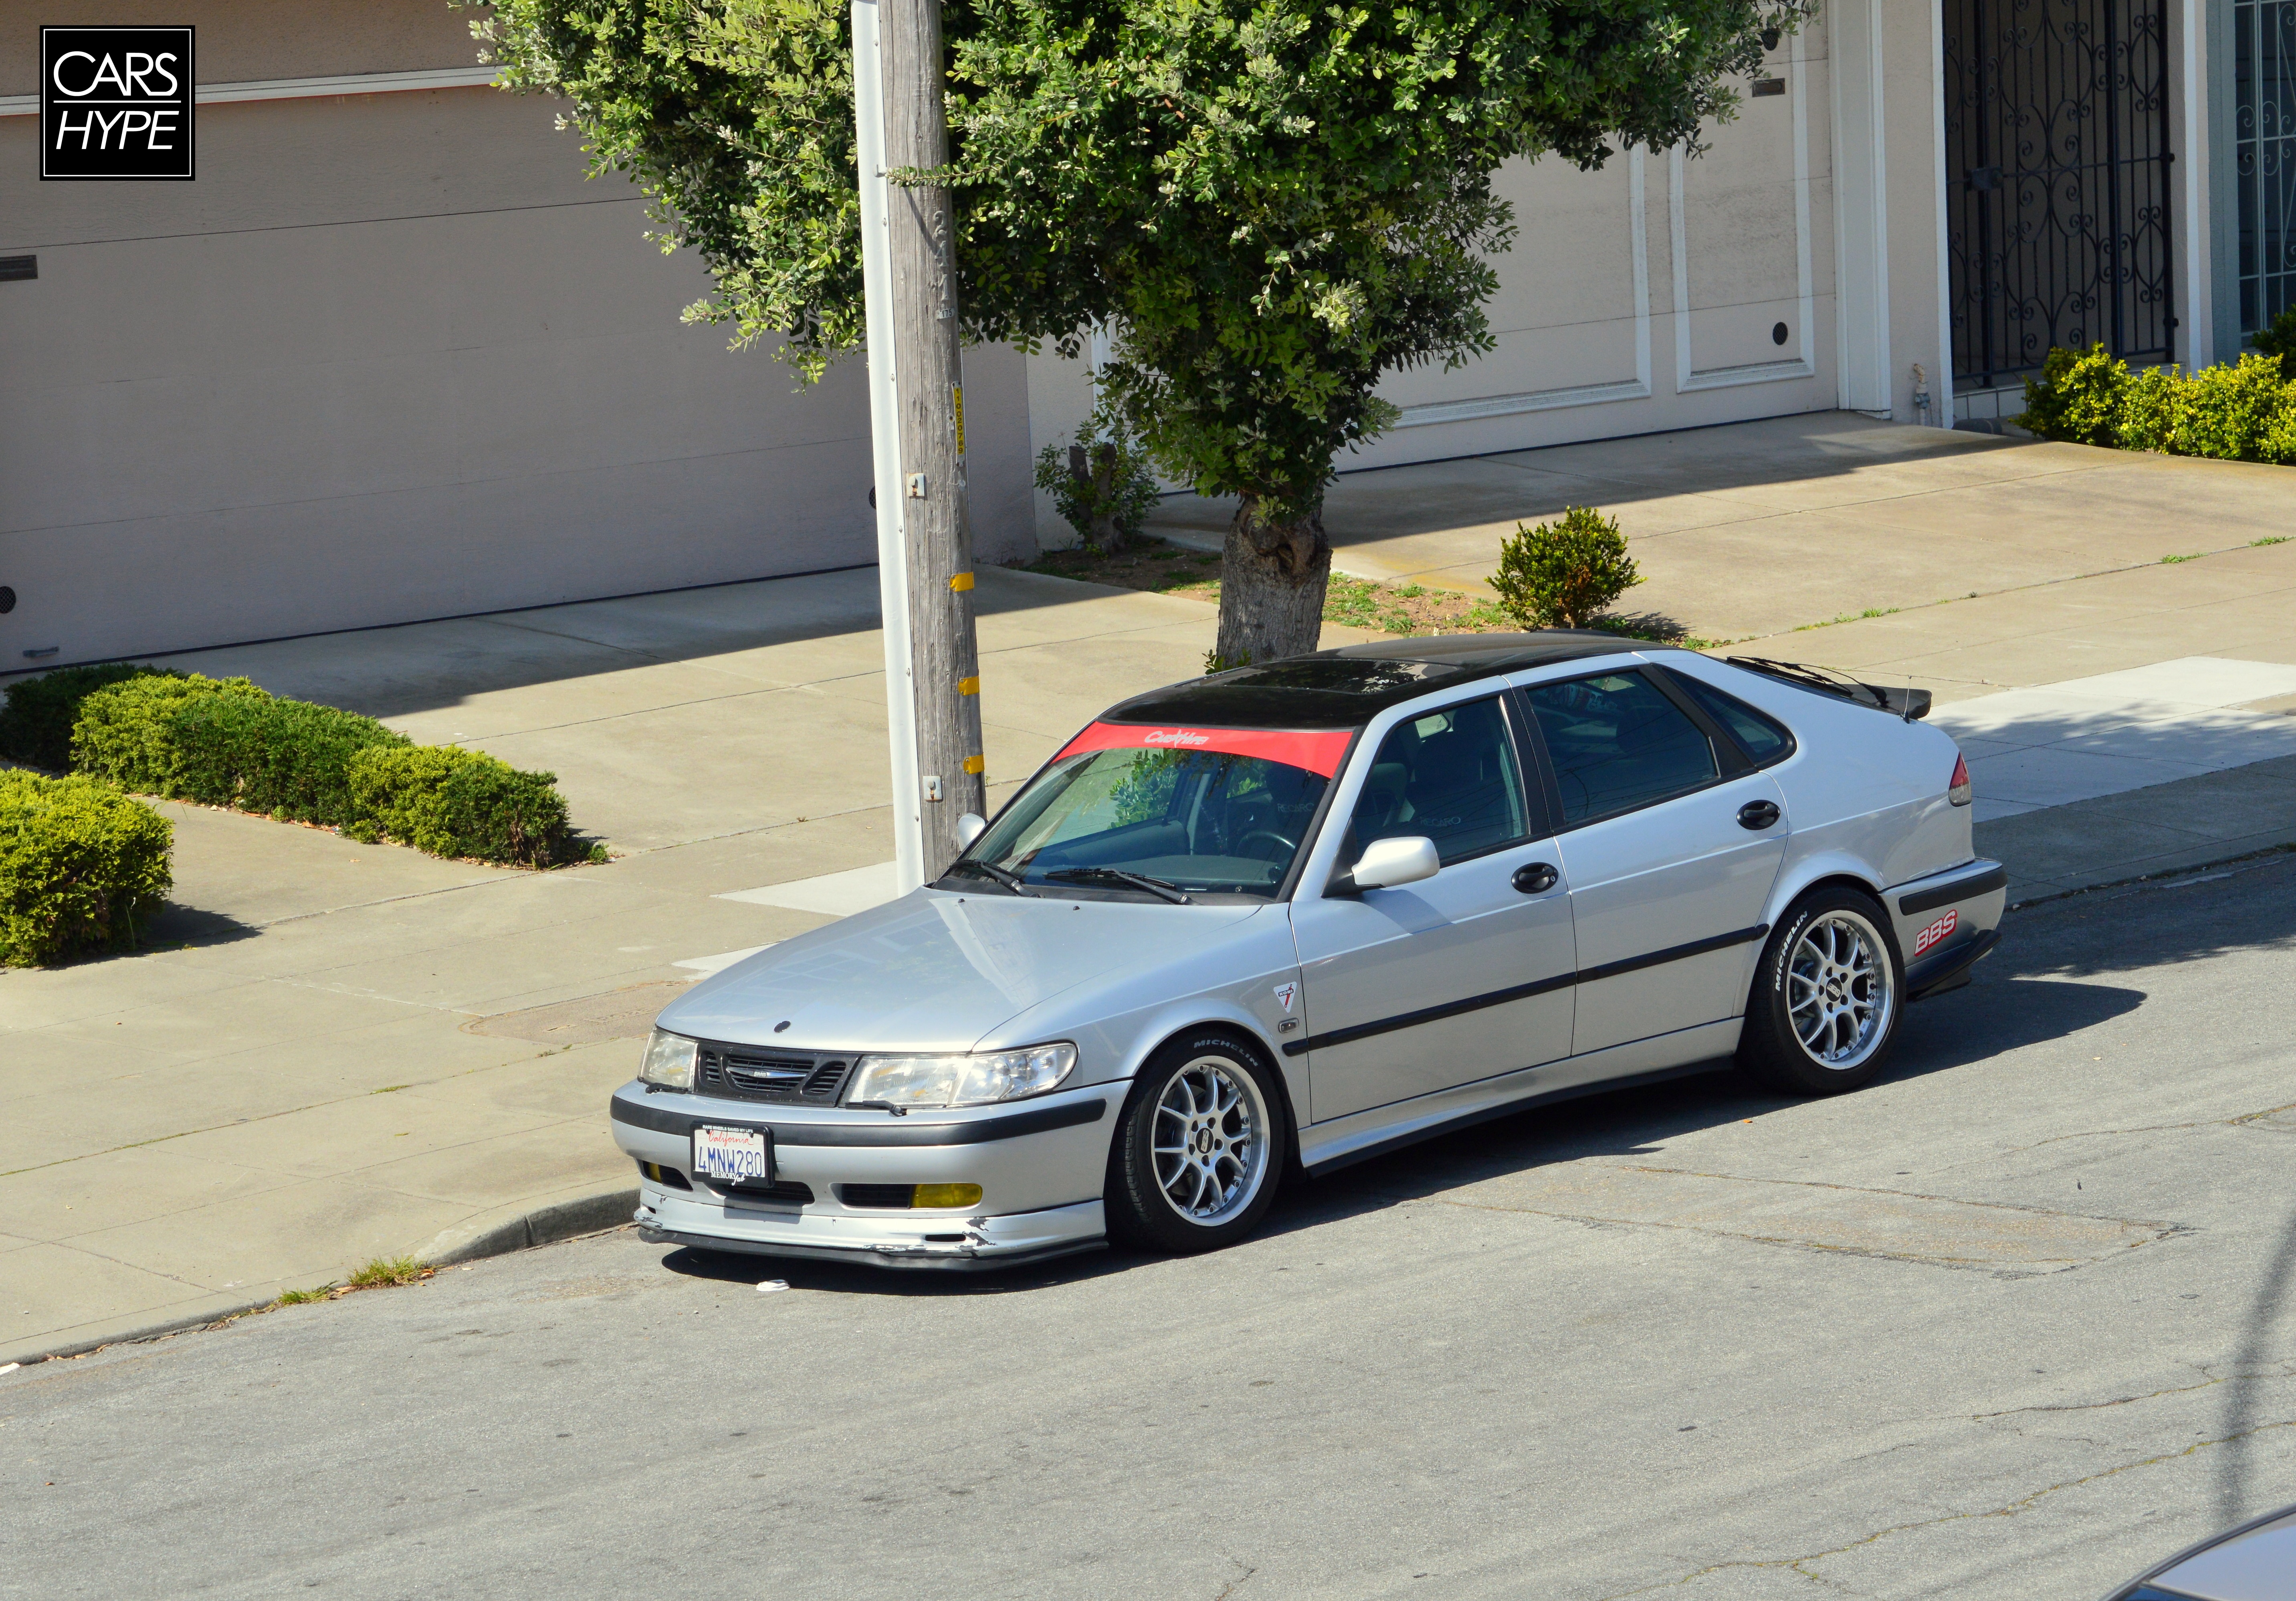
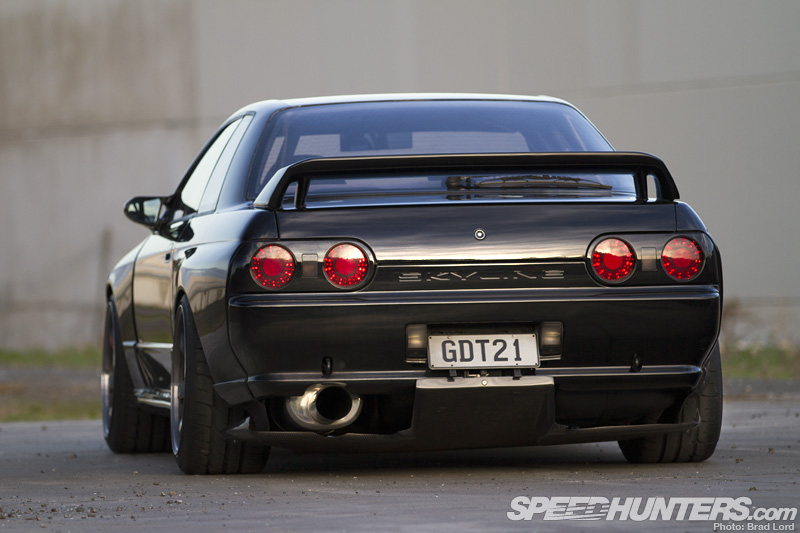
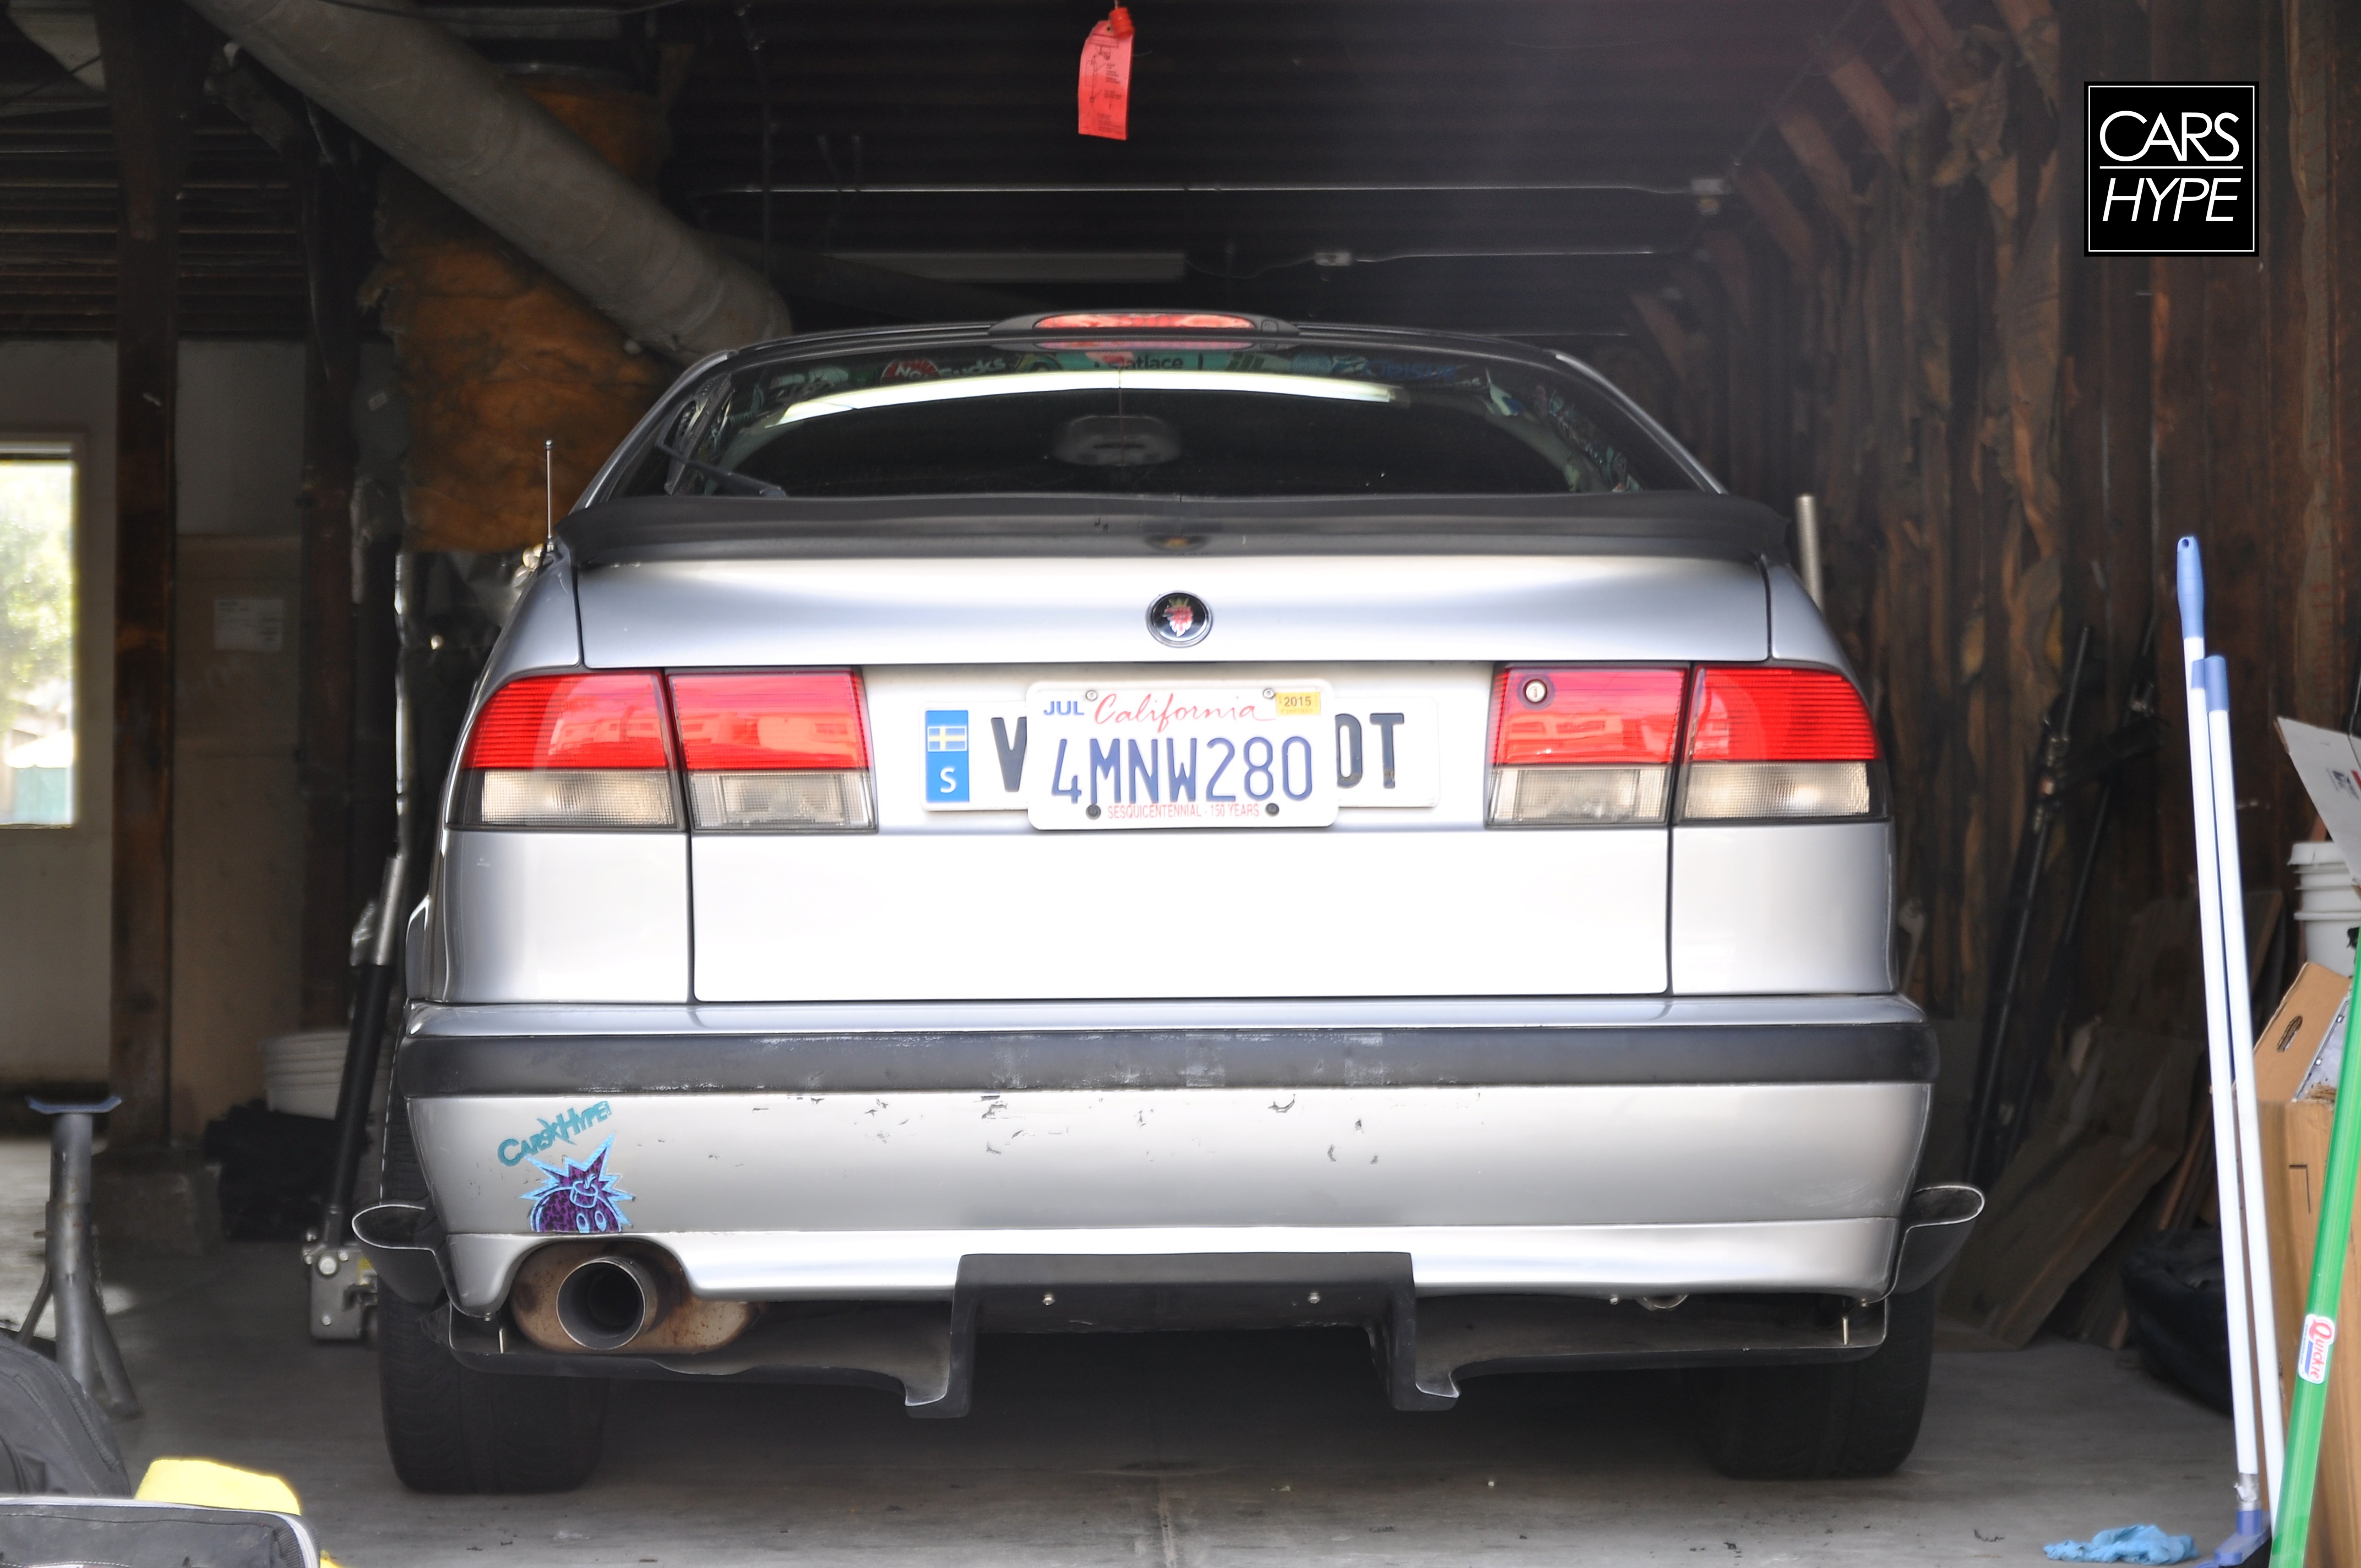
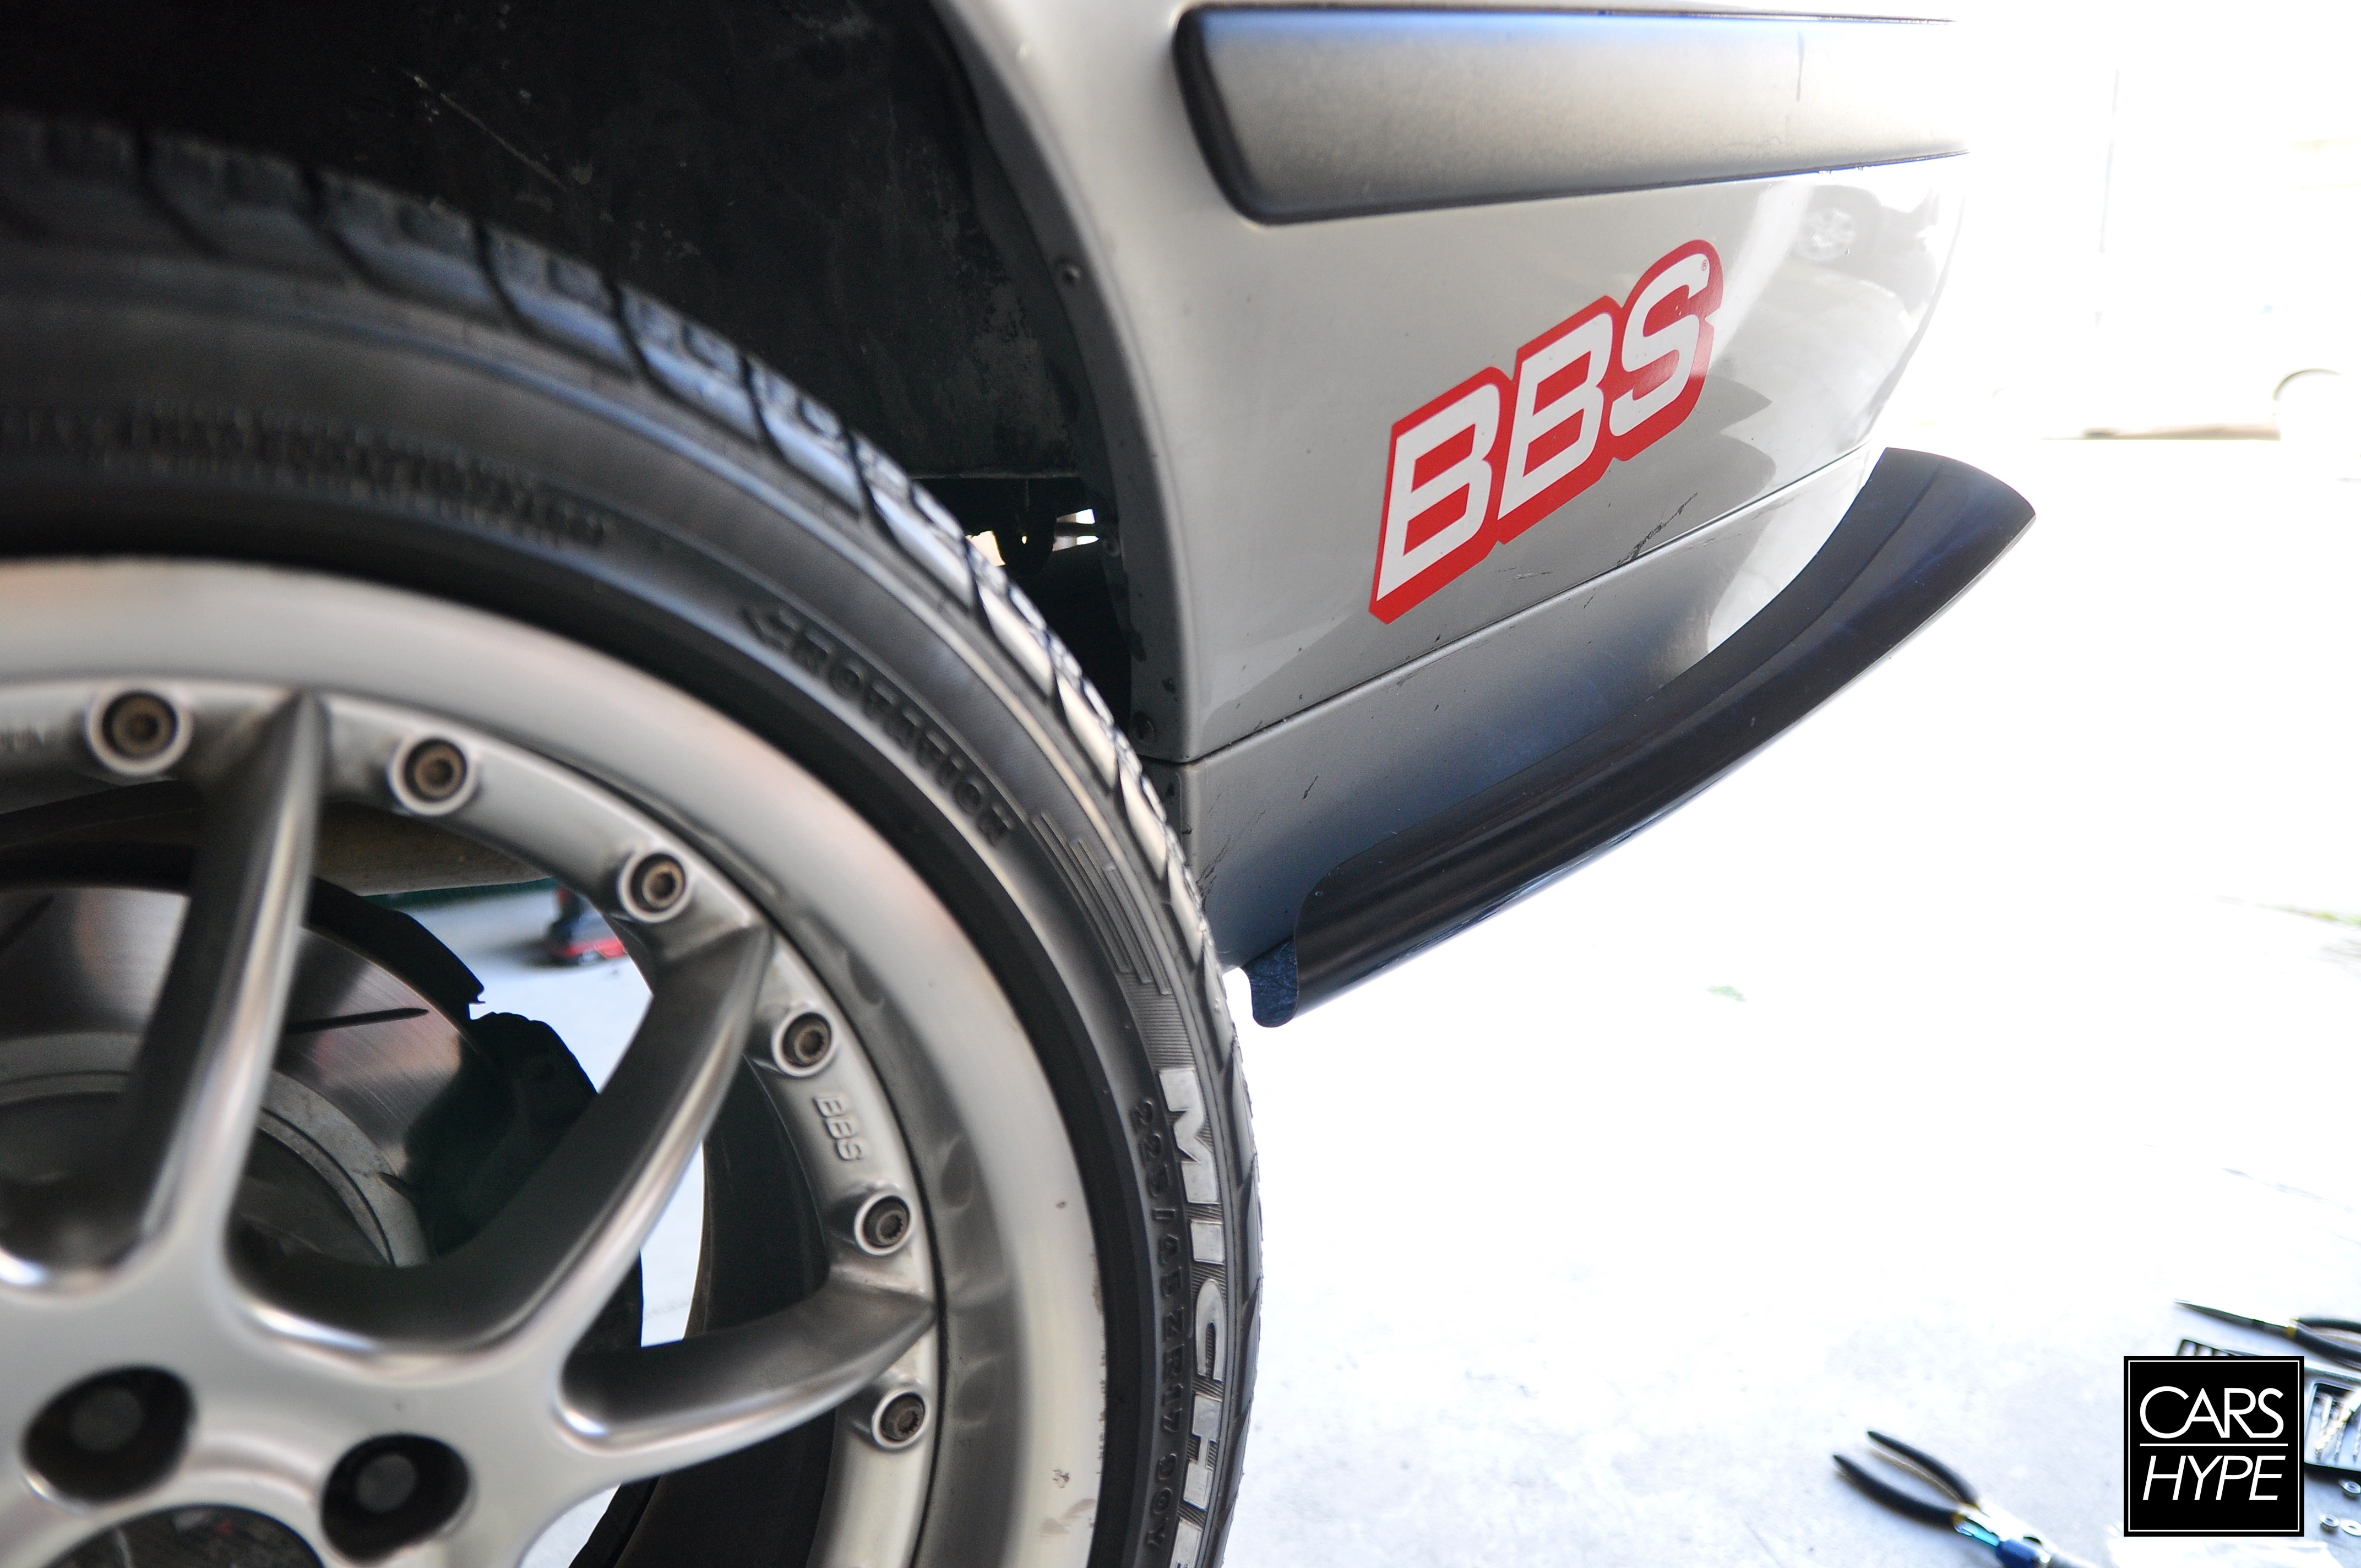
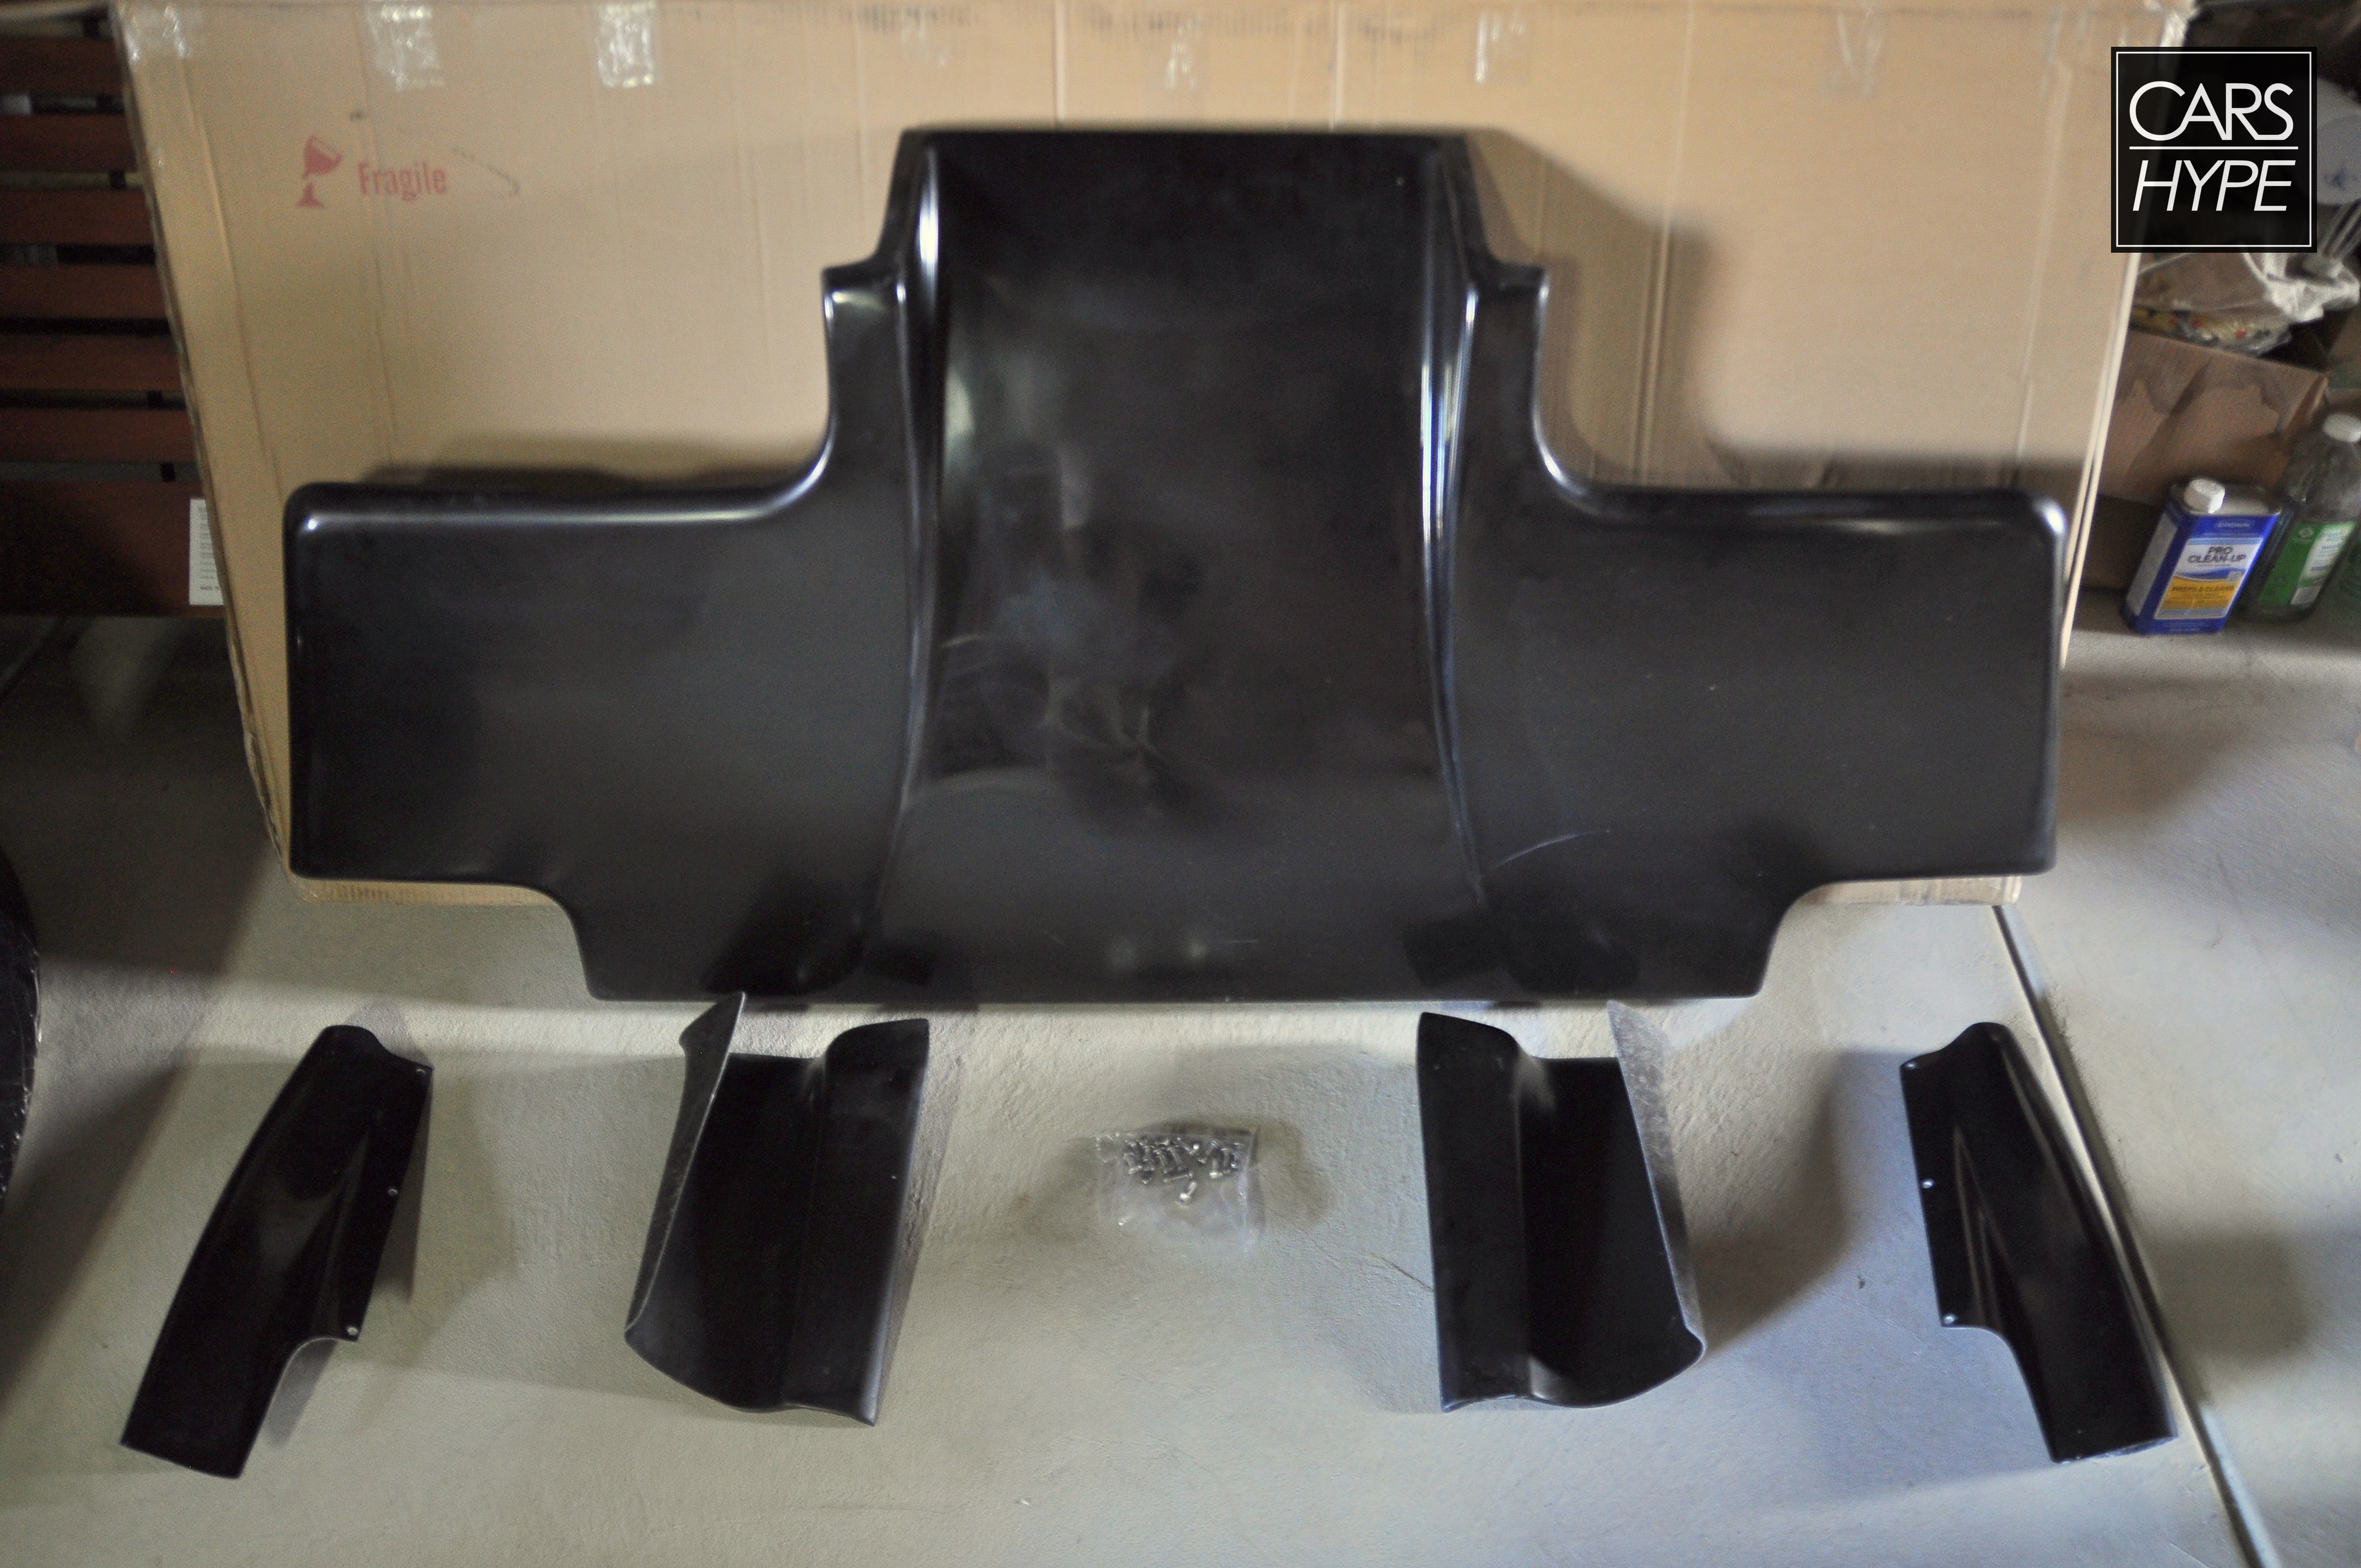
“Hey Anthony, or “GuerBear” as you’re apparently called, whats so “Top Secret” about your project, from the home menu, clearly you installed a diffuser, big whoop! NB-freakin-D” Well eagle eyed reader, I’m glad you brought that up, it is in fact not a secret (although I did only tell my closest friends I was attempting this), however the diffuser itself is “Top Secret”. By that I mean it’s A Top Secret style rear diffuser meant for an R32 GT-R. Yup, you read that correctly, thats a skyline diffuser…and its on a SAAB…with surprisingly minimal custom work required, who would’ve thunk?

Let me back track a little bit. Of all the aerodynamic modifications one can do to a car, diffusers are something I have a fetish for. Ever since I wrote a term paper on automotive aerodynamics (you can read it in all of its 20 page high school writing glory HERE), I’ve loved them. I love the way they look, I love how they function, I love how its not “ricey” to have one. Frankly, anytime I see someone with a diffuser I think, “Damn, what a badass, must be nice to be a baller.”

It was high time, I become one of the cool kids with a diffuser. But which to buy? I have a SAAB, ain’t nobody got time for that! Literally, nobody makes a bolt on diffuser for my make and model. I knew if I was going to embark on this journey it was going to be a gamble and a lot of custom work.

The stakes were high, the cheapest diffusers were over $400 and God knew if they would work or not. However, by the miracle of google I was able to find out that the R32’s width was only 2 inches widerthan the SAAB’s width. Therefore, in my head, the R32’s diffuser SHOULD work for me…right?
But MY GOD, look at that shipping price! That was enough to make you cringe. I emailed the company about combining shipping with the vortex generators, because those were sold separately, and told them my budget. They played ball, so I went all in.


Initial mock up was a RELIEF, it looked mother truckin sick! This was gonna work this was gonna work this was gonna work!

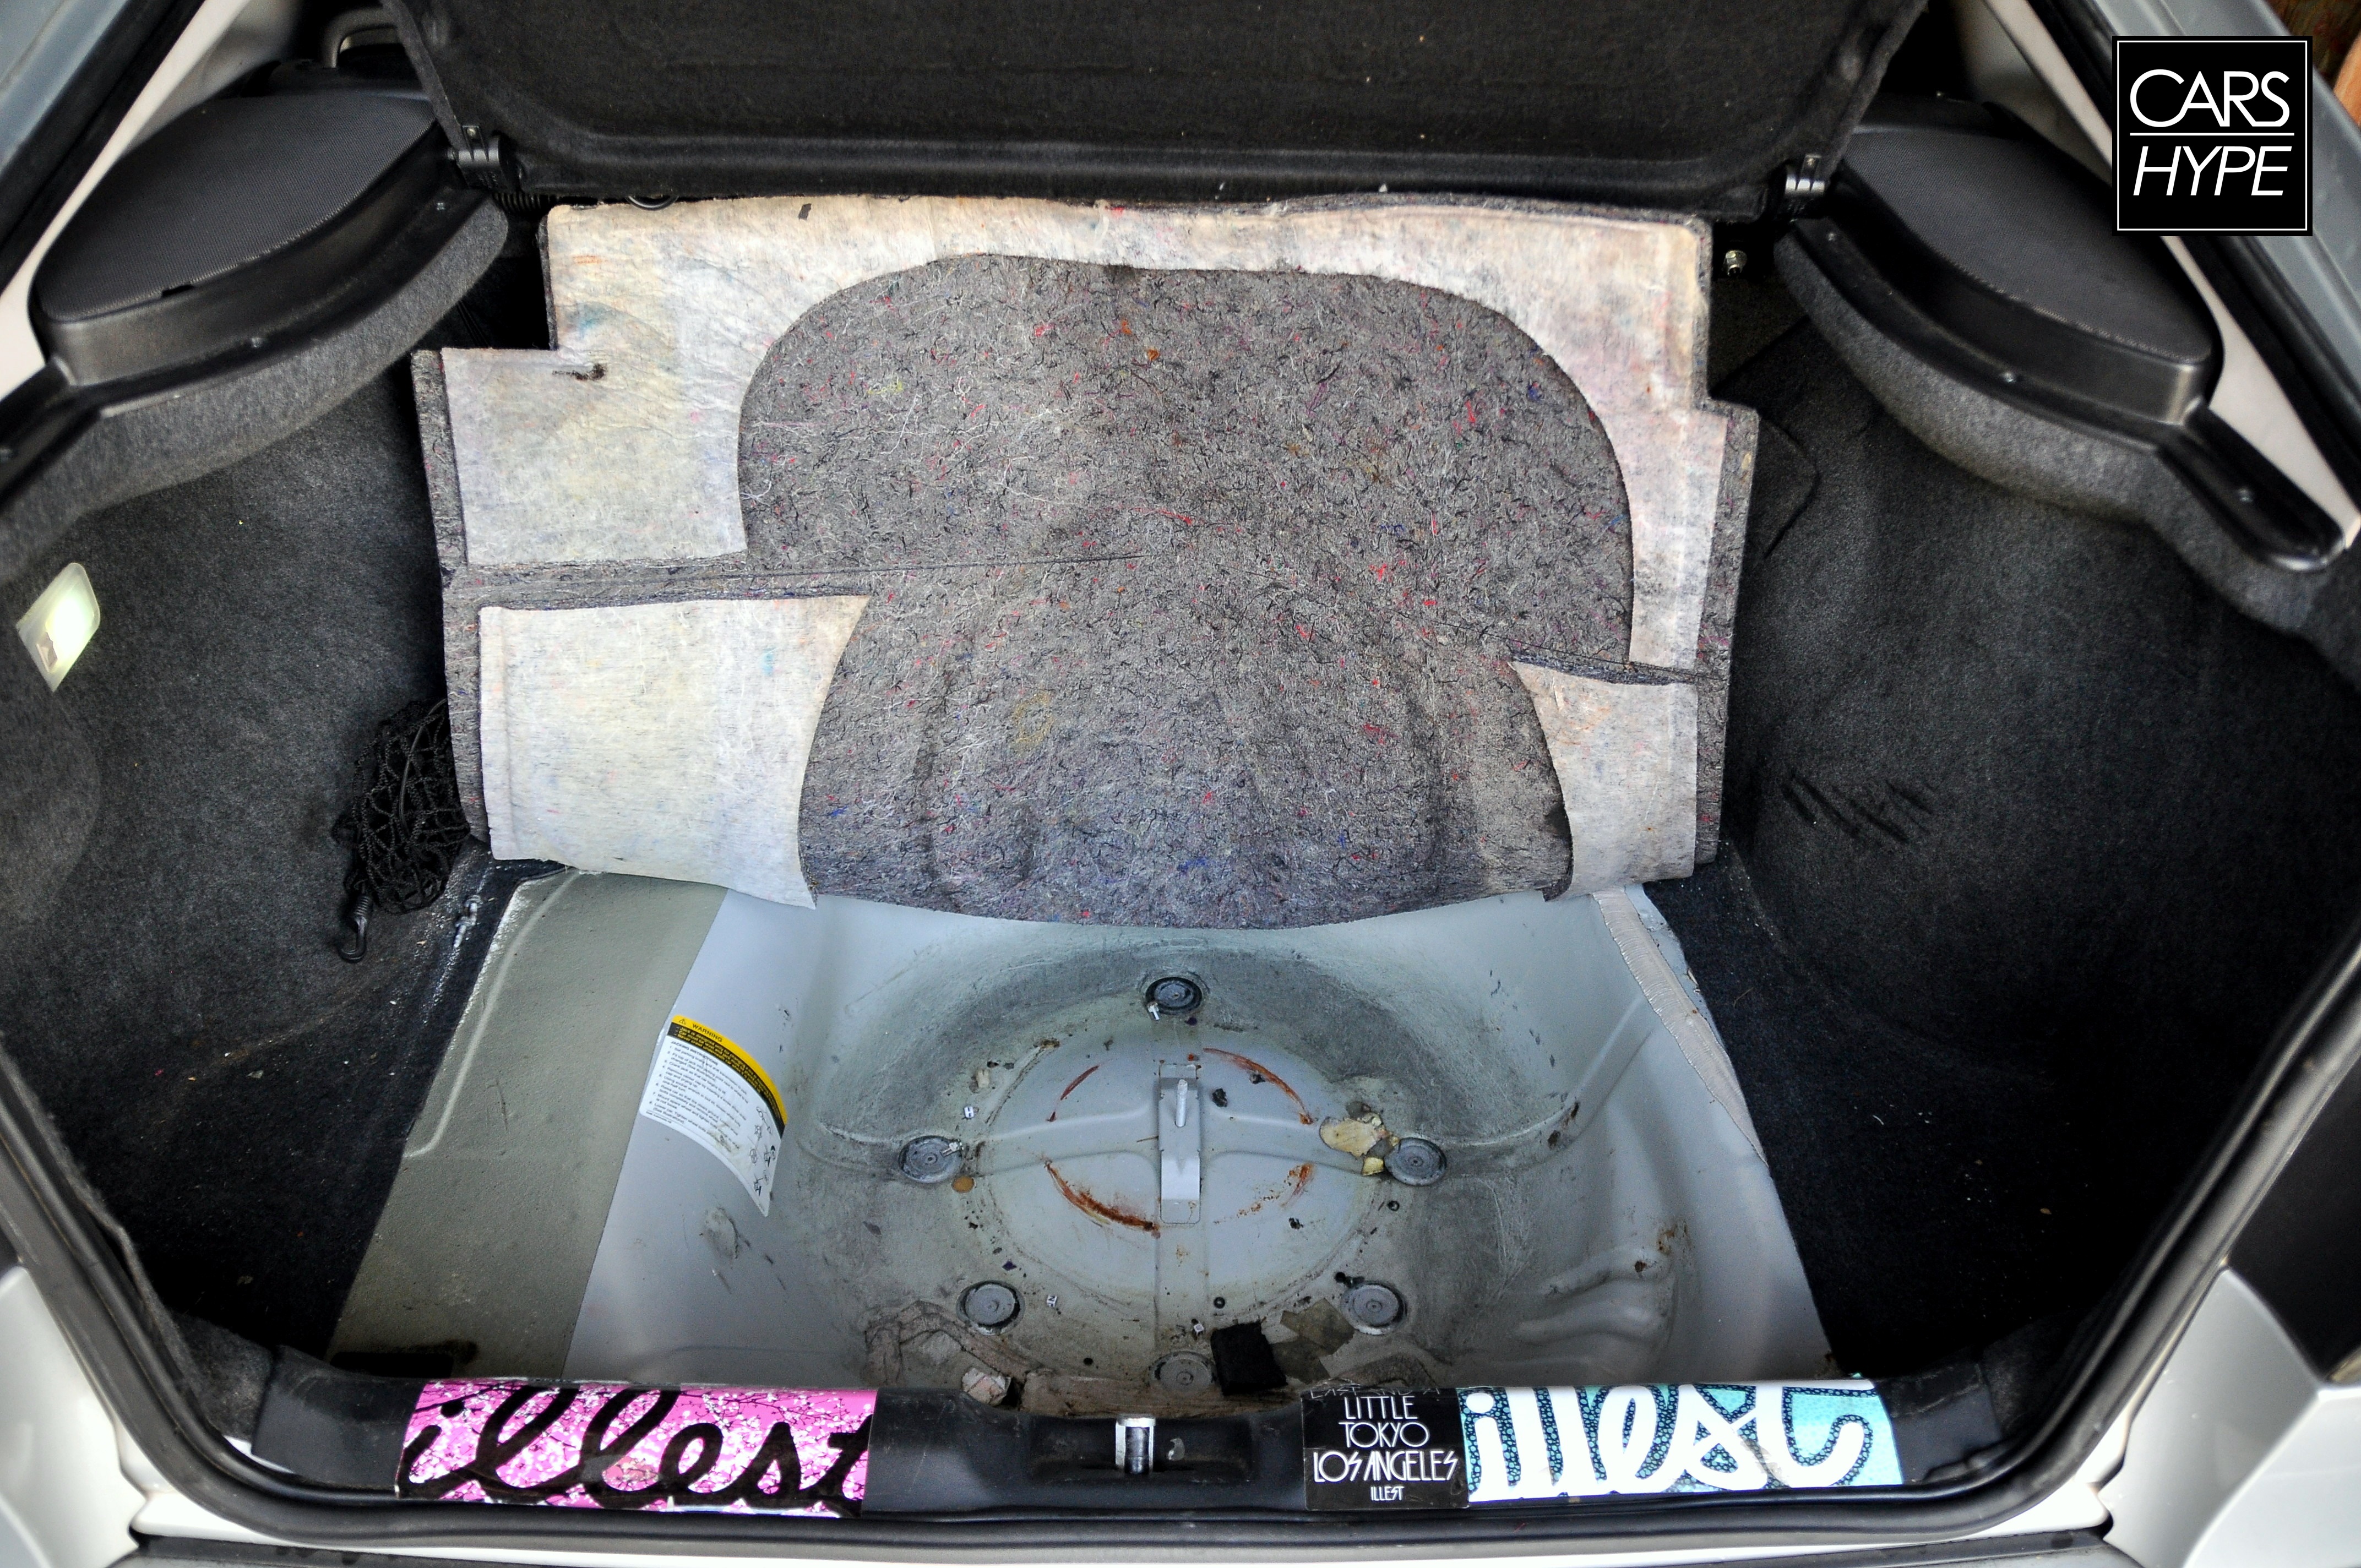
Crazier yet, was that I wouldn’t need stupid long bolts like other diffusers I’ve seen mounted, I just needed to bolt it to my spare tire well.

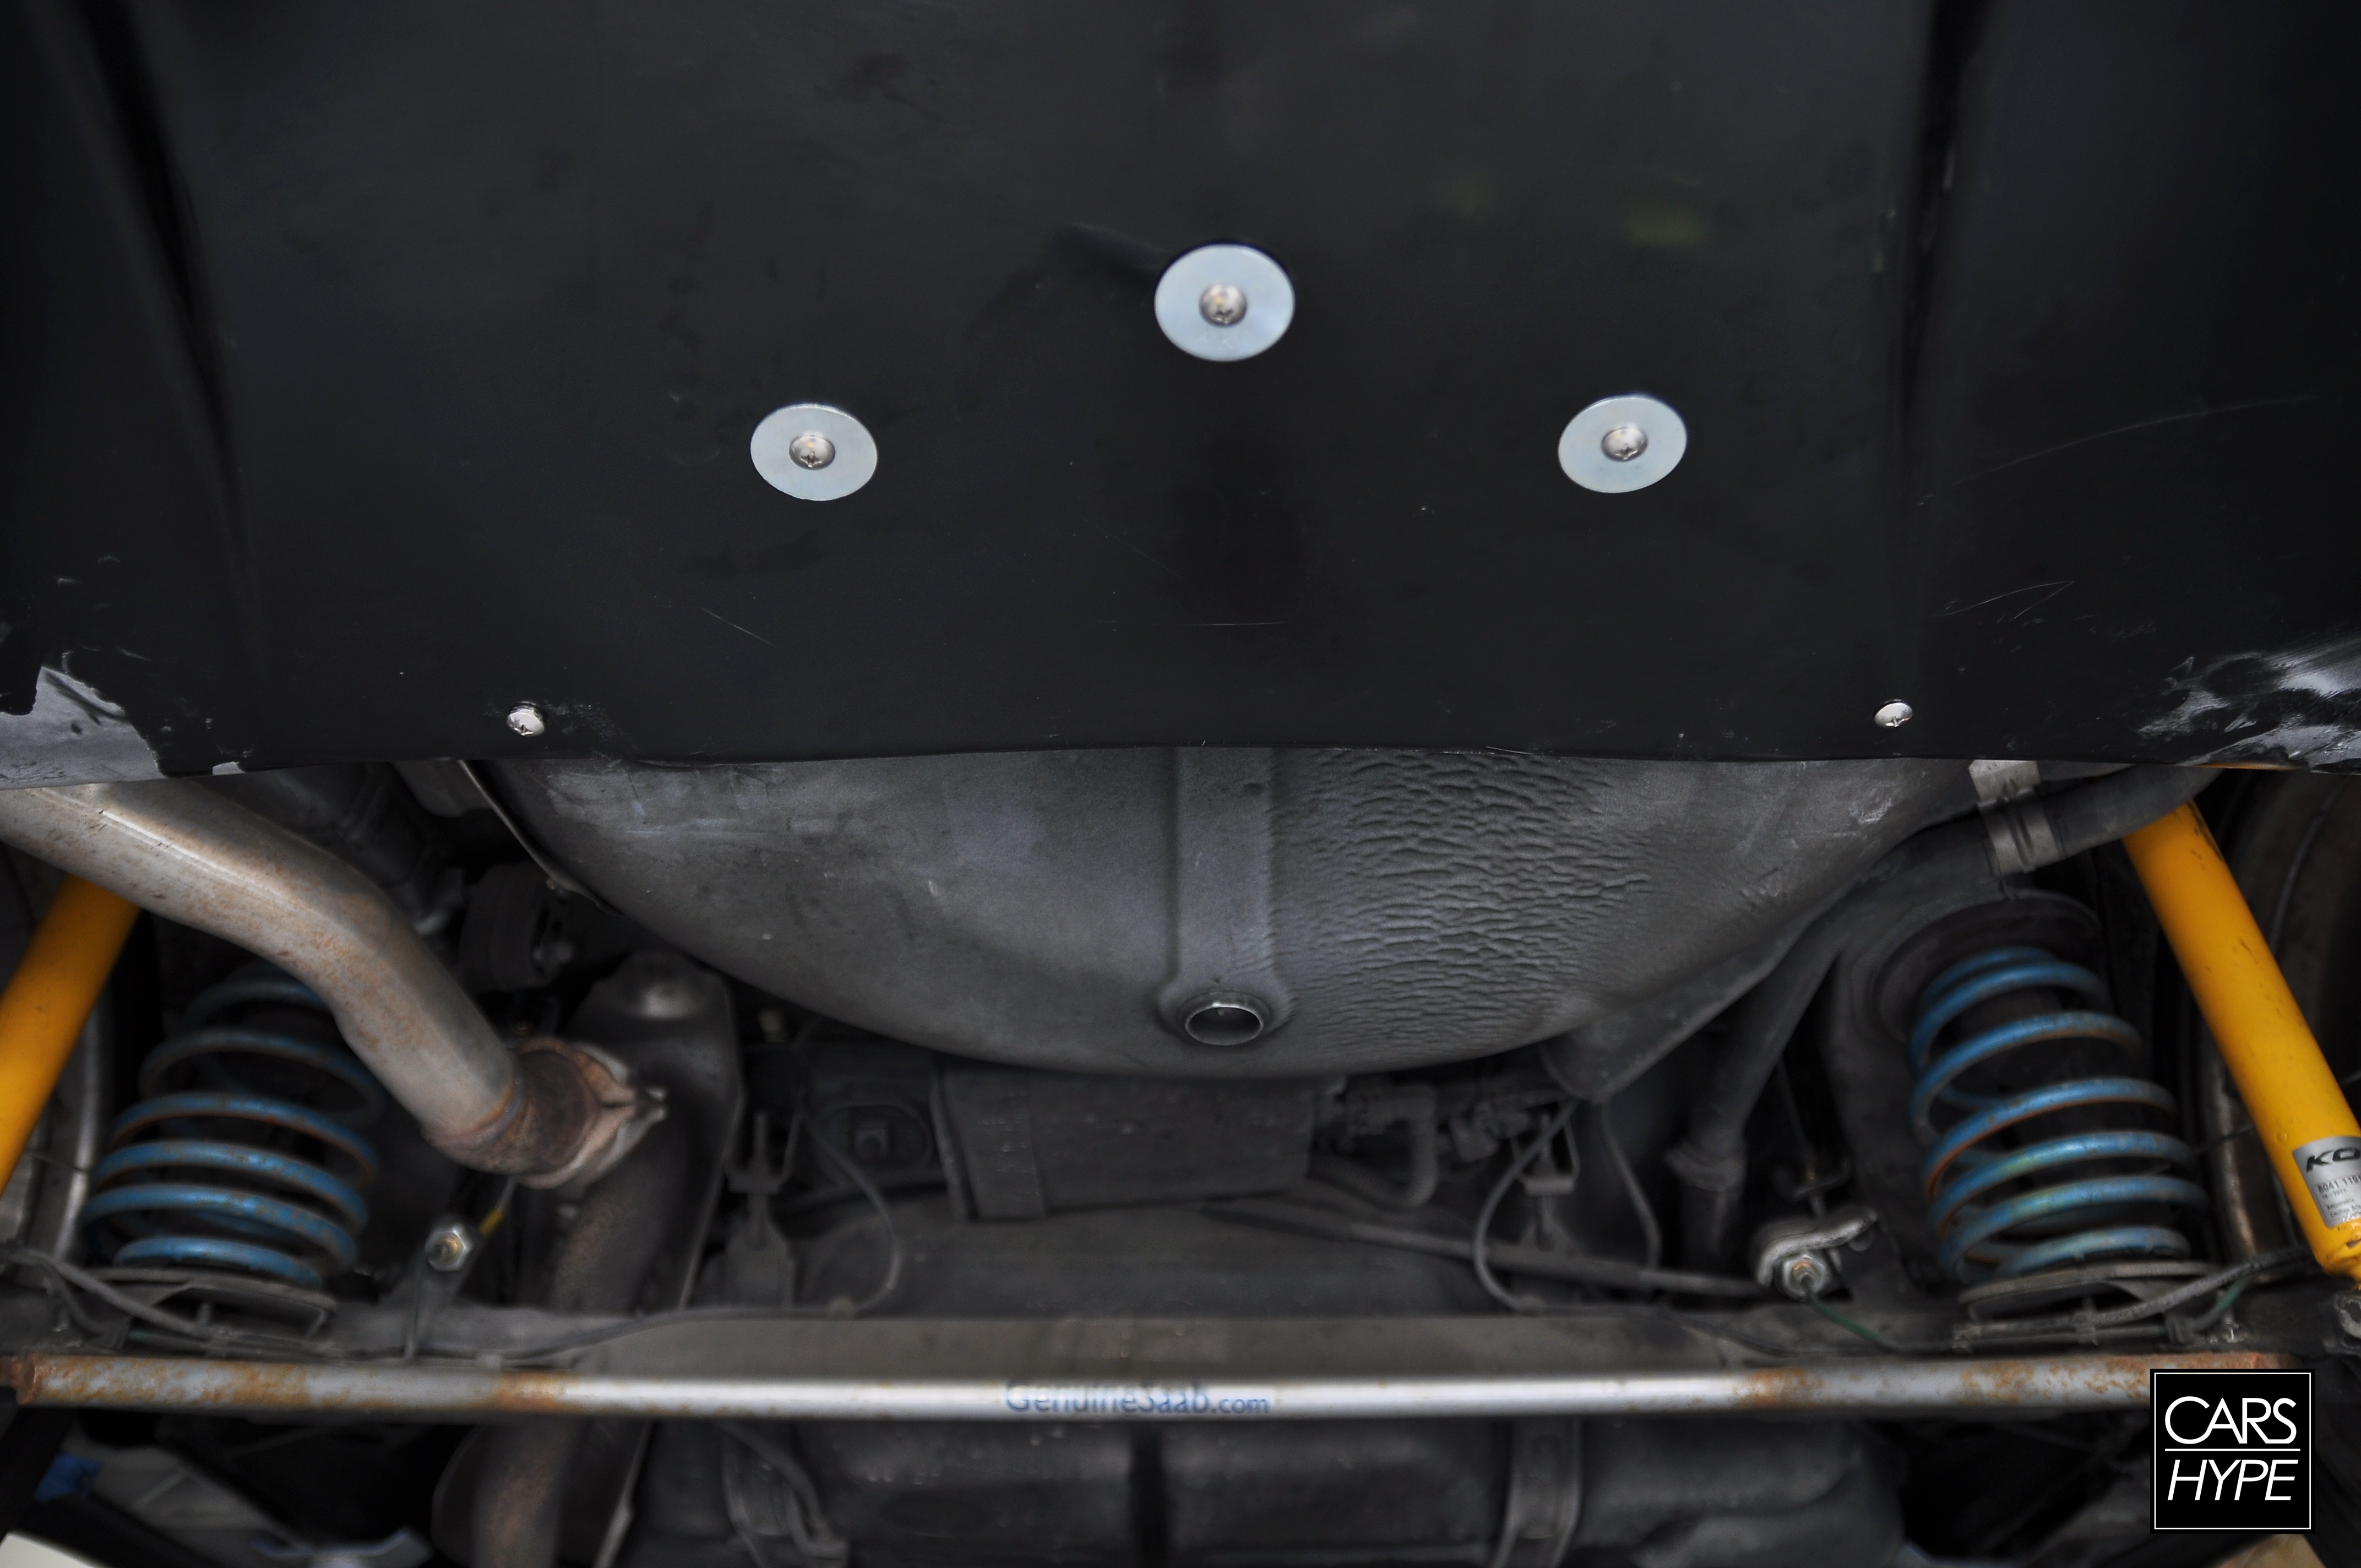
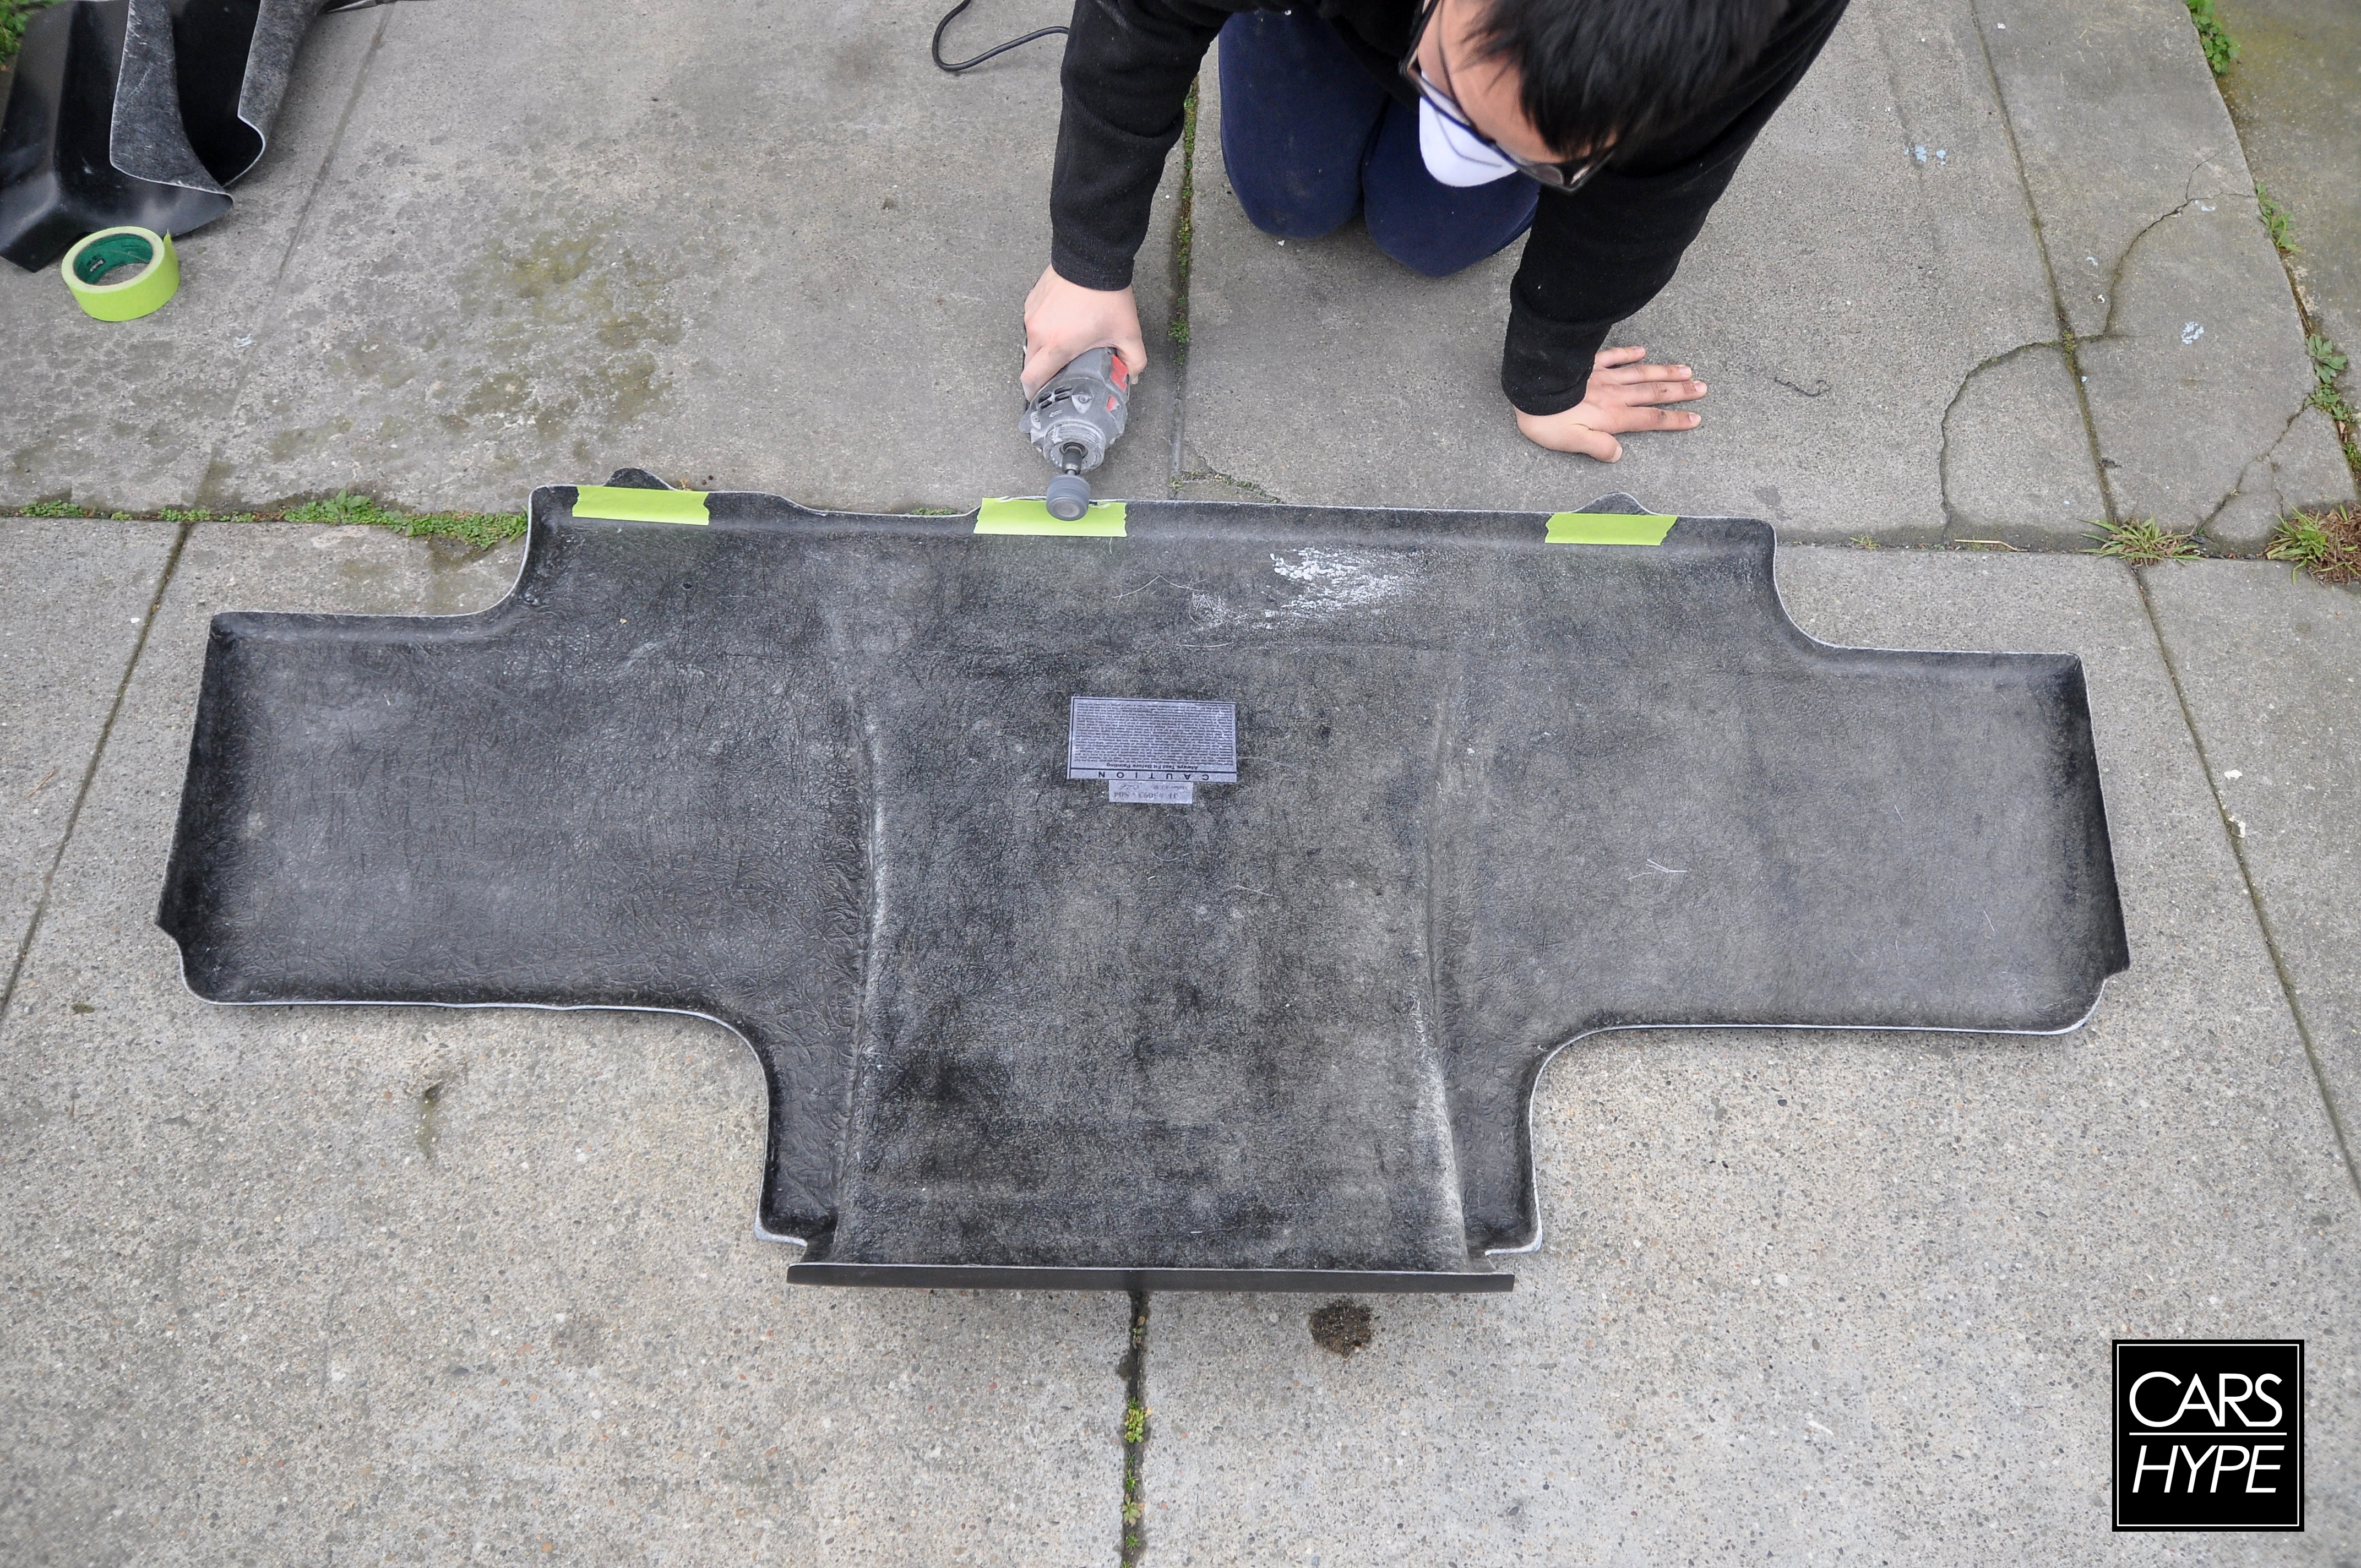
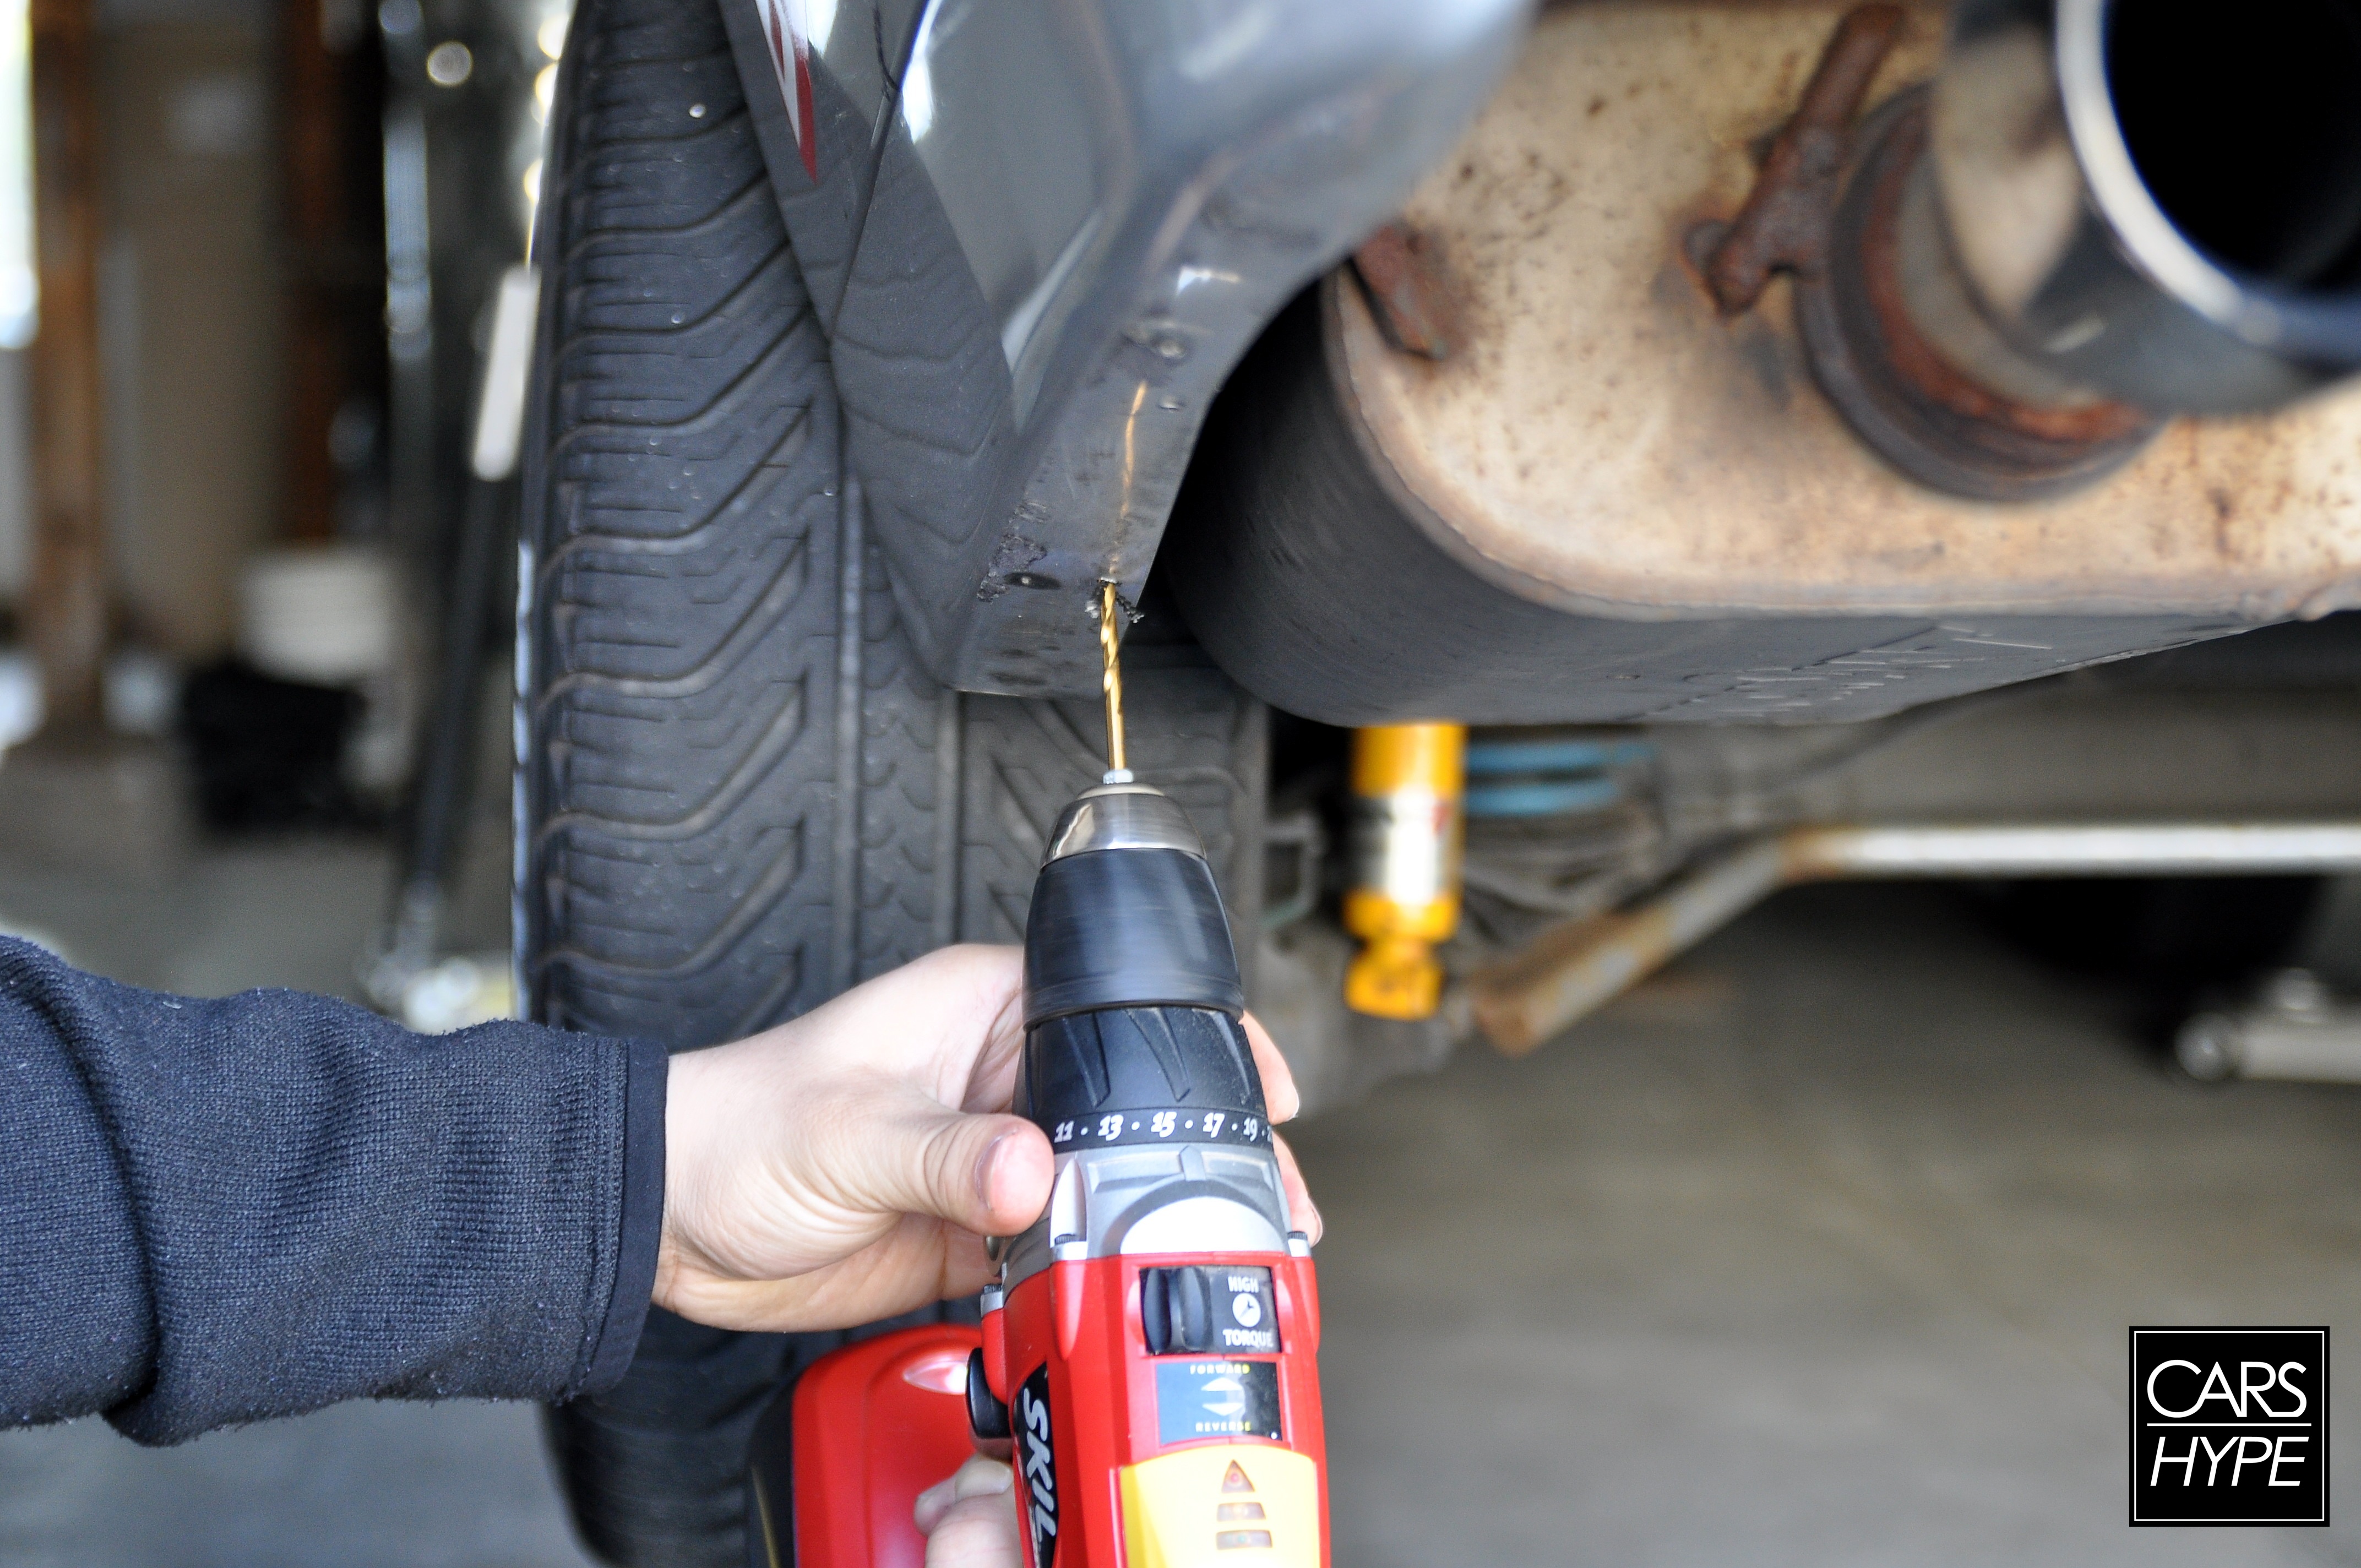
…Which meant clearing out that shit show of a well for drilling.

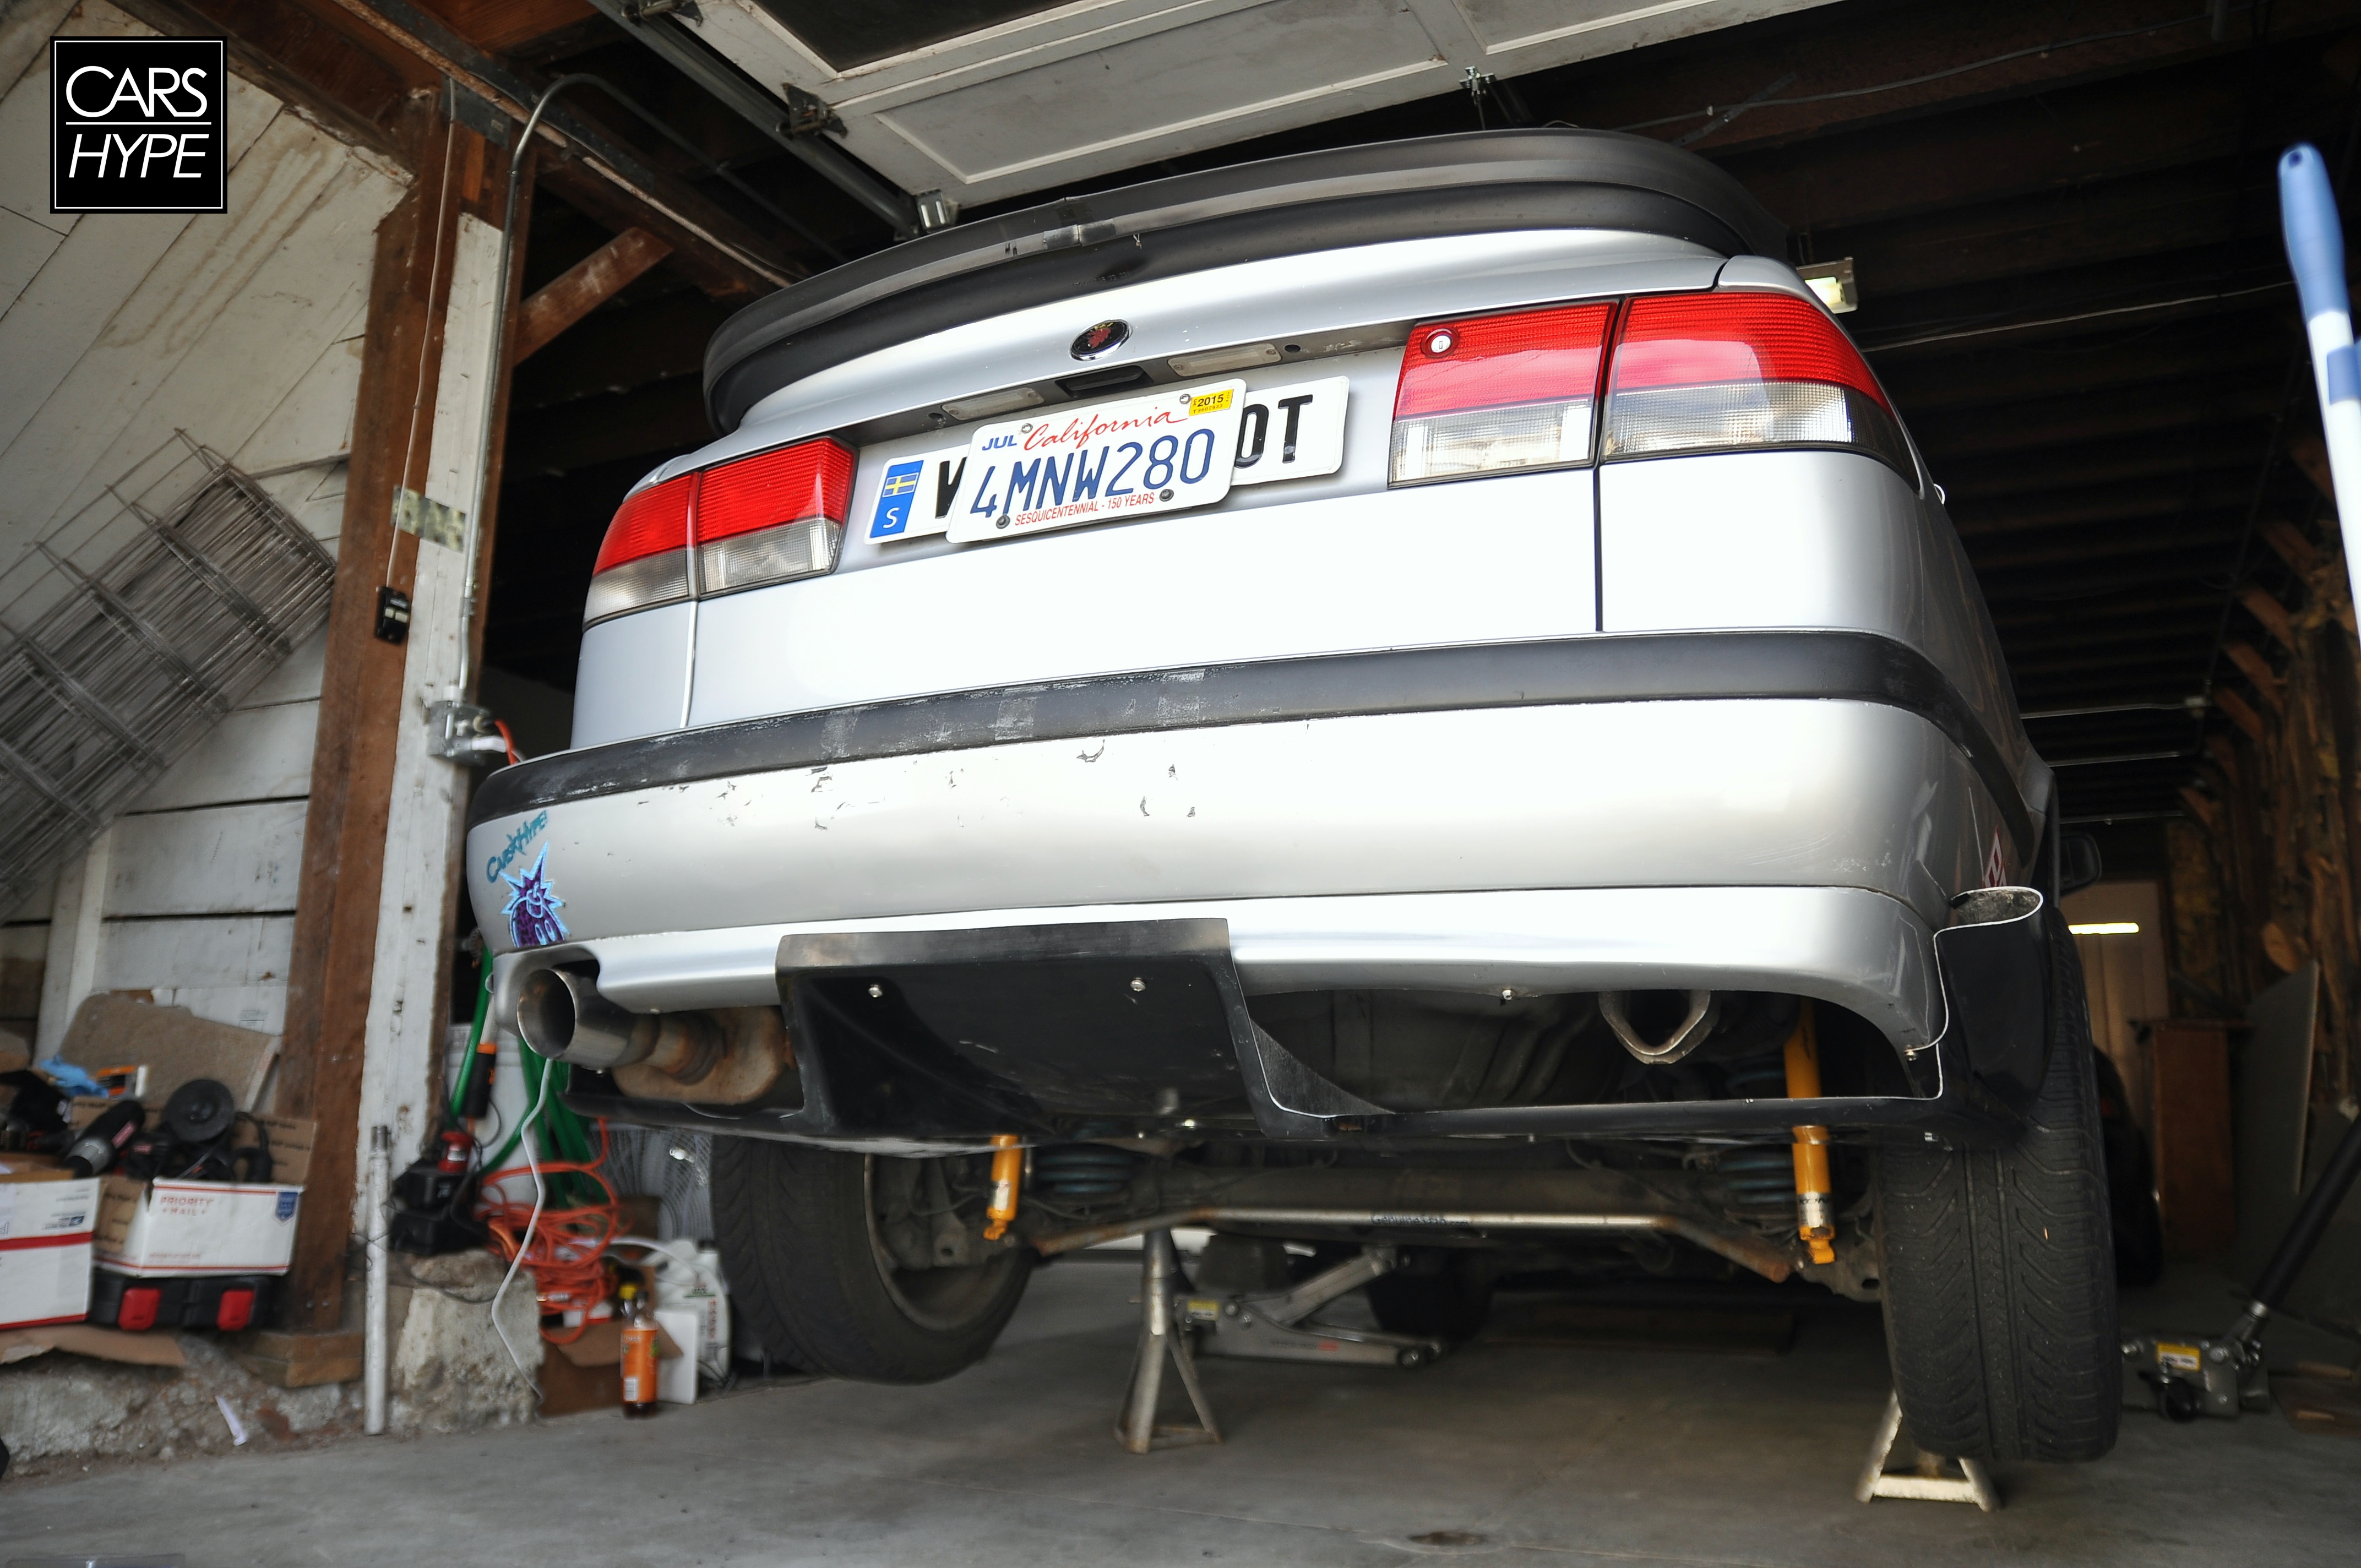
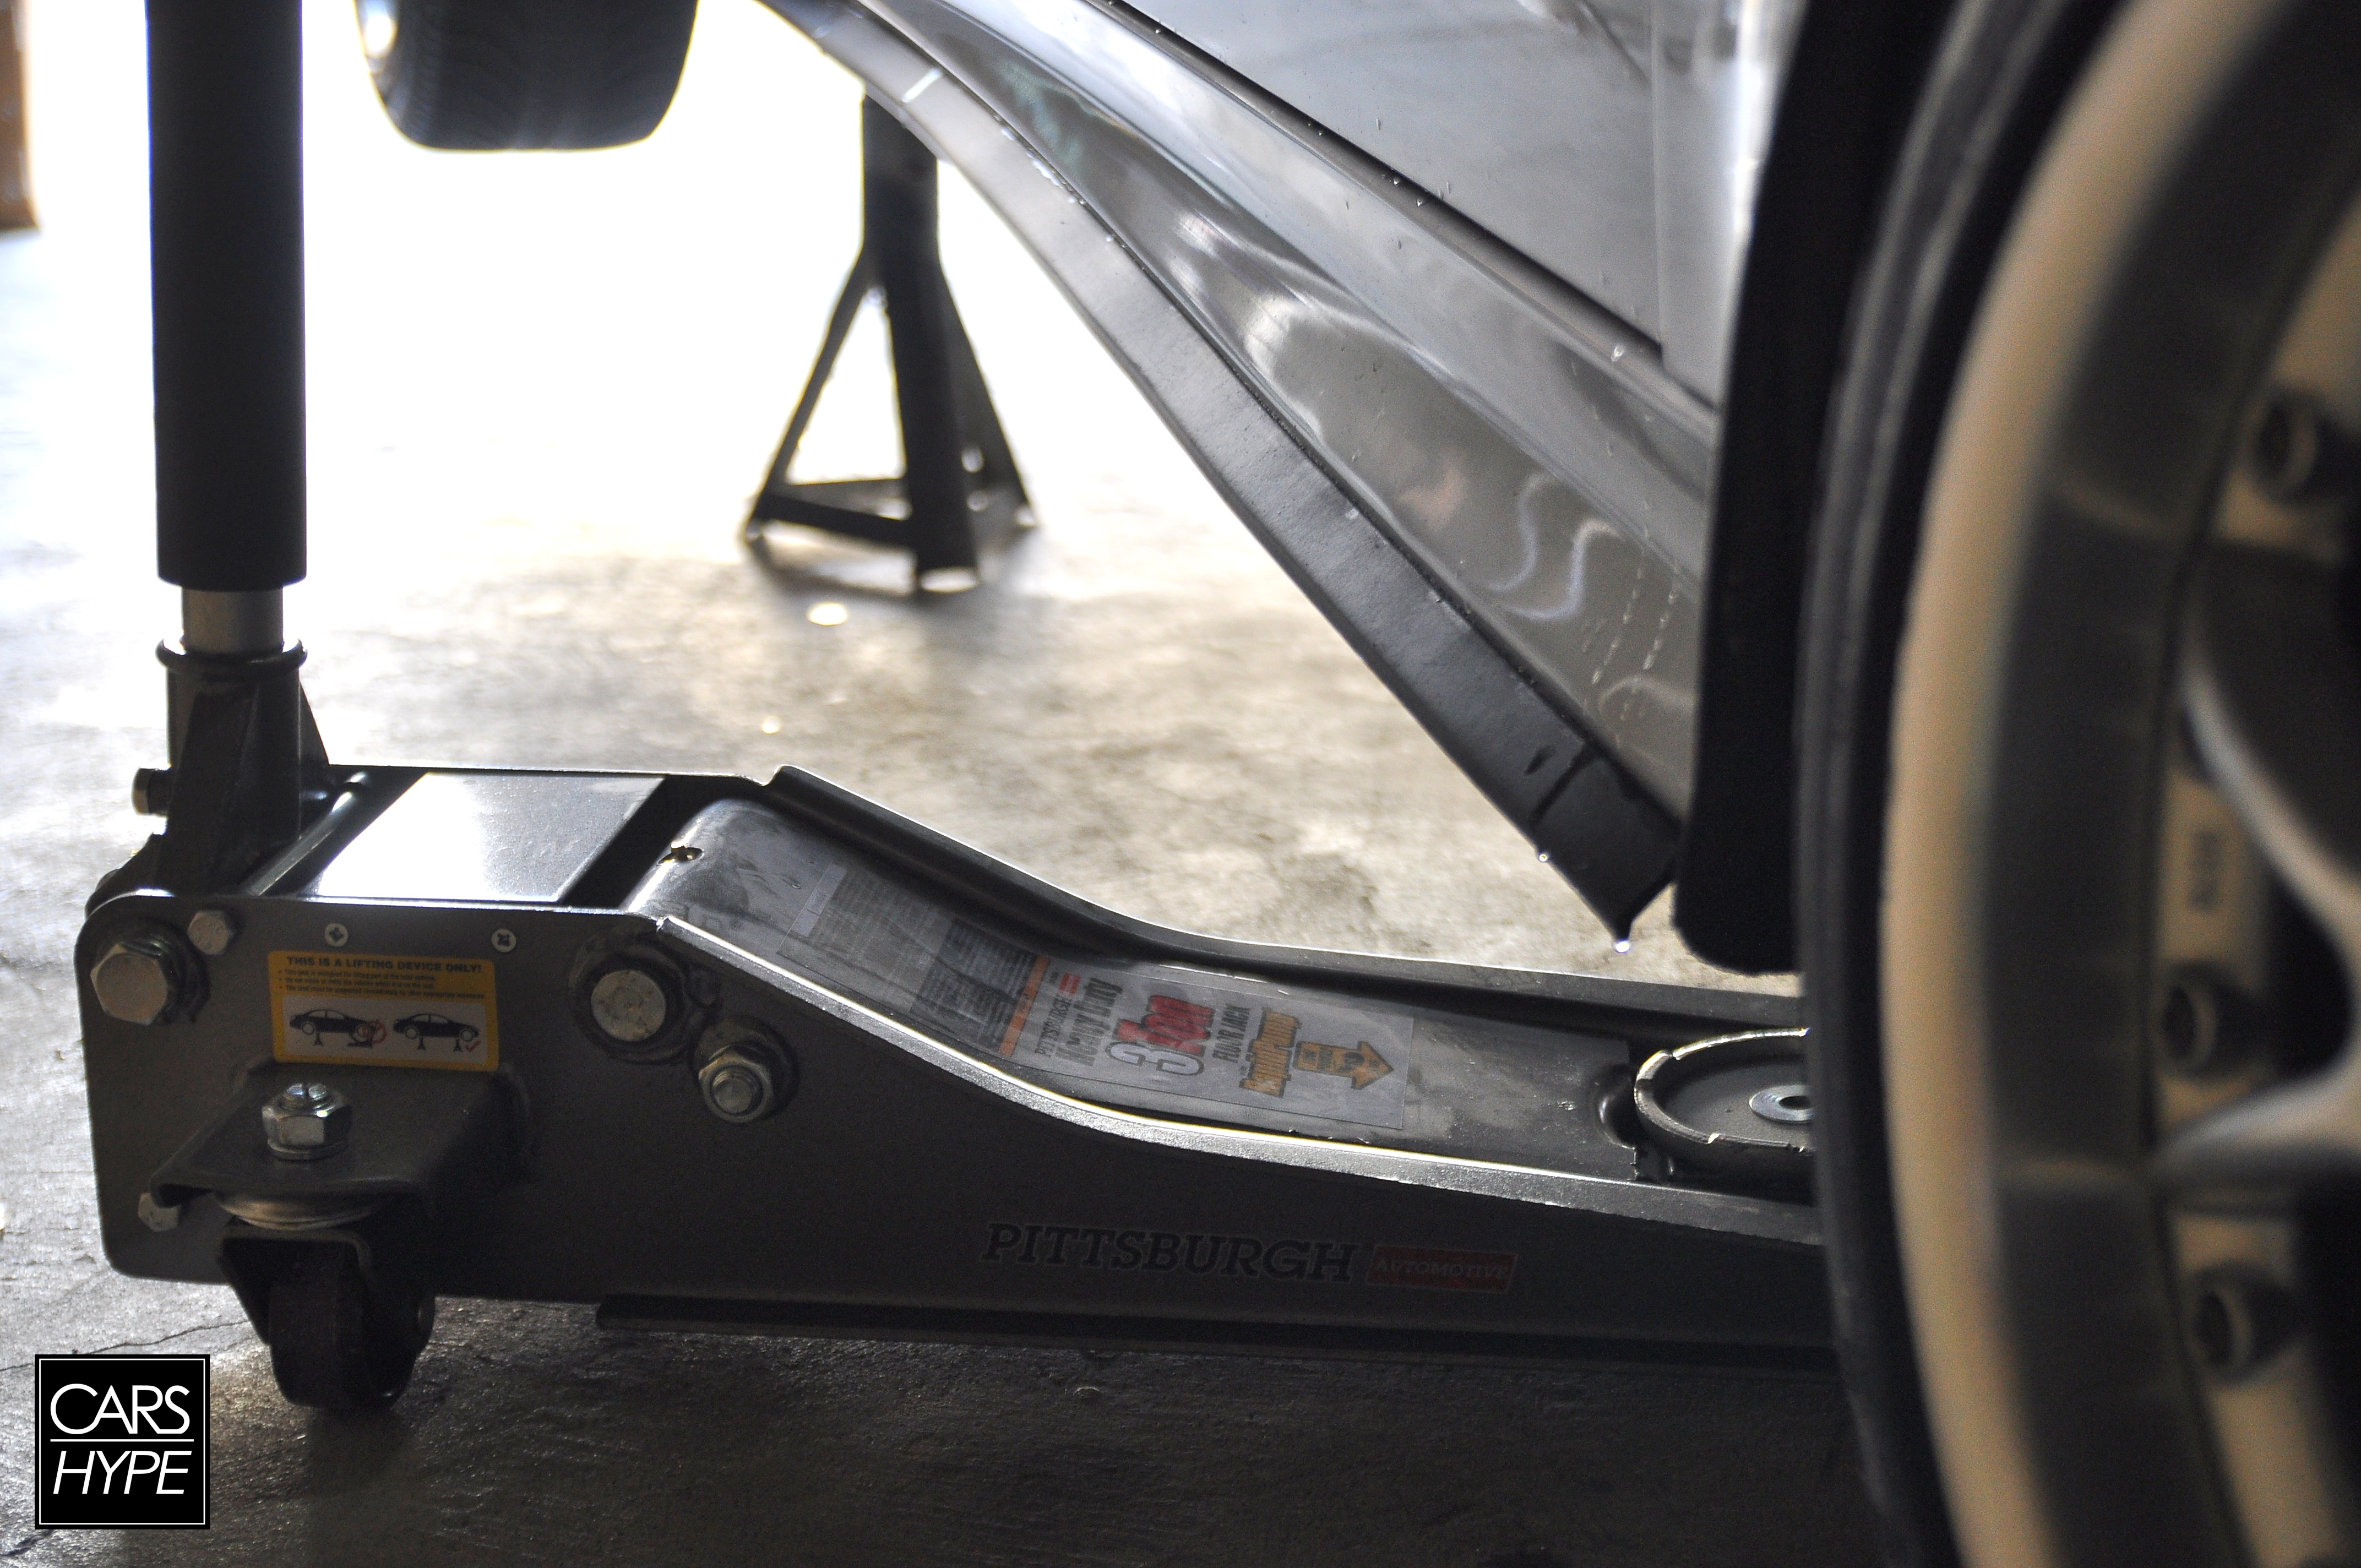
We jacked up the car and got it on stands for easy access. This would pretty much have been impossible without doing this. Remember, safety absolutely first!

Since the vortex generators were to be mounted to the bumper lip and not the diffuser, we mounted those first. It was pretty straight forward.

Measure.

Drill.

Bolt in. (The diffuser came with all the bolts we needed)


Boom! Done like dinner. On to the next one.


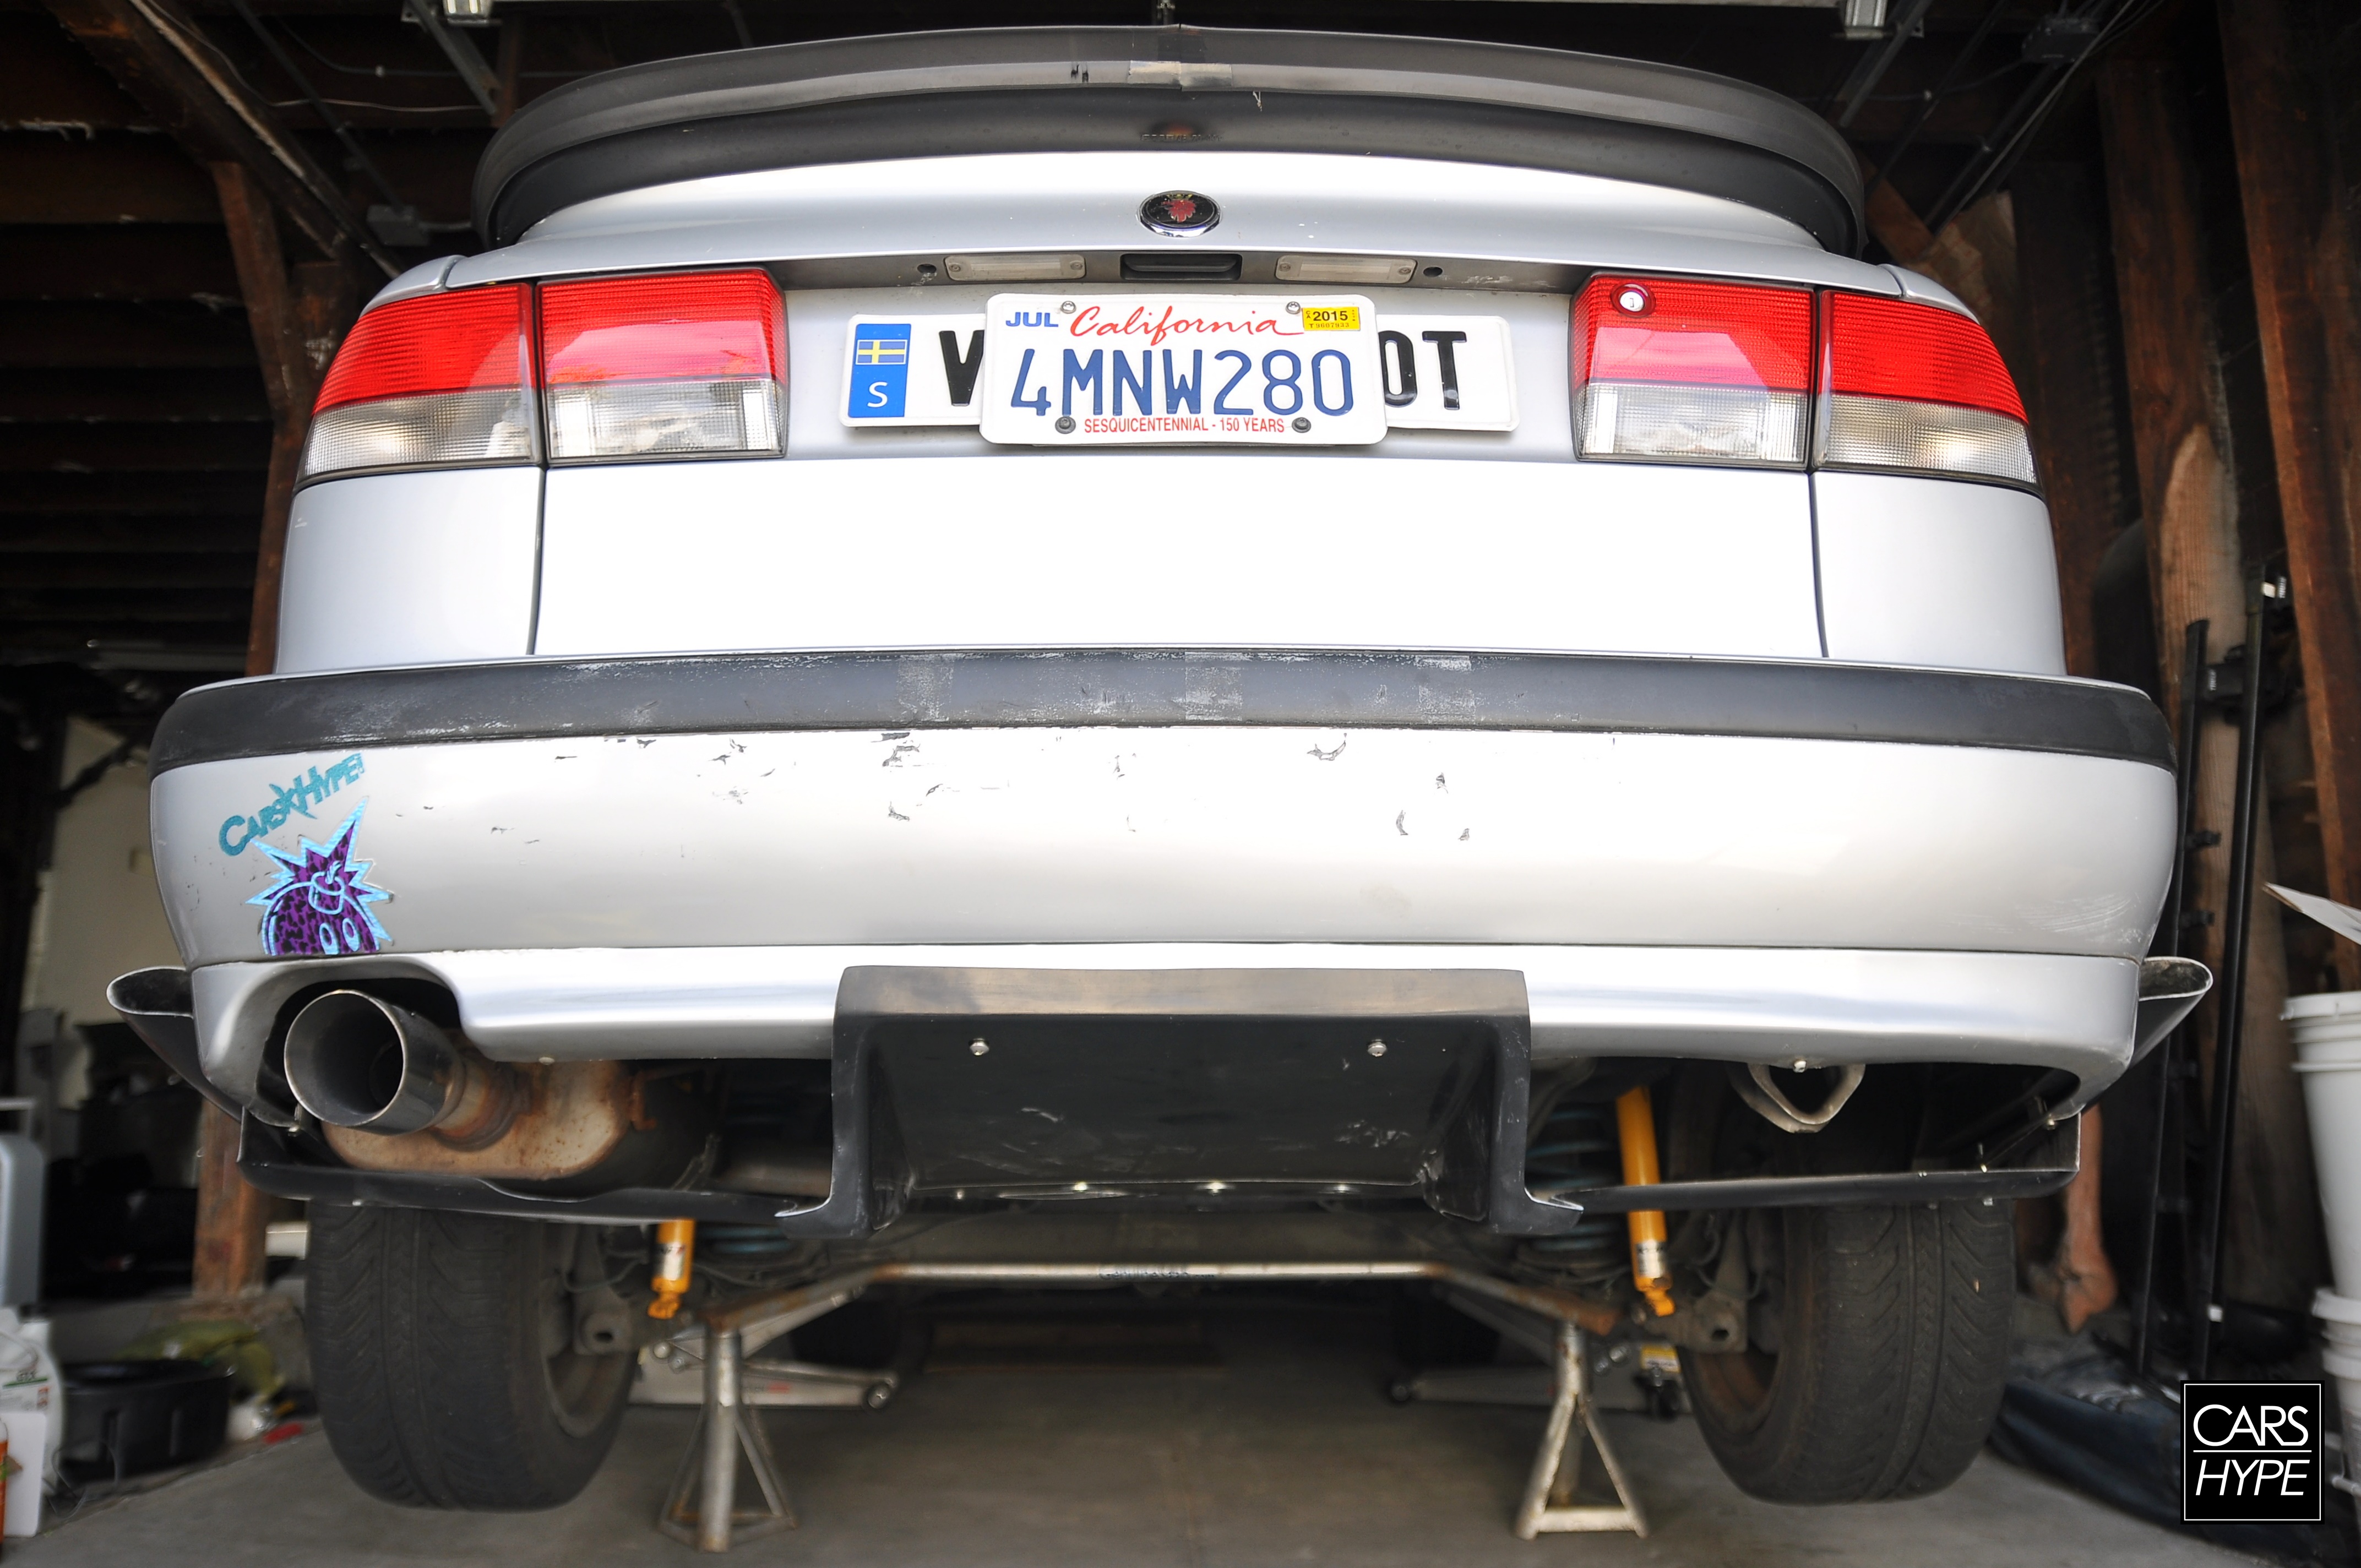
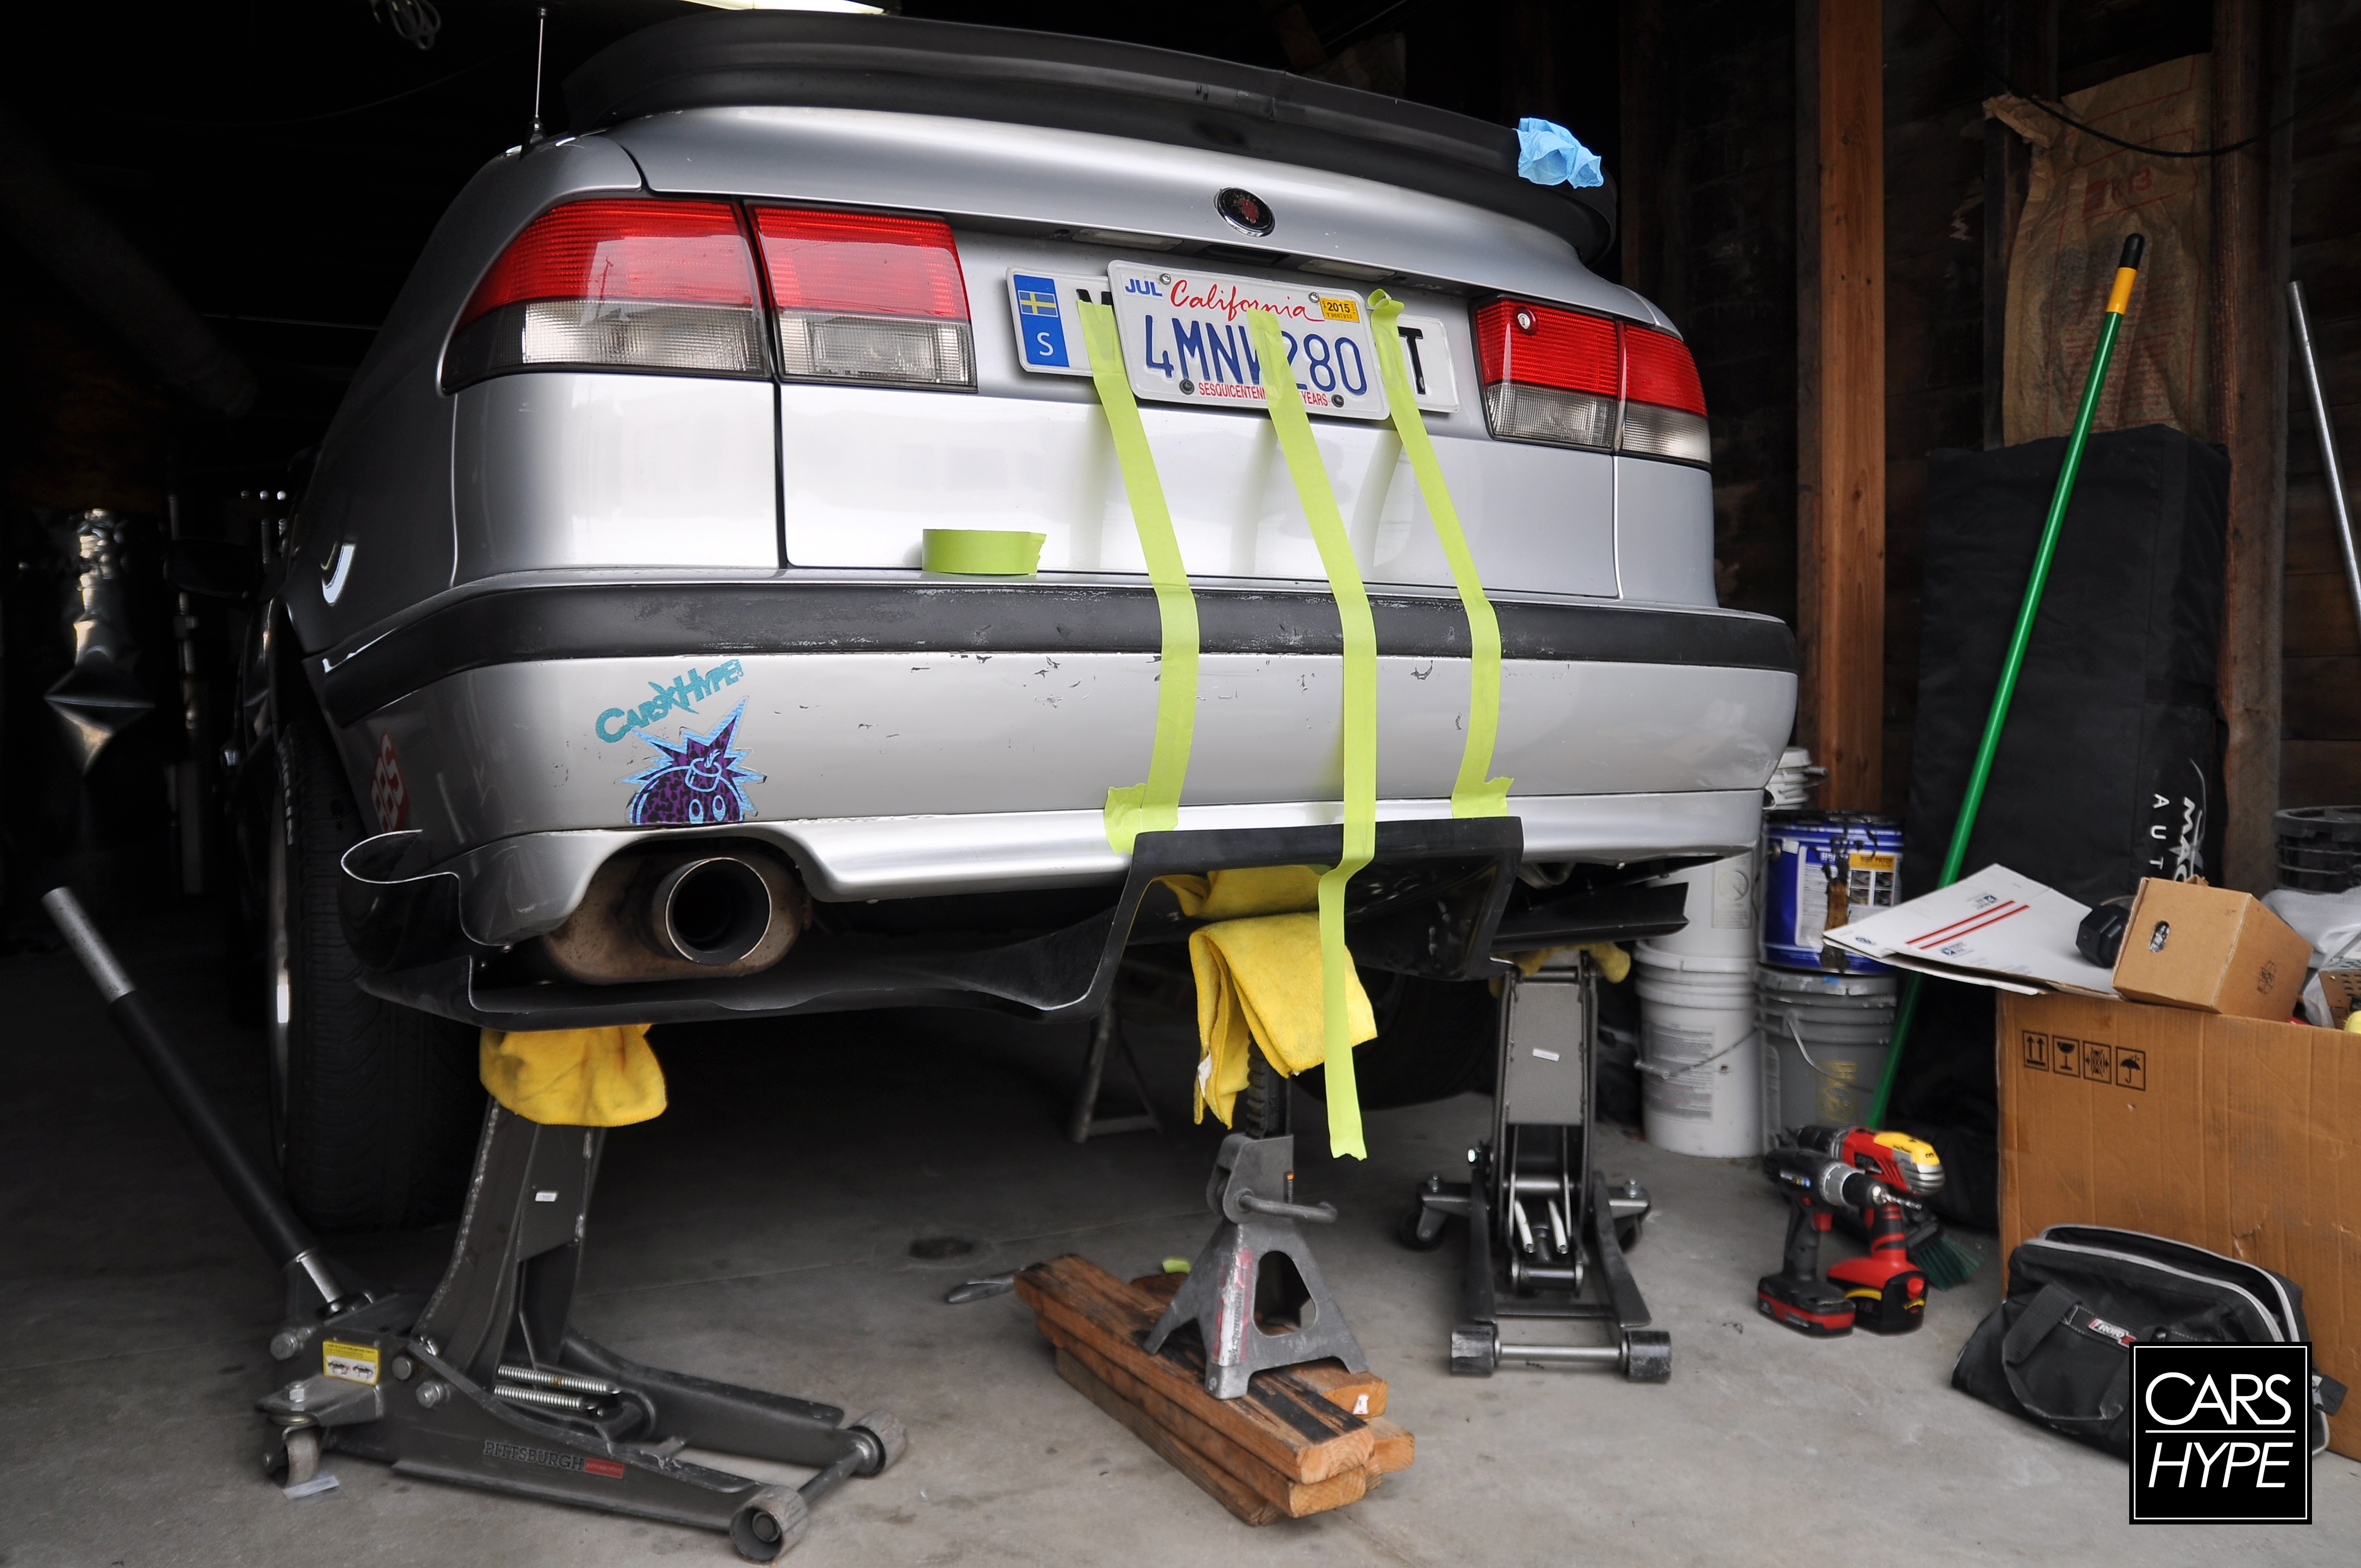
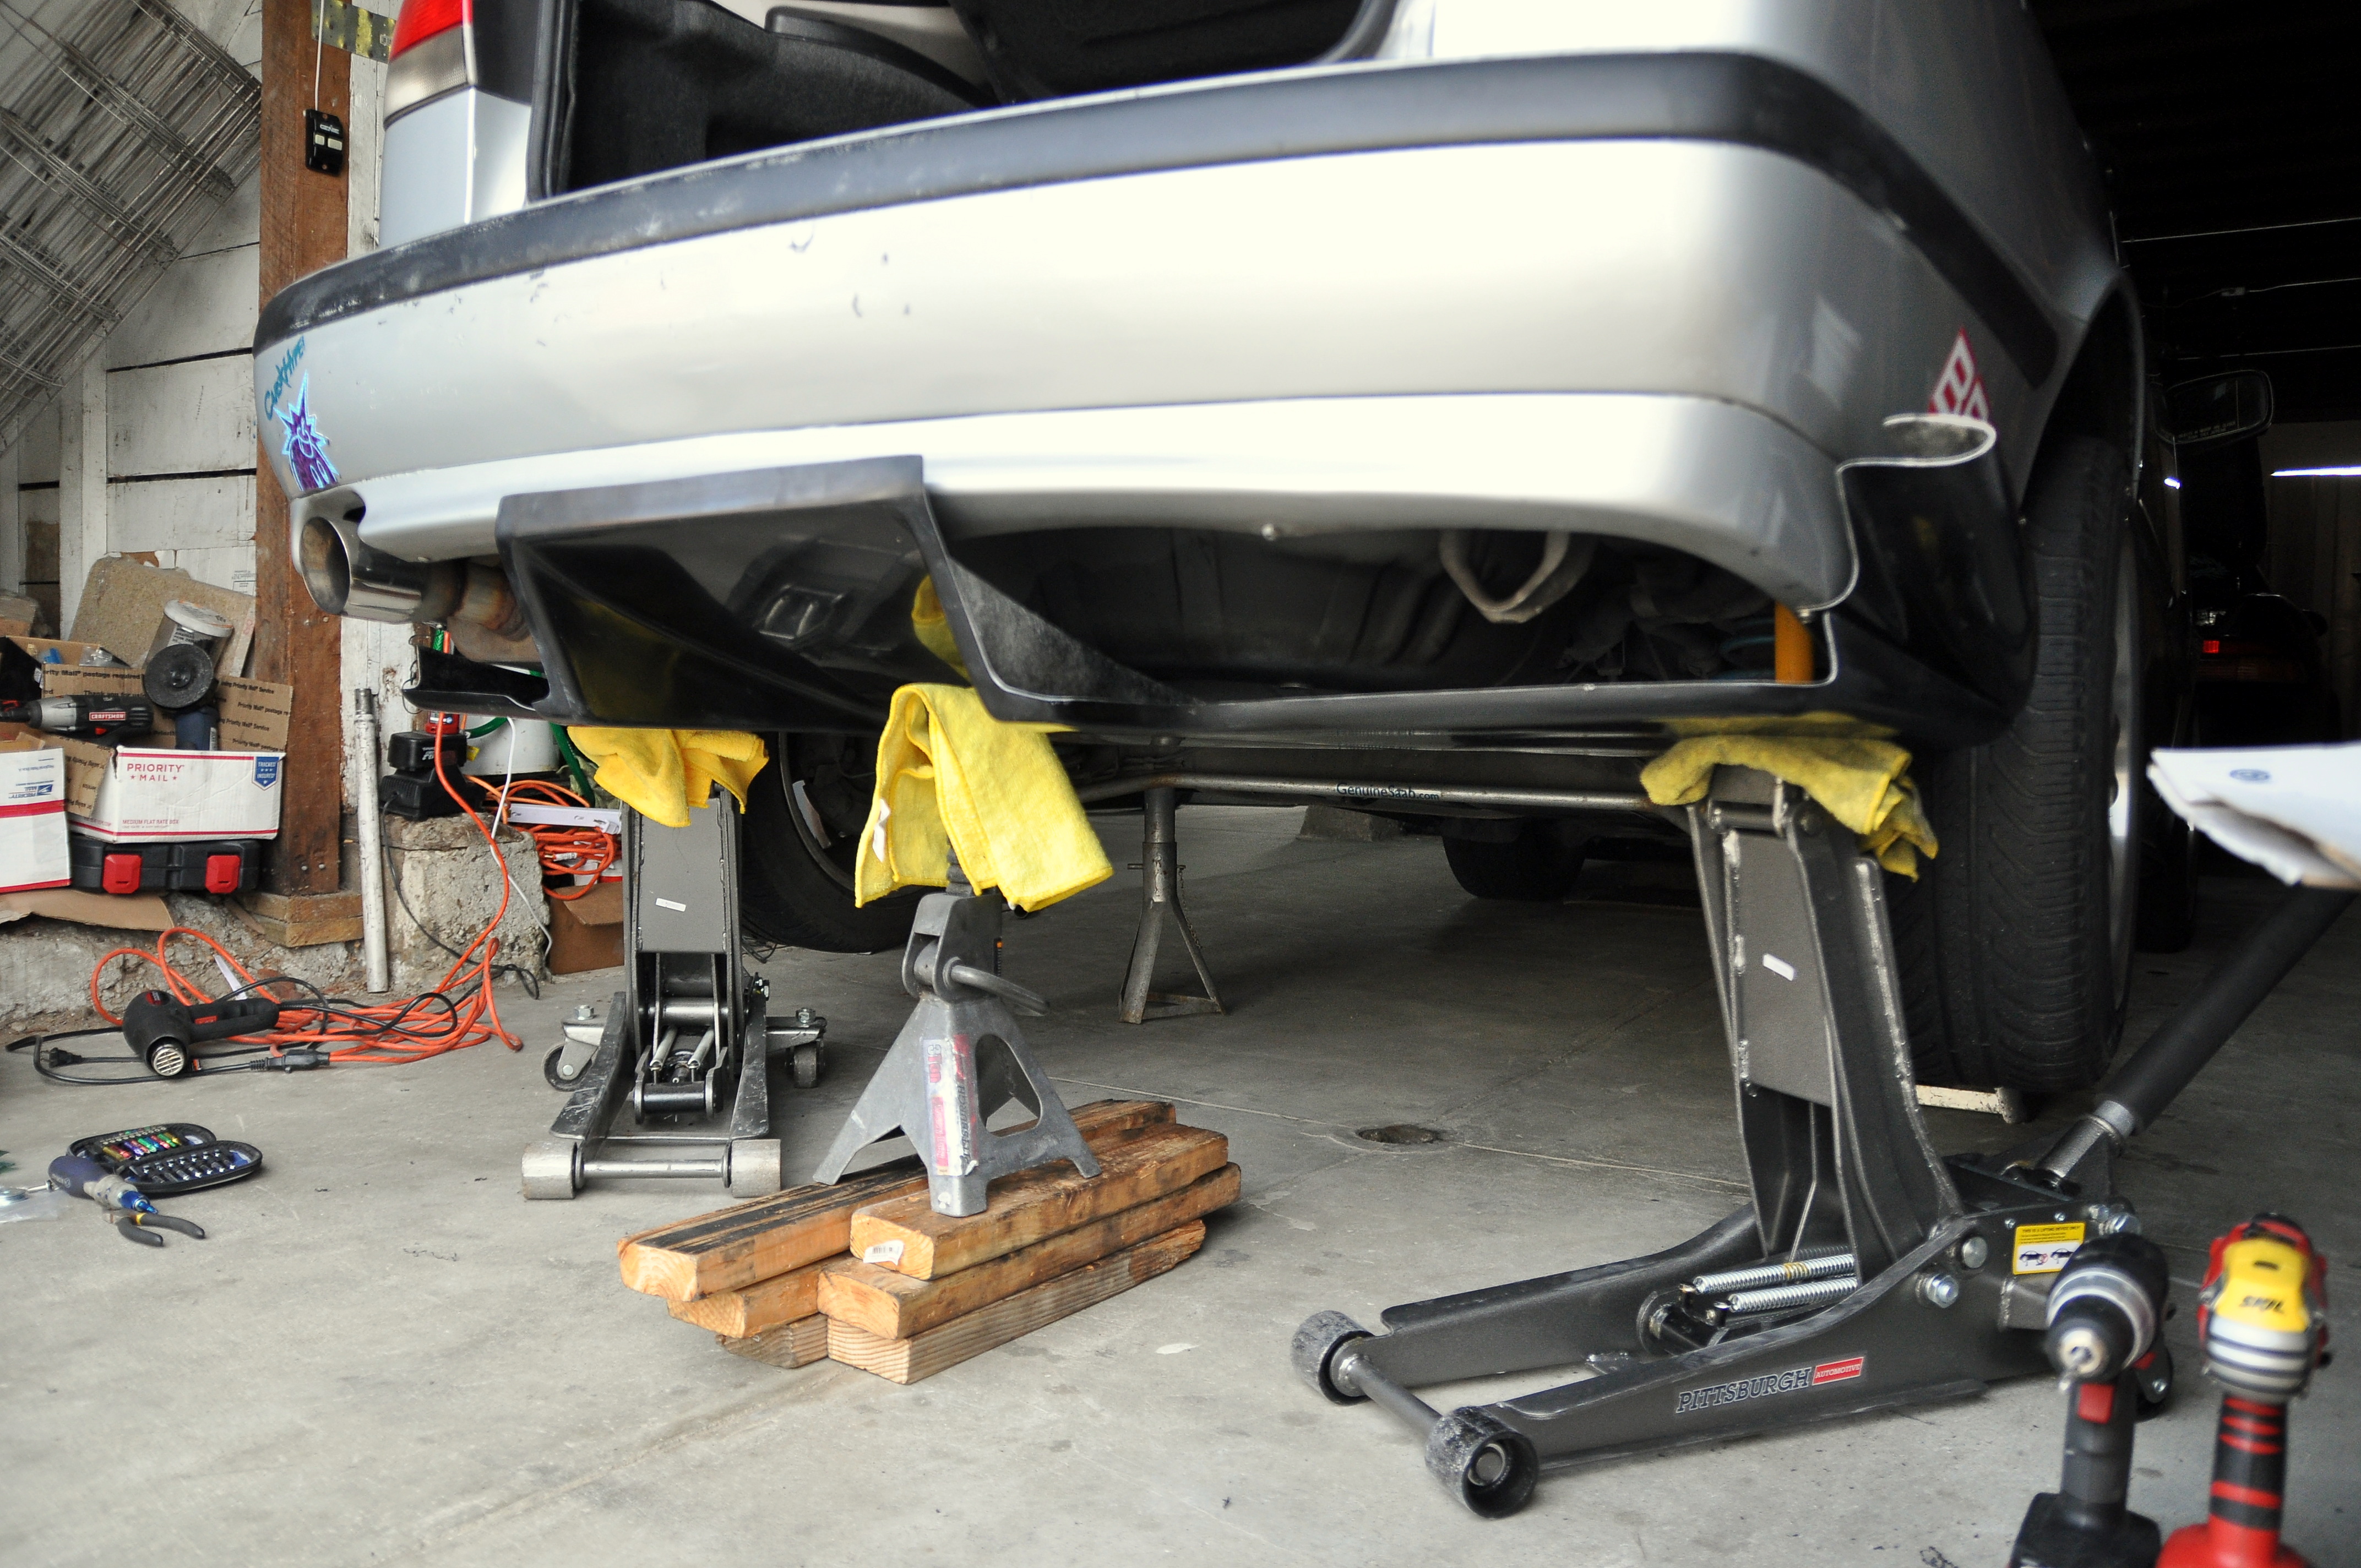
The big boy, mocking up the diffuser while in the air proved to be somewhat challenging, but nothing all the jacks, wood, and a jackstand couldn’t solve. This right away showed that we needed to make some permanent adjustments to the diffuser.

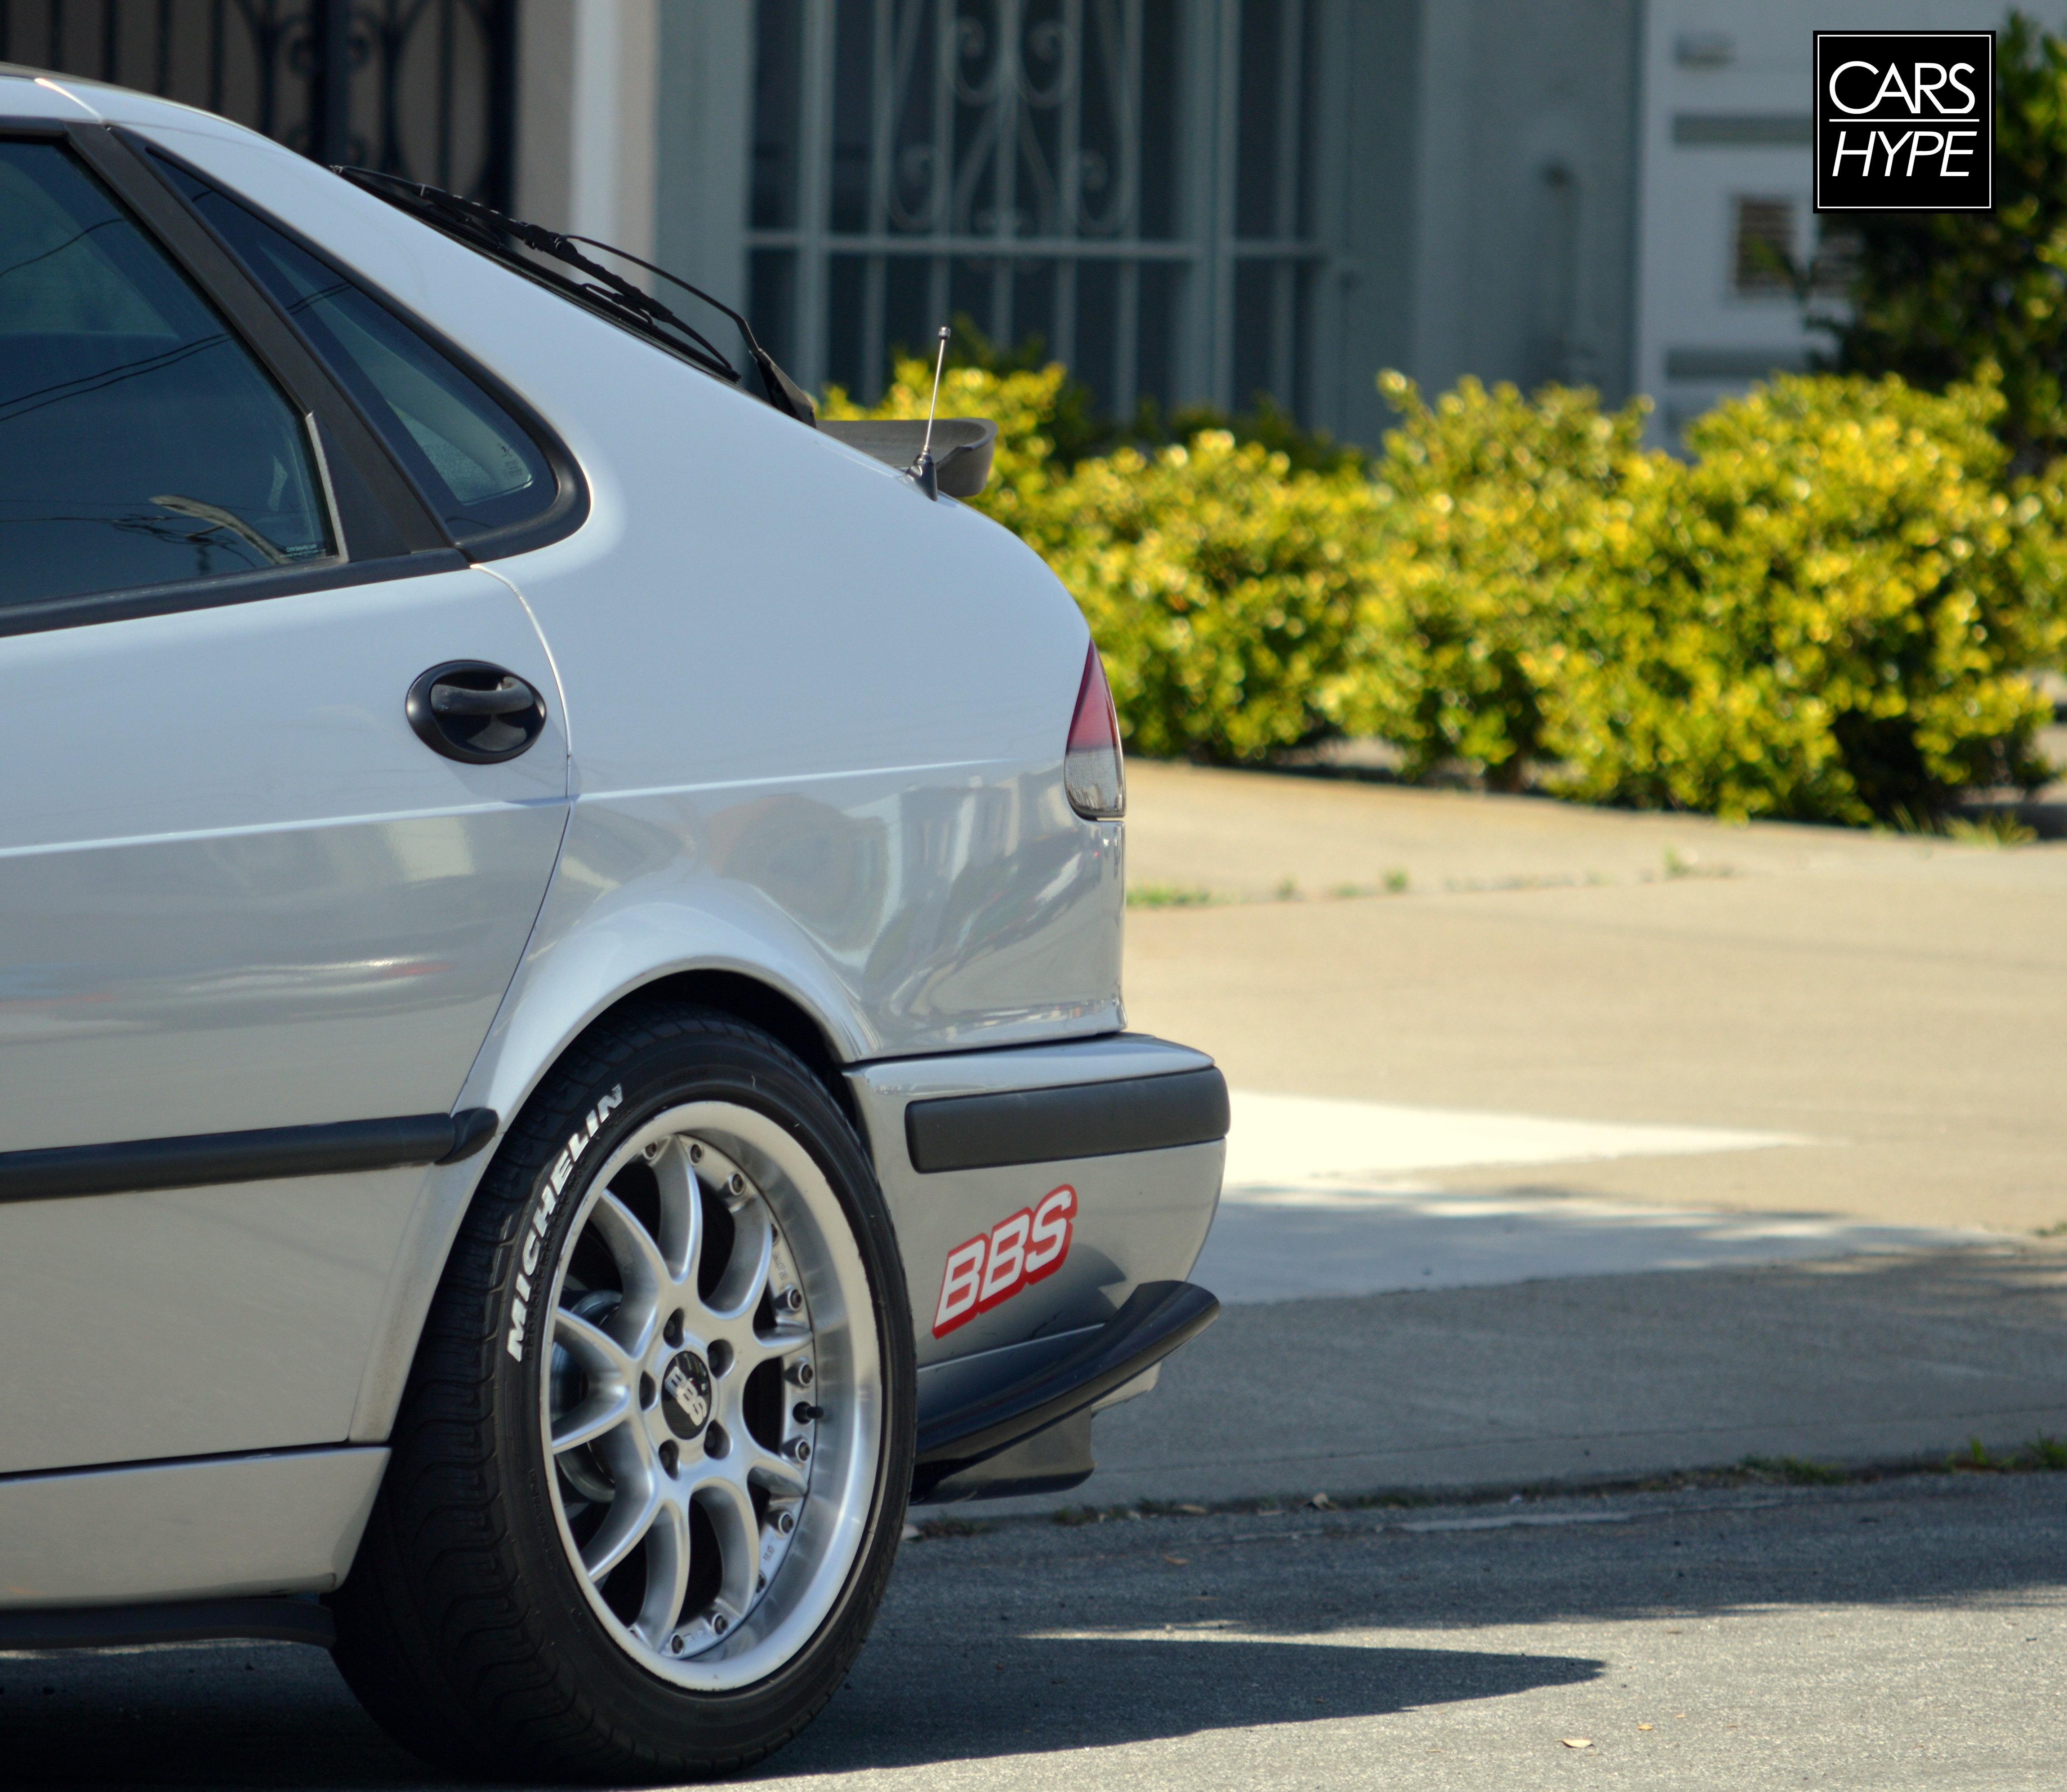
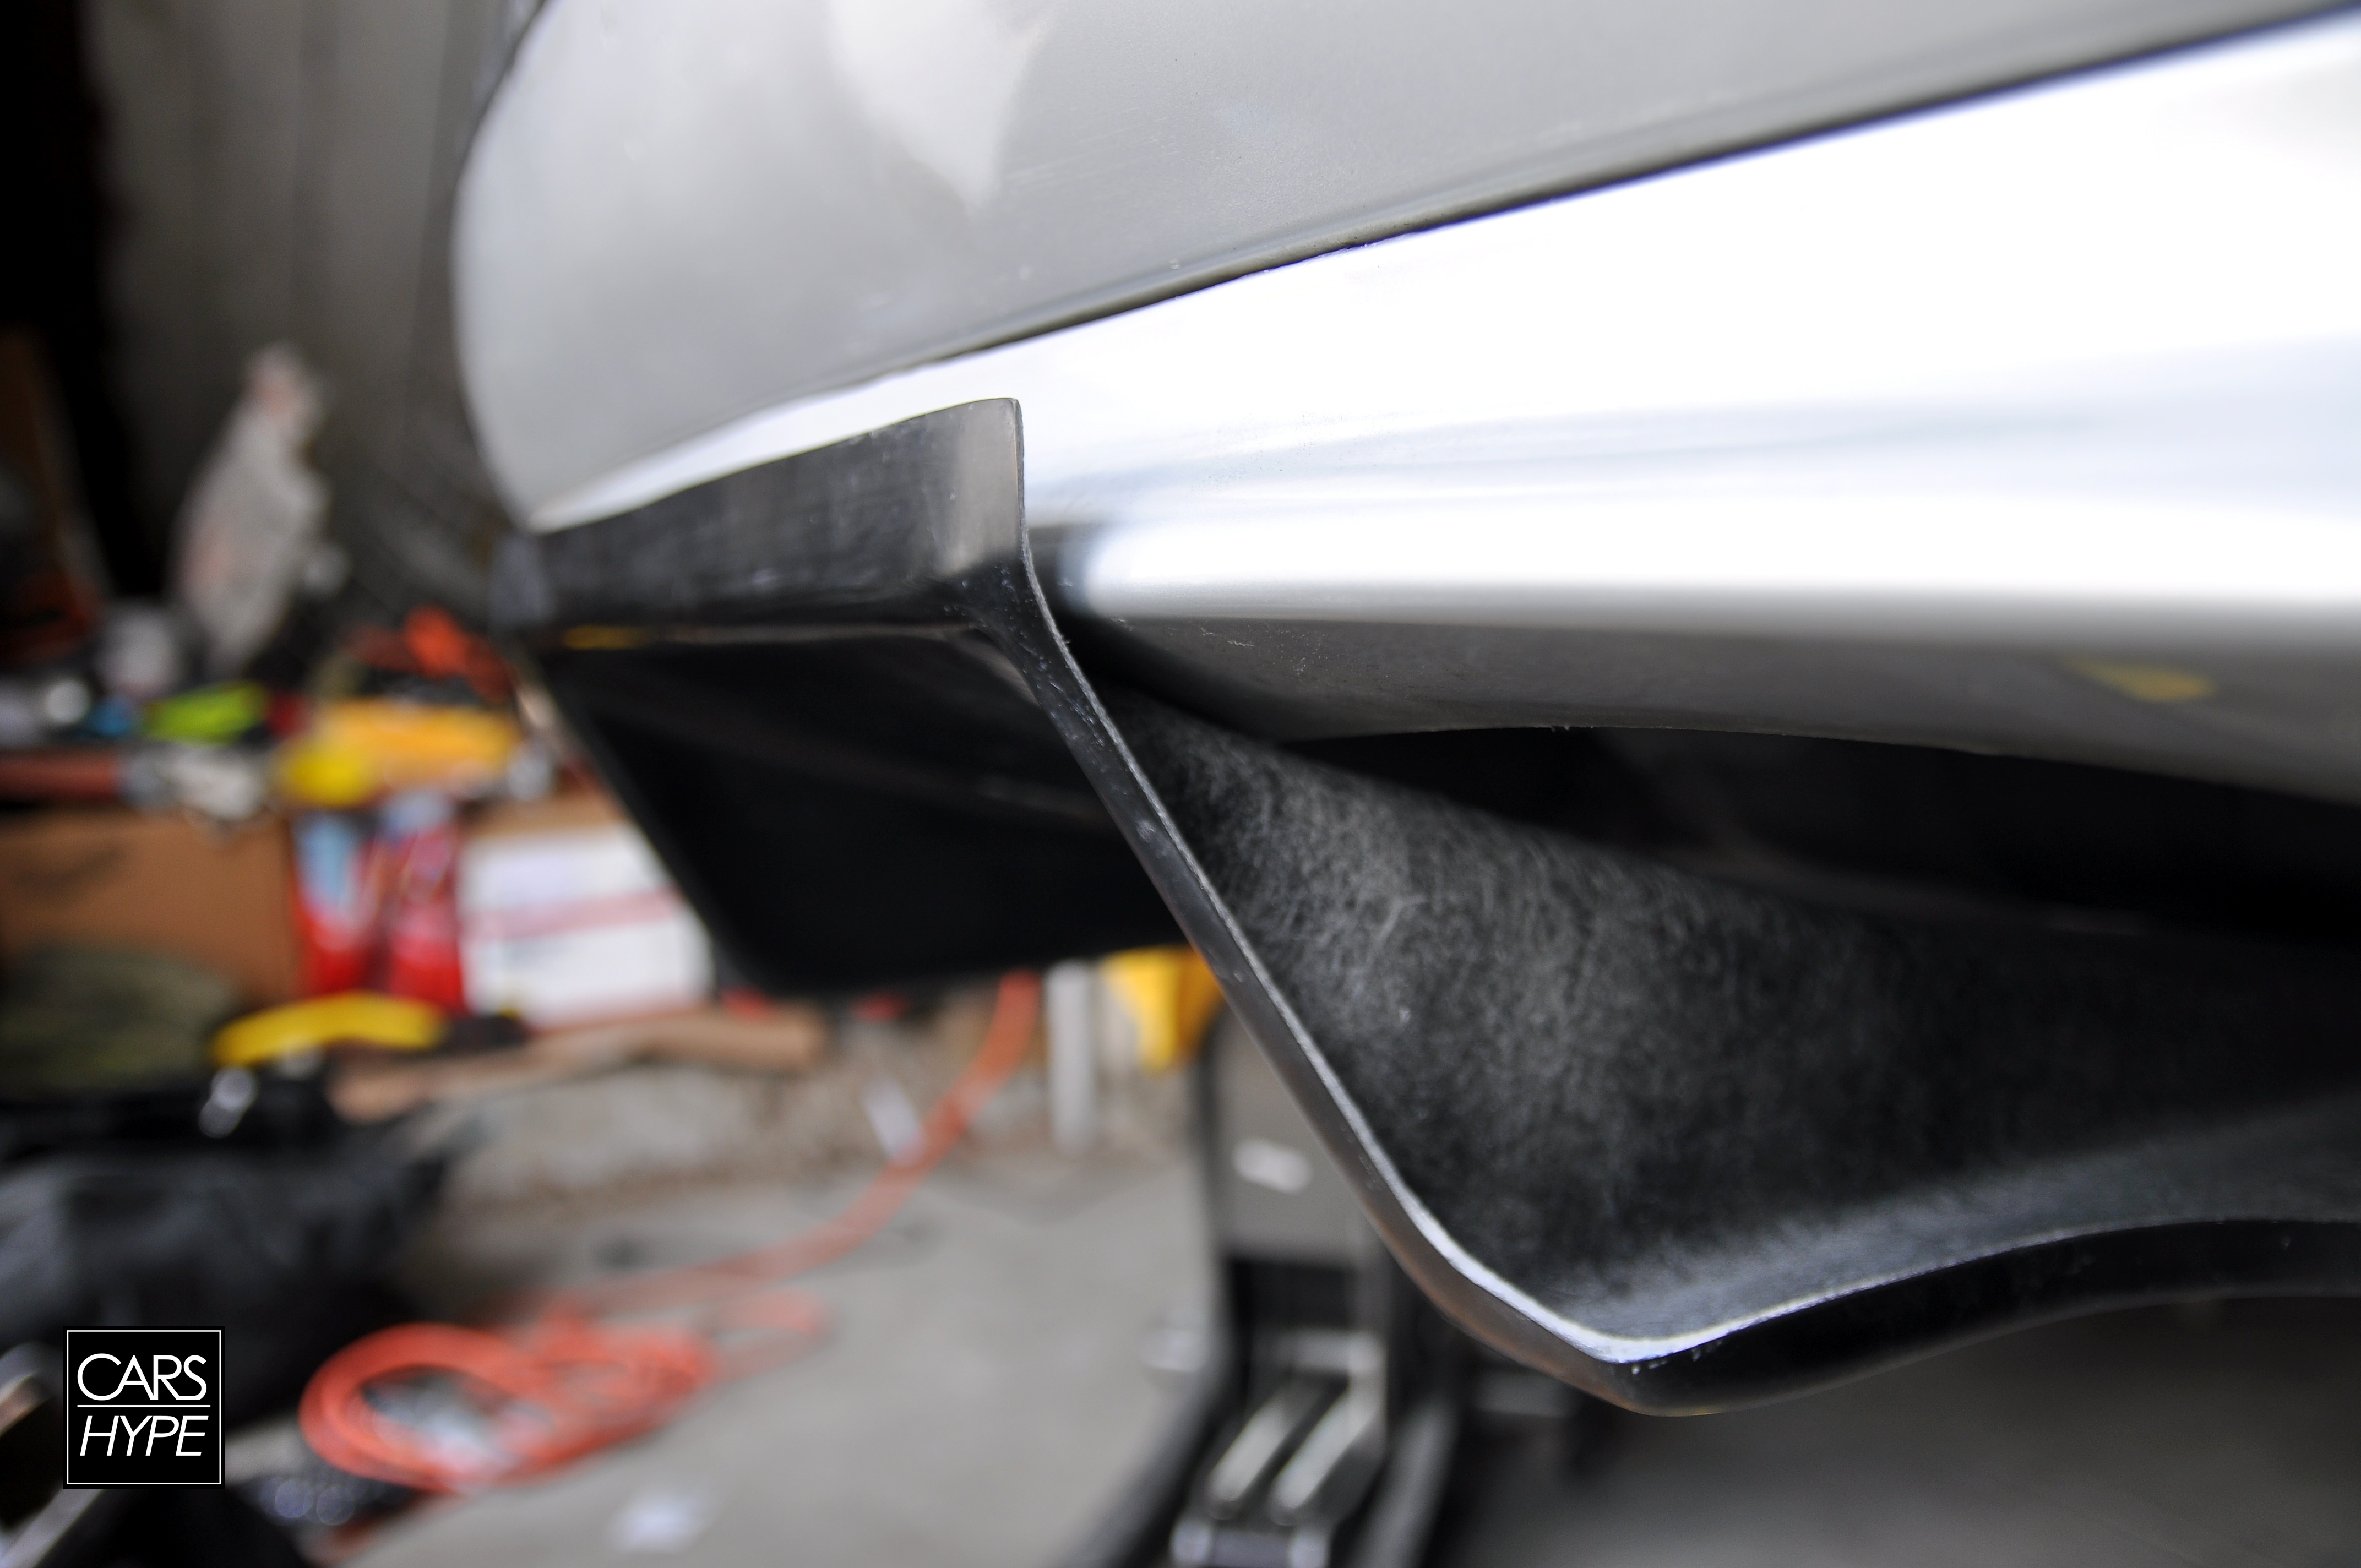
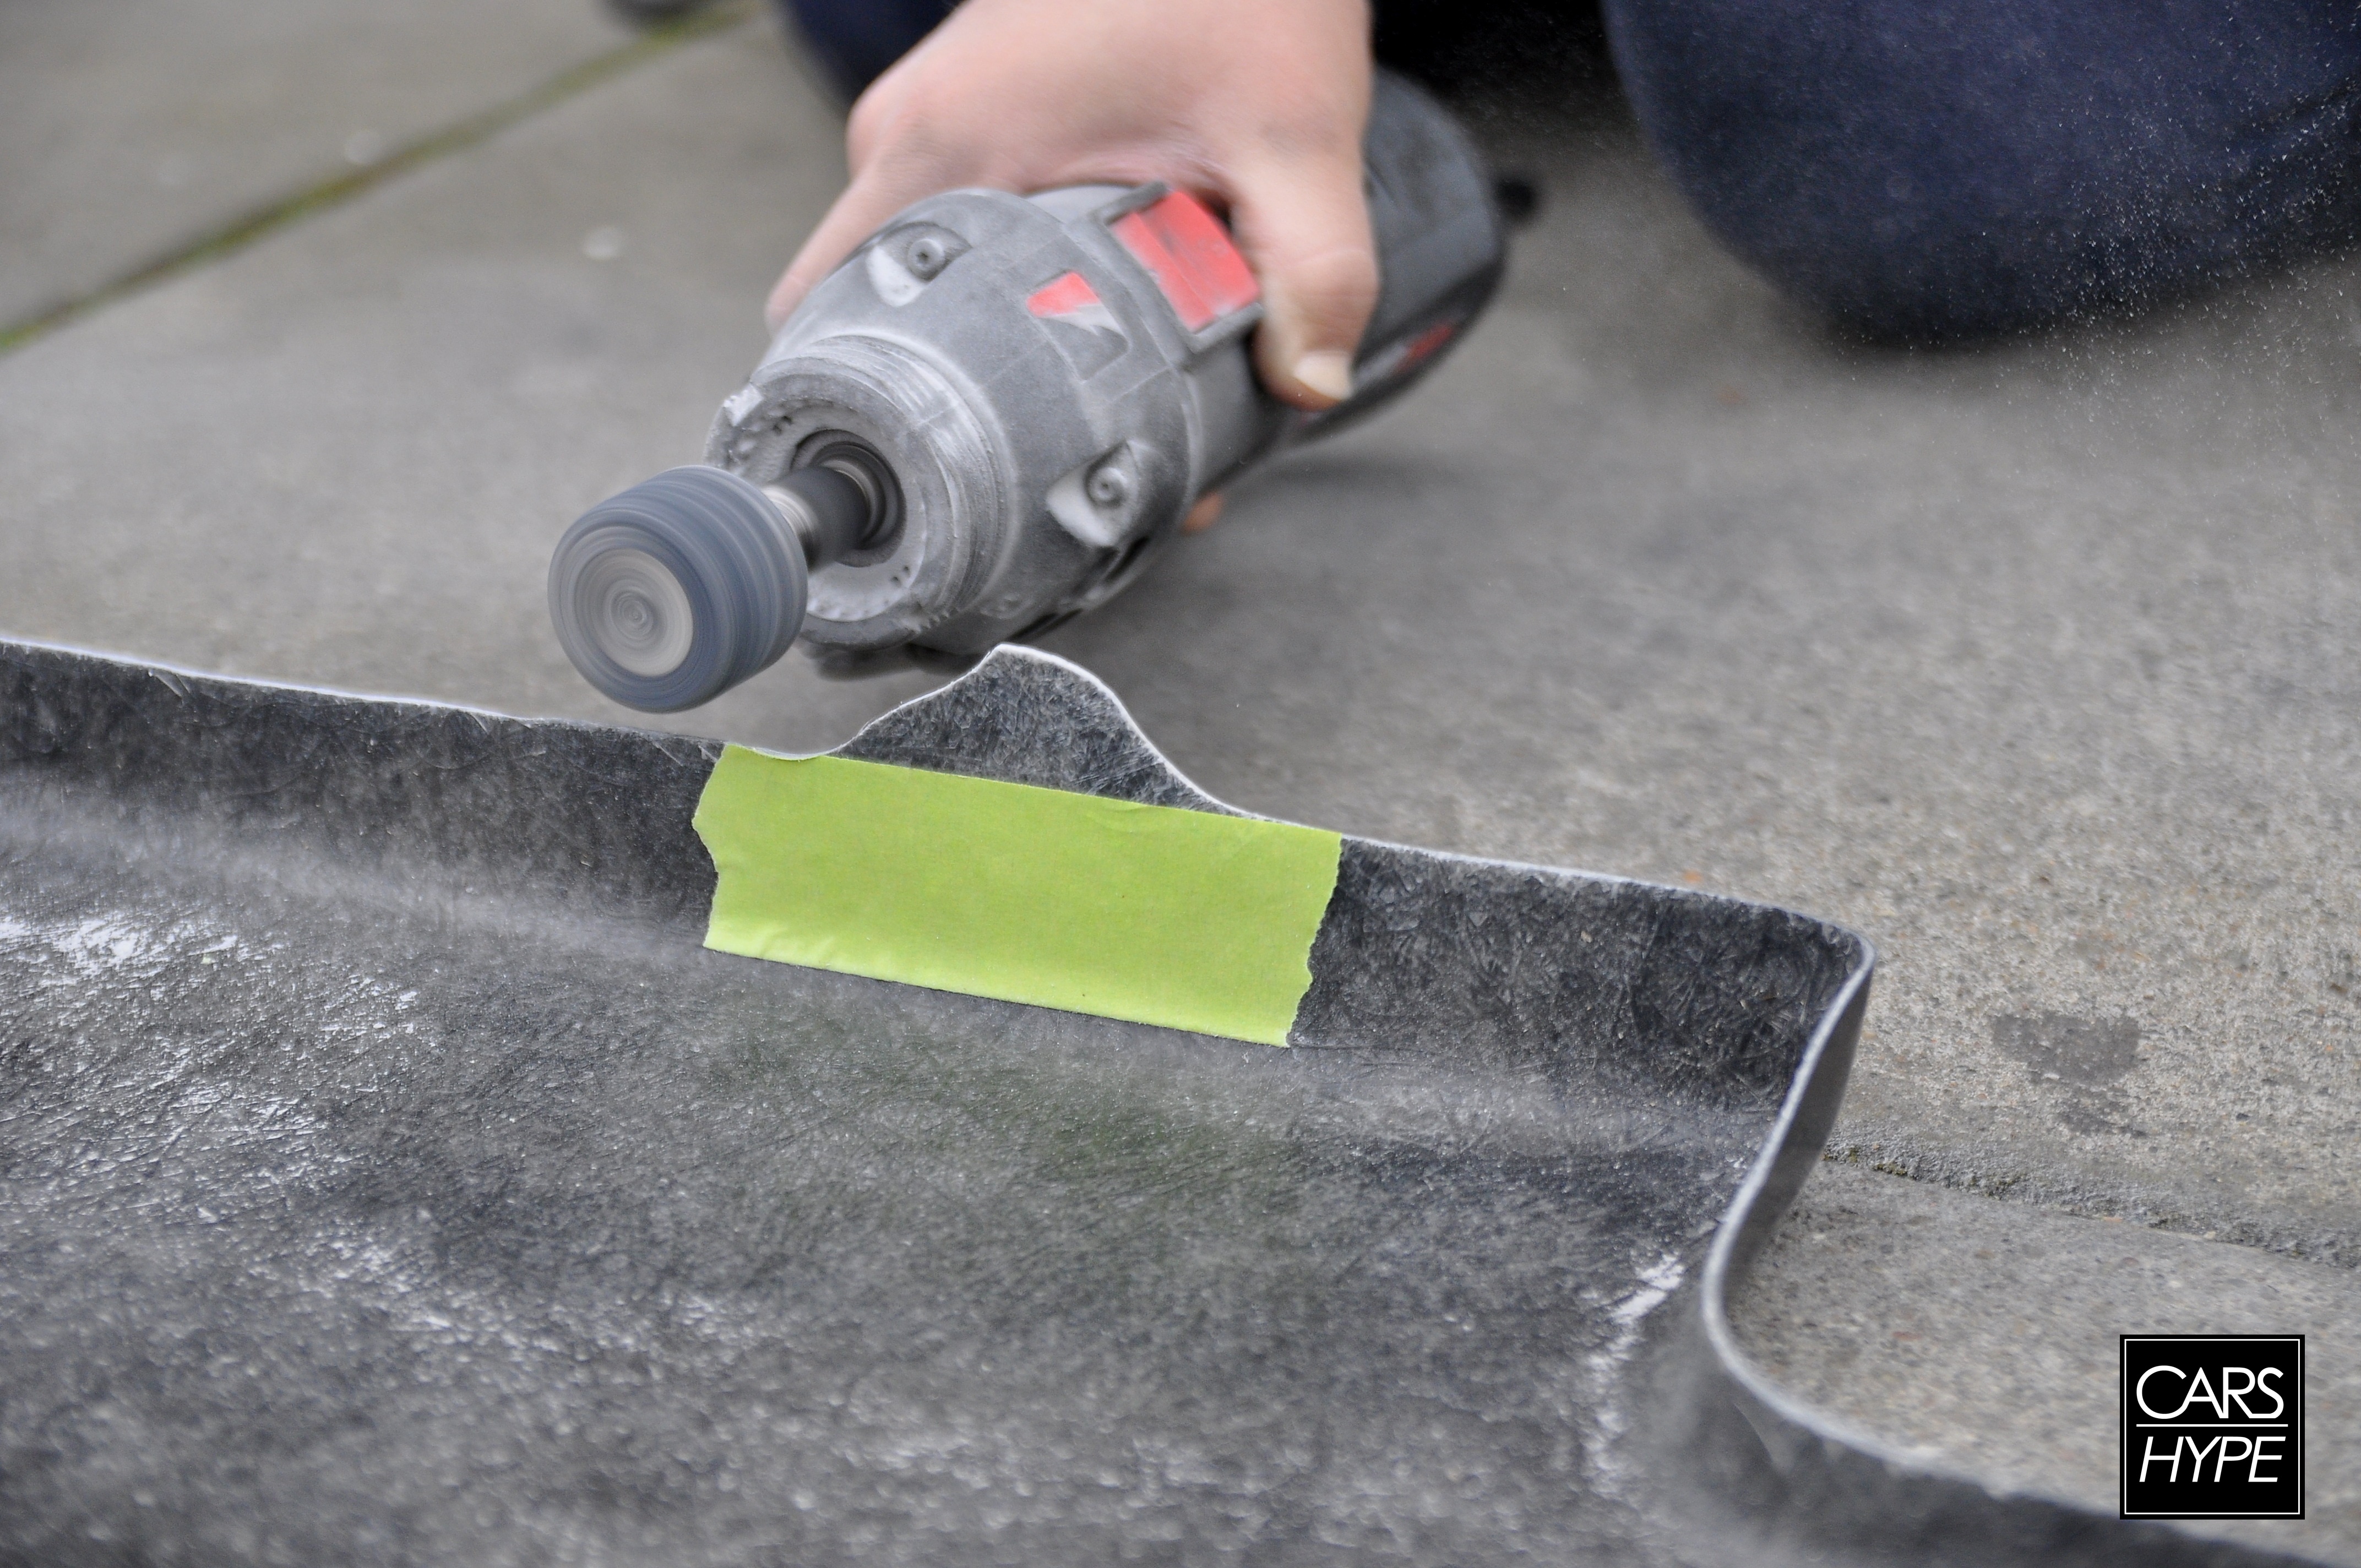
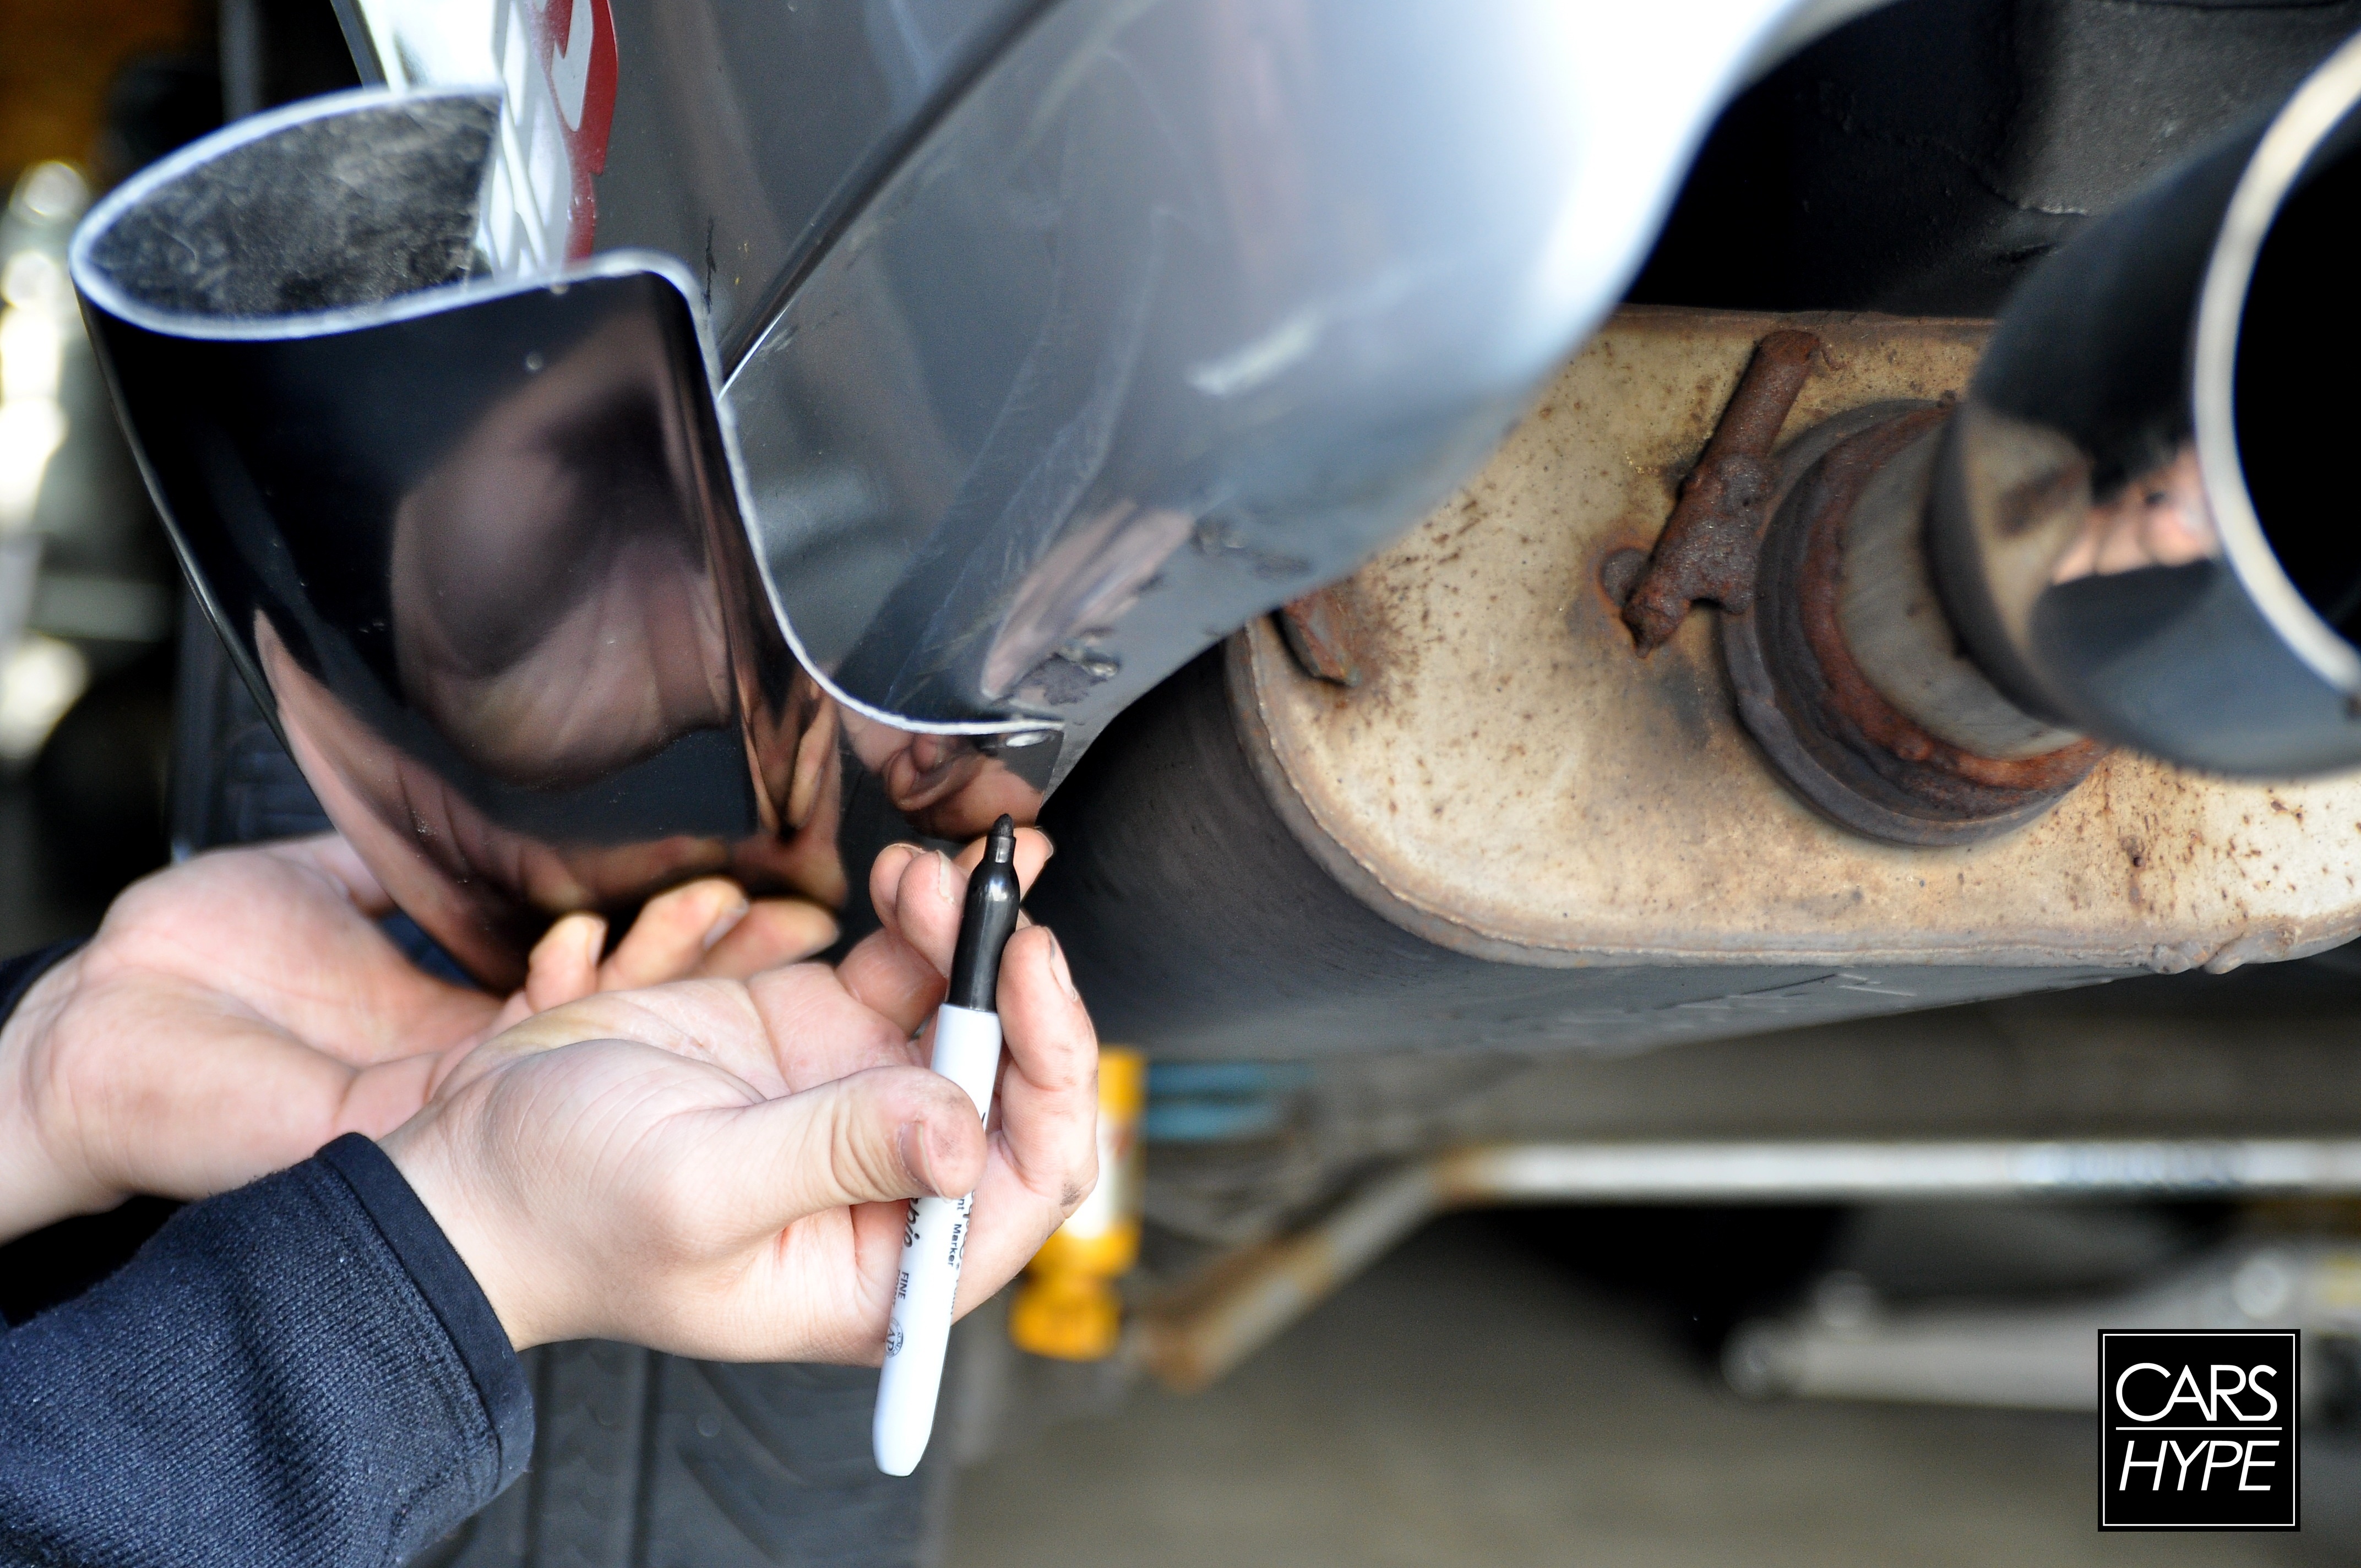
That rear lip; it had to go. the lip didn’t allow us to mount the diffuser flush to the wheel well.

First, we thought just the humps were a problem, then after measuring again, we realized the whole lip did need to go. Cutting off so much diffuser hurt my soul…but nevertheless, we had to do what we had to do.

MEASURE
Measure a hundred times if you have to, this is the part you don’t wanna eff up. we made sure this was dead center.

No seriously, MEASURE, we had 3 sets of eyes looking to make sure it was centered and went back and forth on it about 10 times.

You probably can’t see, but there are bolts sticking up, and thats because…

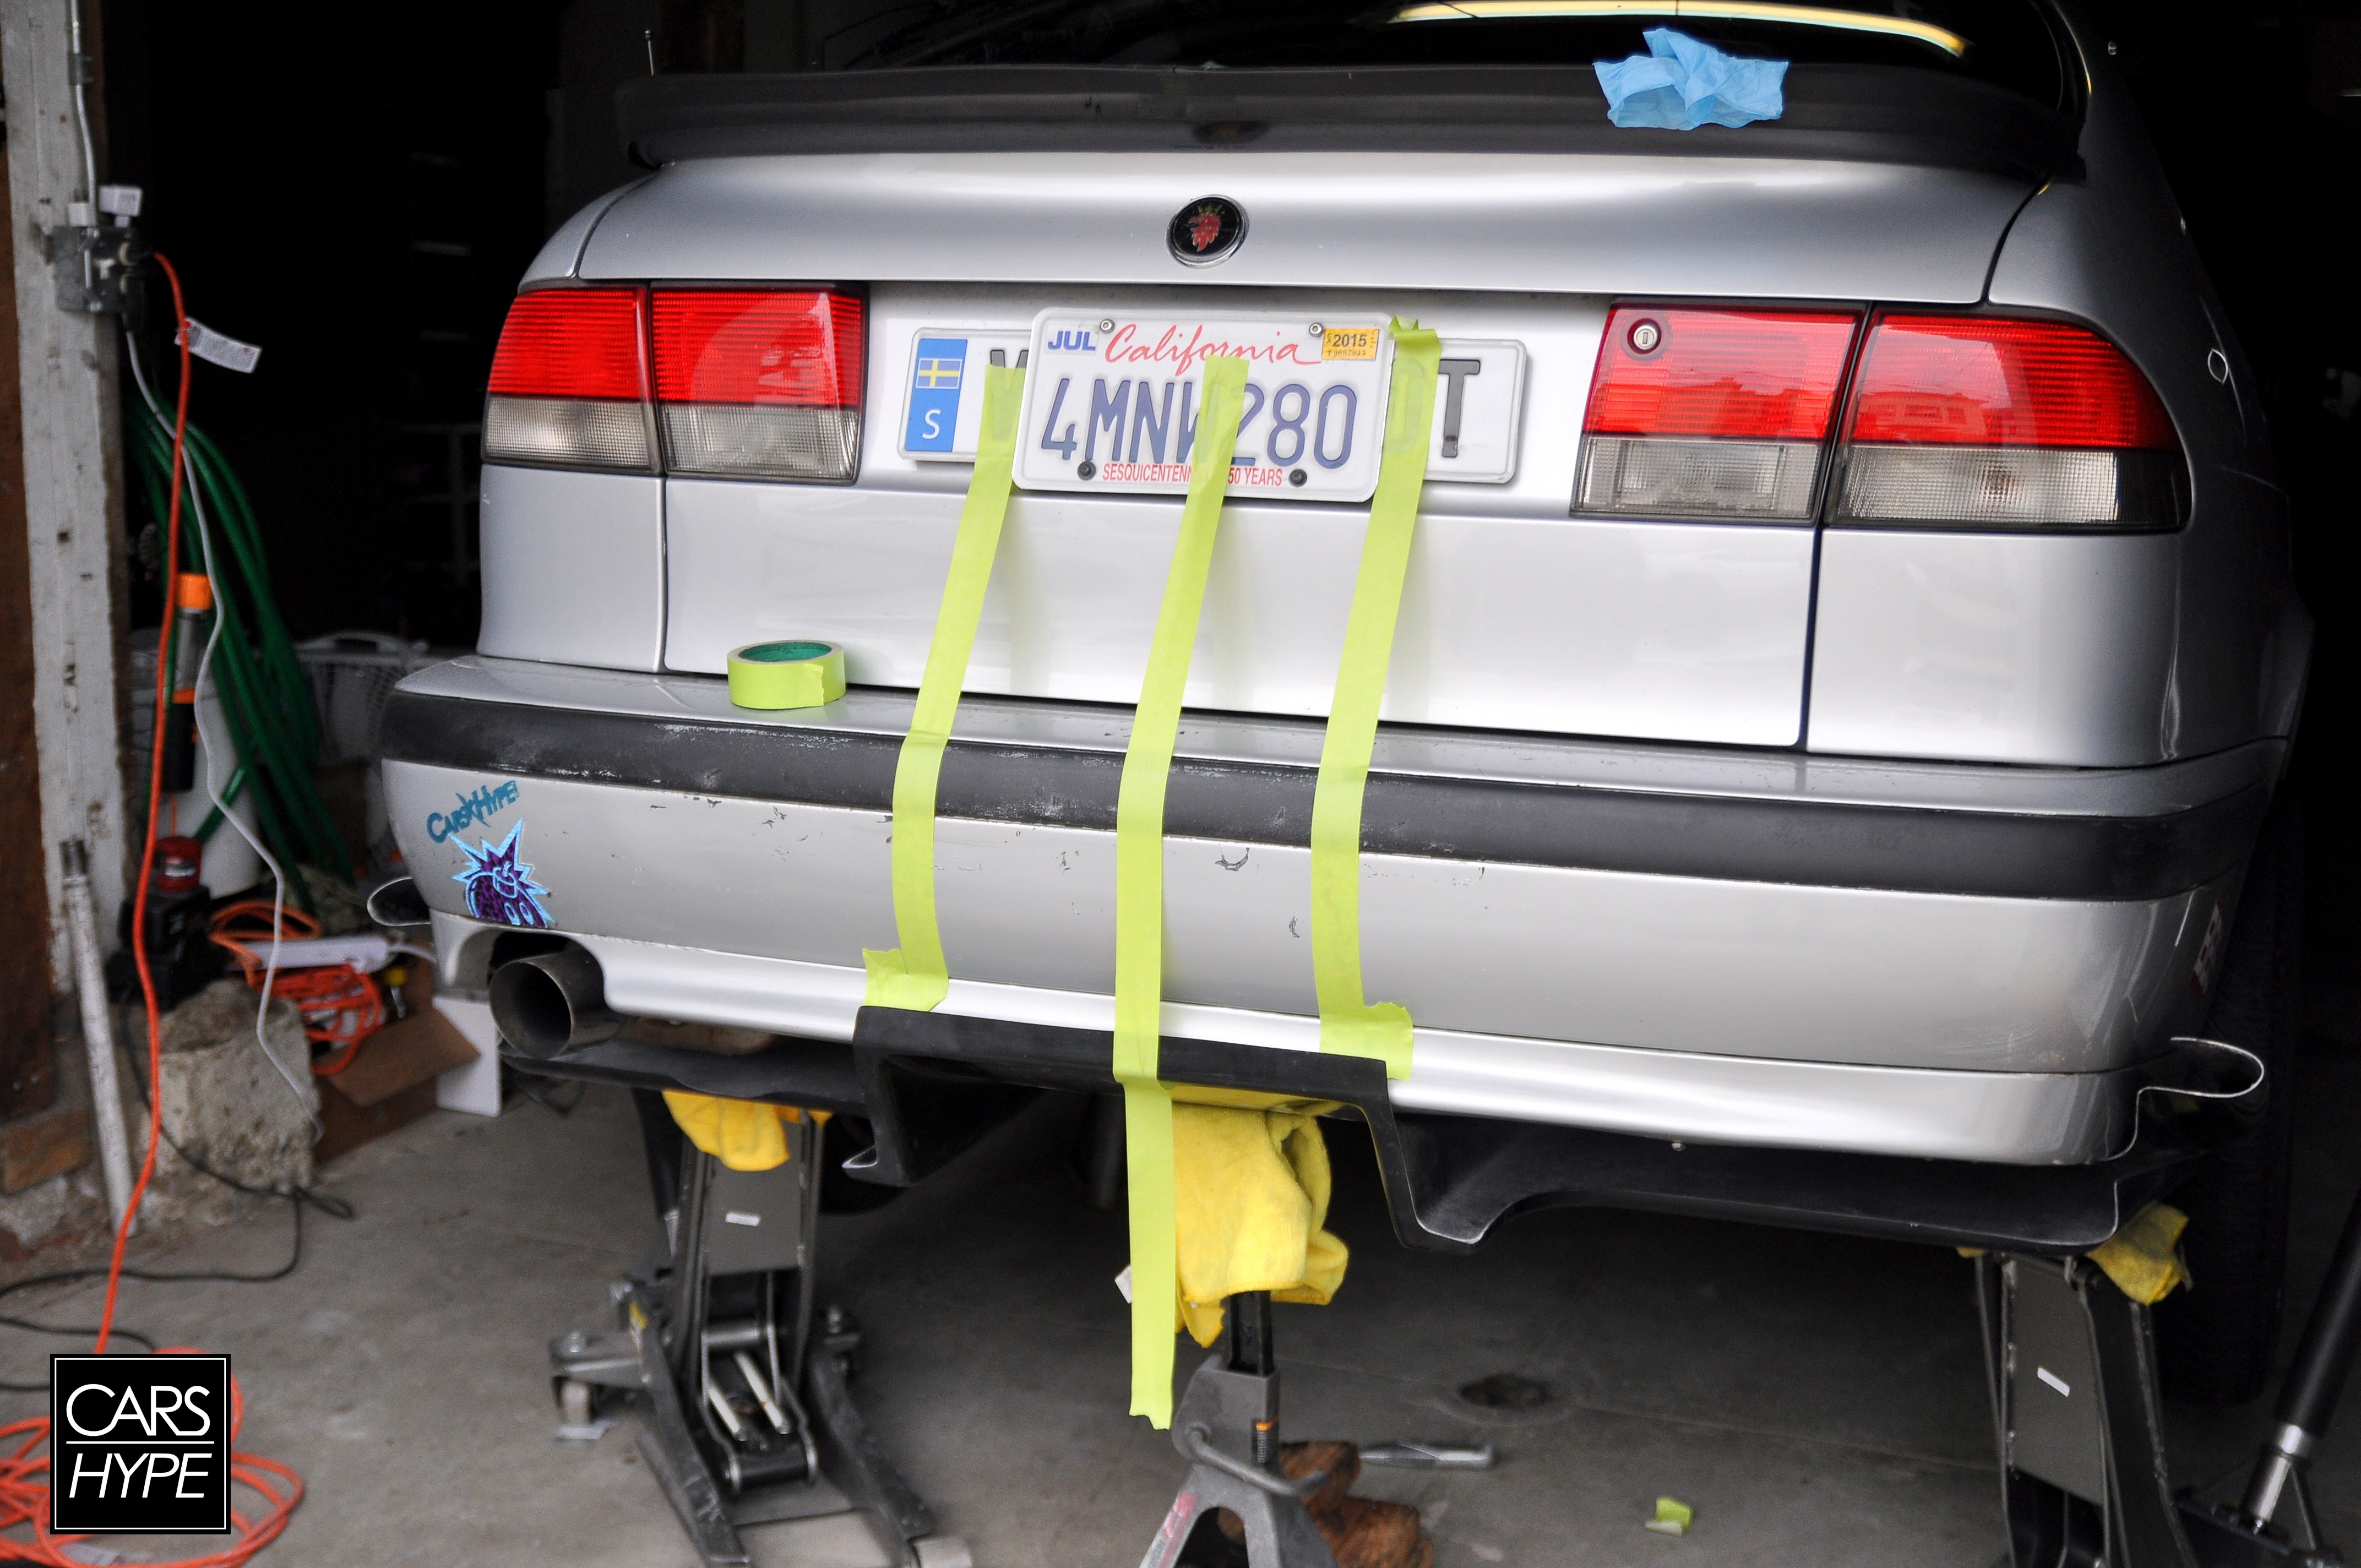
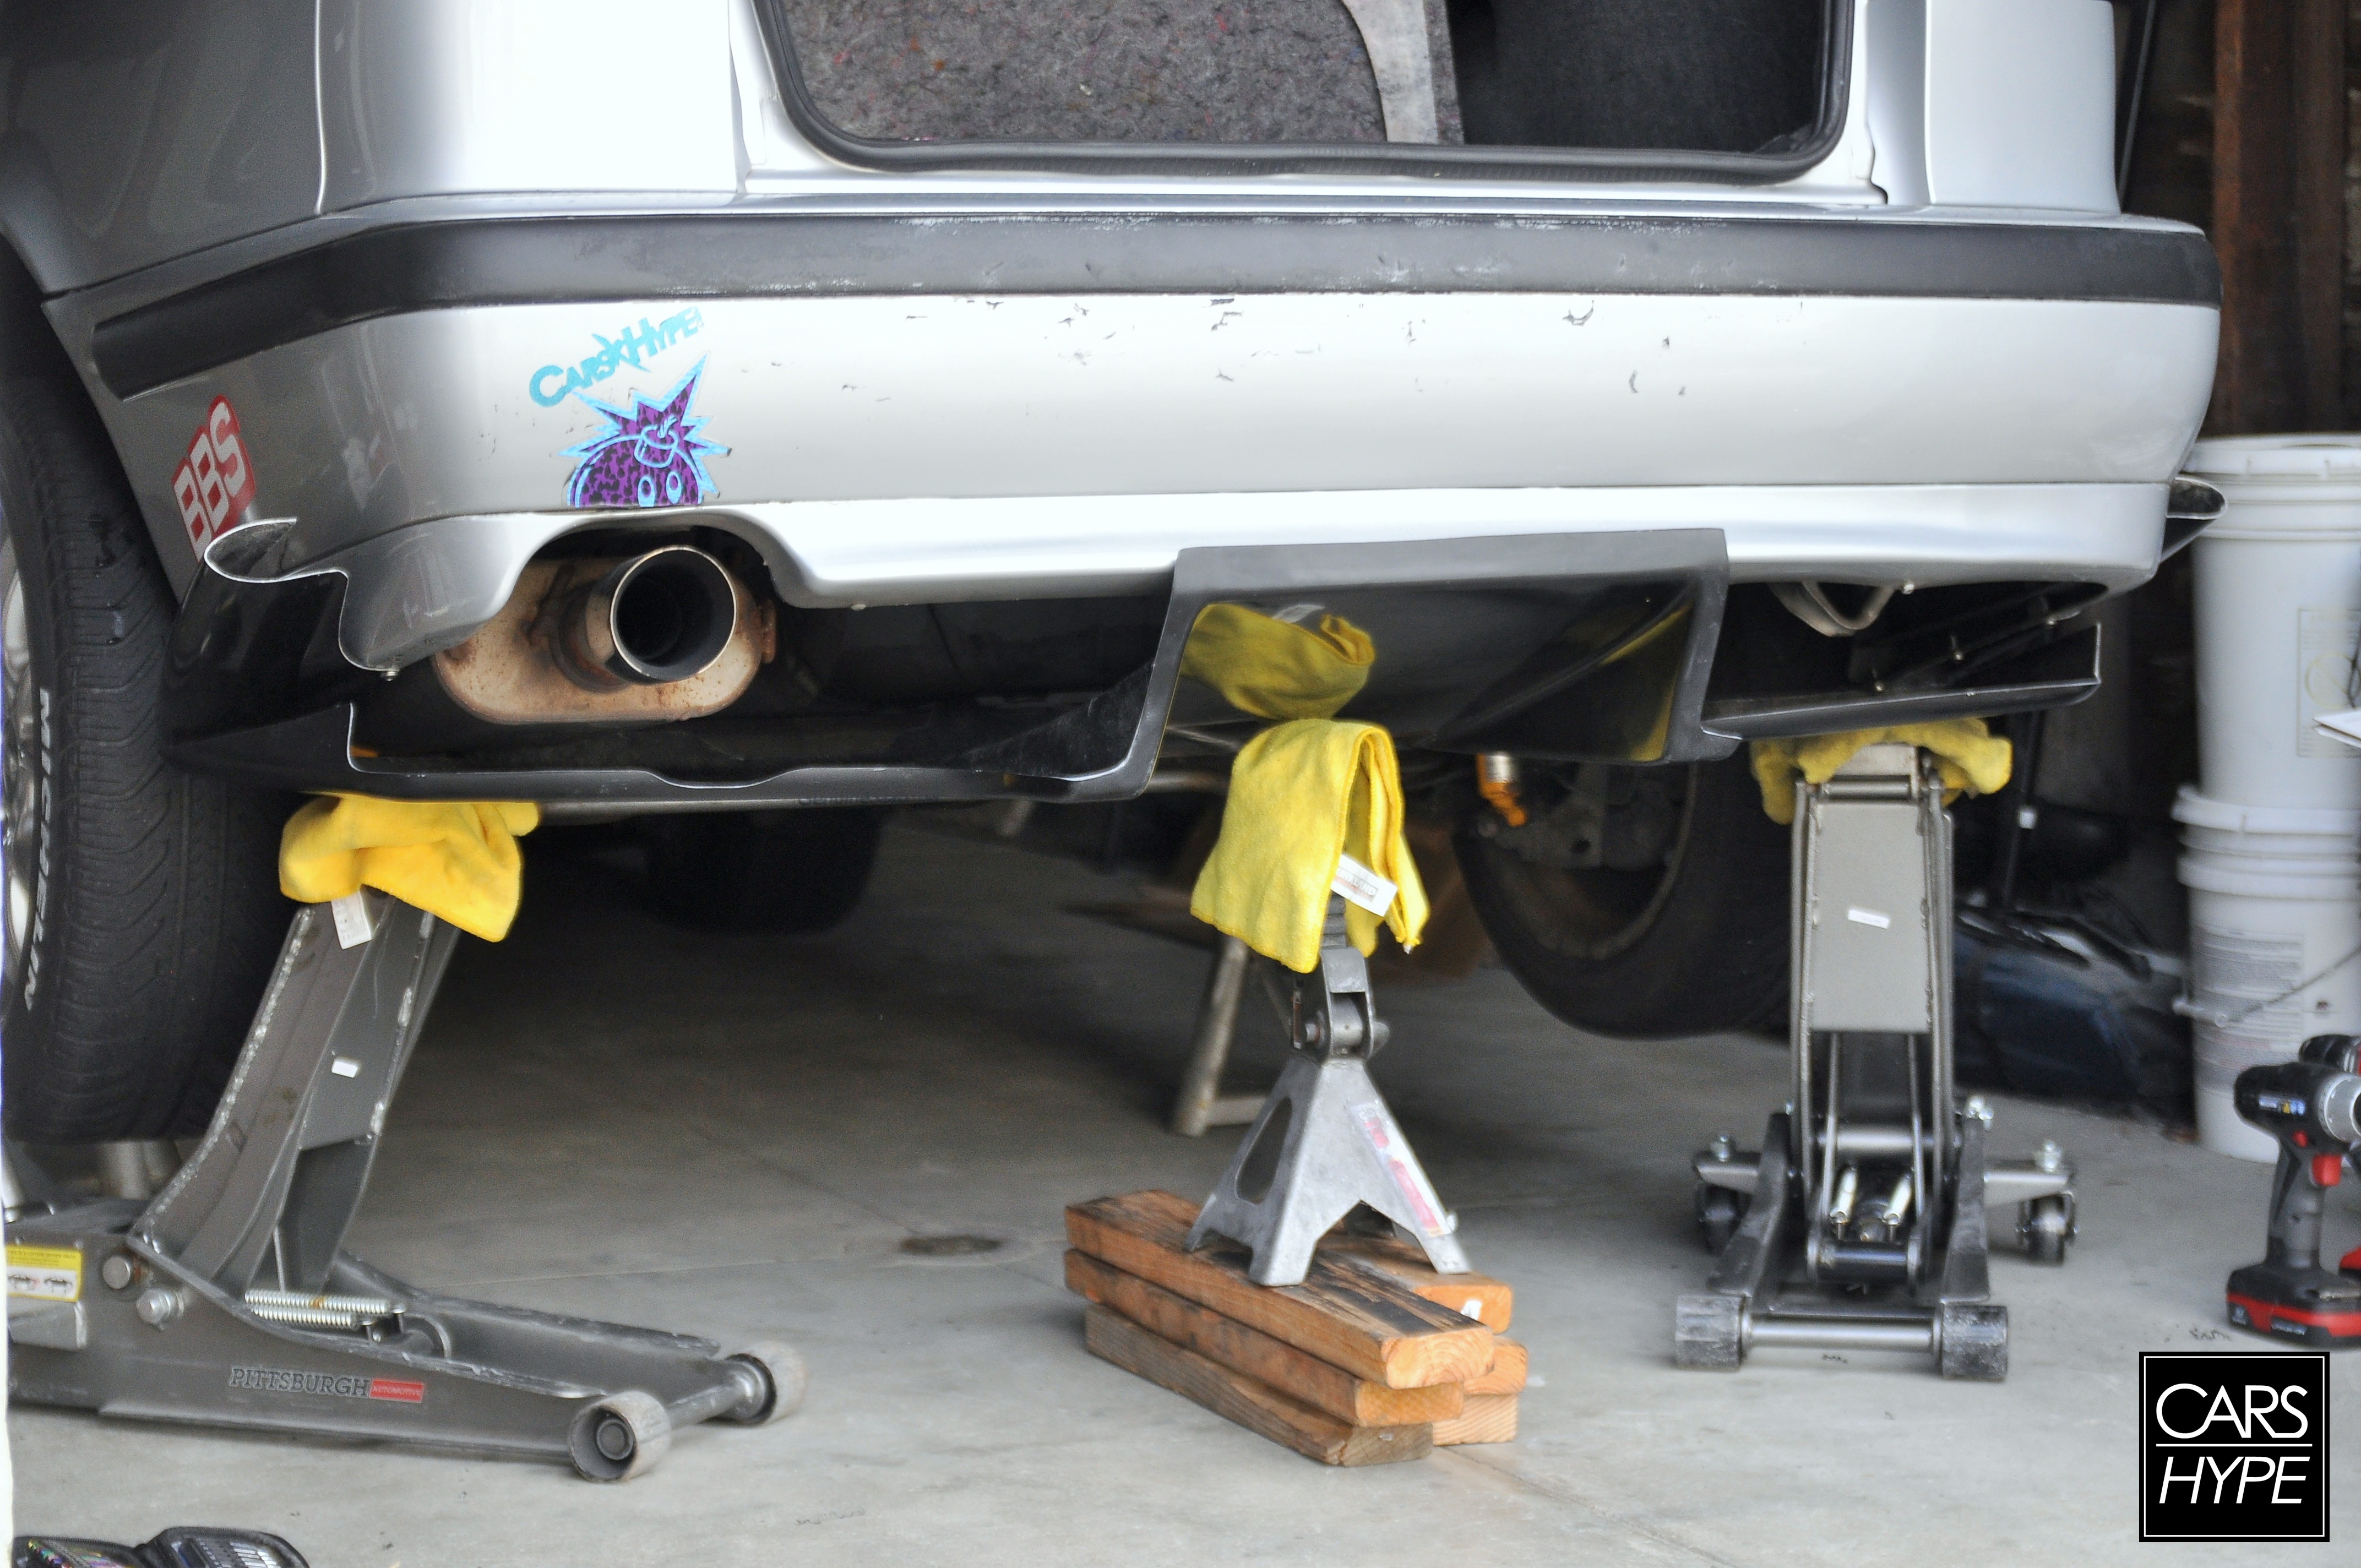
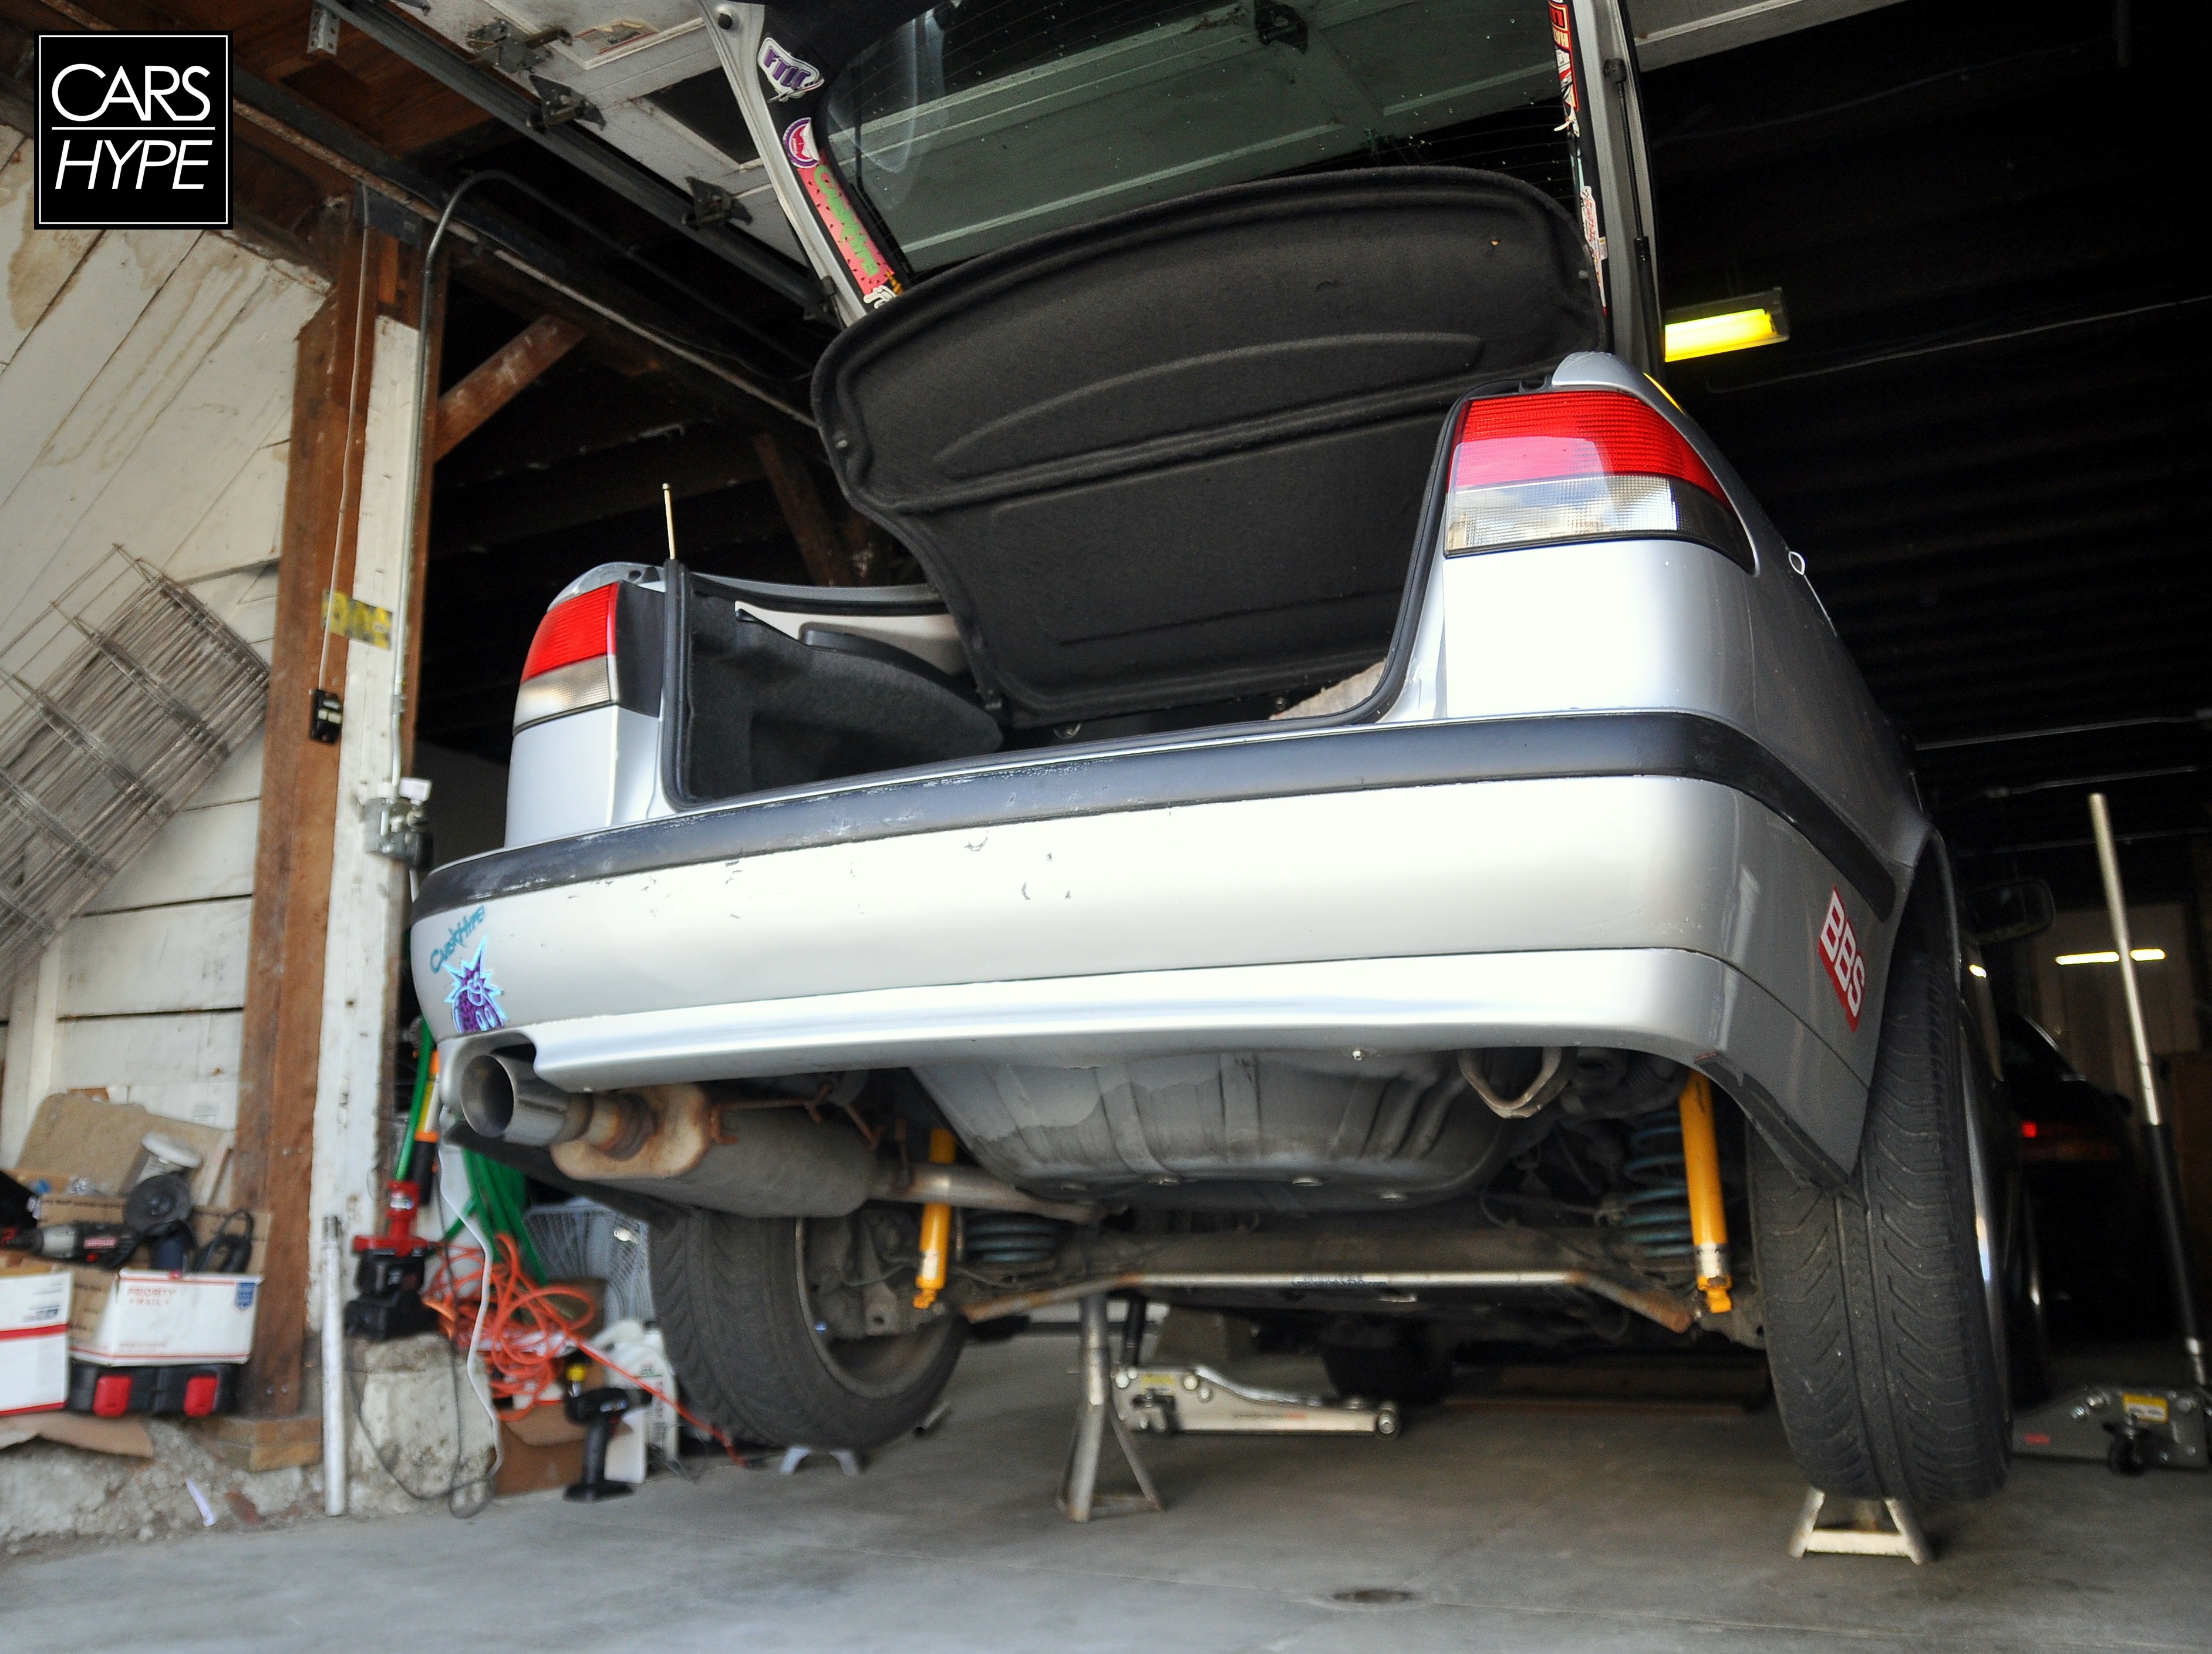
The diffuser is bolted on! The large washers did not come with the kit, they were about $0.20 each at Home Depot. They’re not necessary, but I felt more comfortable using them. Drilling from the top down is most optimal because you have more force and leverage to drill through the metal and you can more easily evenly space out your bolts using the marks on the wheel well. You definitely want between 2-3 people for this project. 1 underneath holding the diffuser, 1, drilling the holes, & 1 spotting making sure that A. the diffuser doesn’t move and B. the guy holding the diffuser doesn’t get his hand drilled through (Thanks Geremy).

What are the chances the angle that the SAAB lip had, matched up near perfectly with the slope of the diffuser! Meant to be I tell ya! We left the lip sticking out for a more aggressive look, but it could easily have been cut to be totally flush.

Next thing was to add two bolts here to support the diffuser.

We don’t have pictures of this unfortunately, but we did need to purchase two 4 inch long bolts. This was to mount to the side of the diffuser. The bolt went through the bottom of the diffuser through the center screw hole of the vortex generator to the bumper. In all honesty, this was one of the most challenging parts. In addition to that, we put another bolt from the diffuser through the vortex generator screw hole (most proximal to the wheel) to ensure the diffuser would not move.

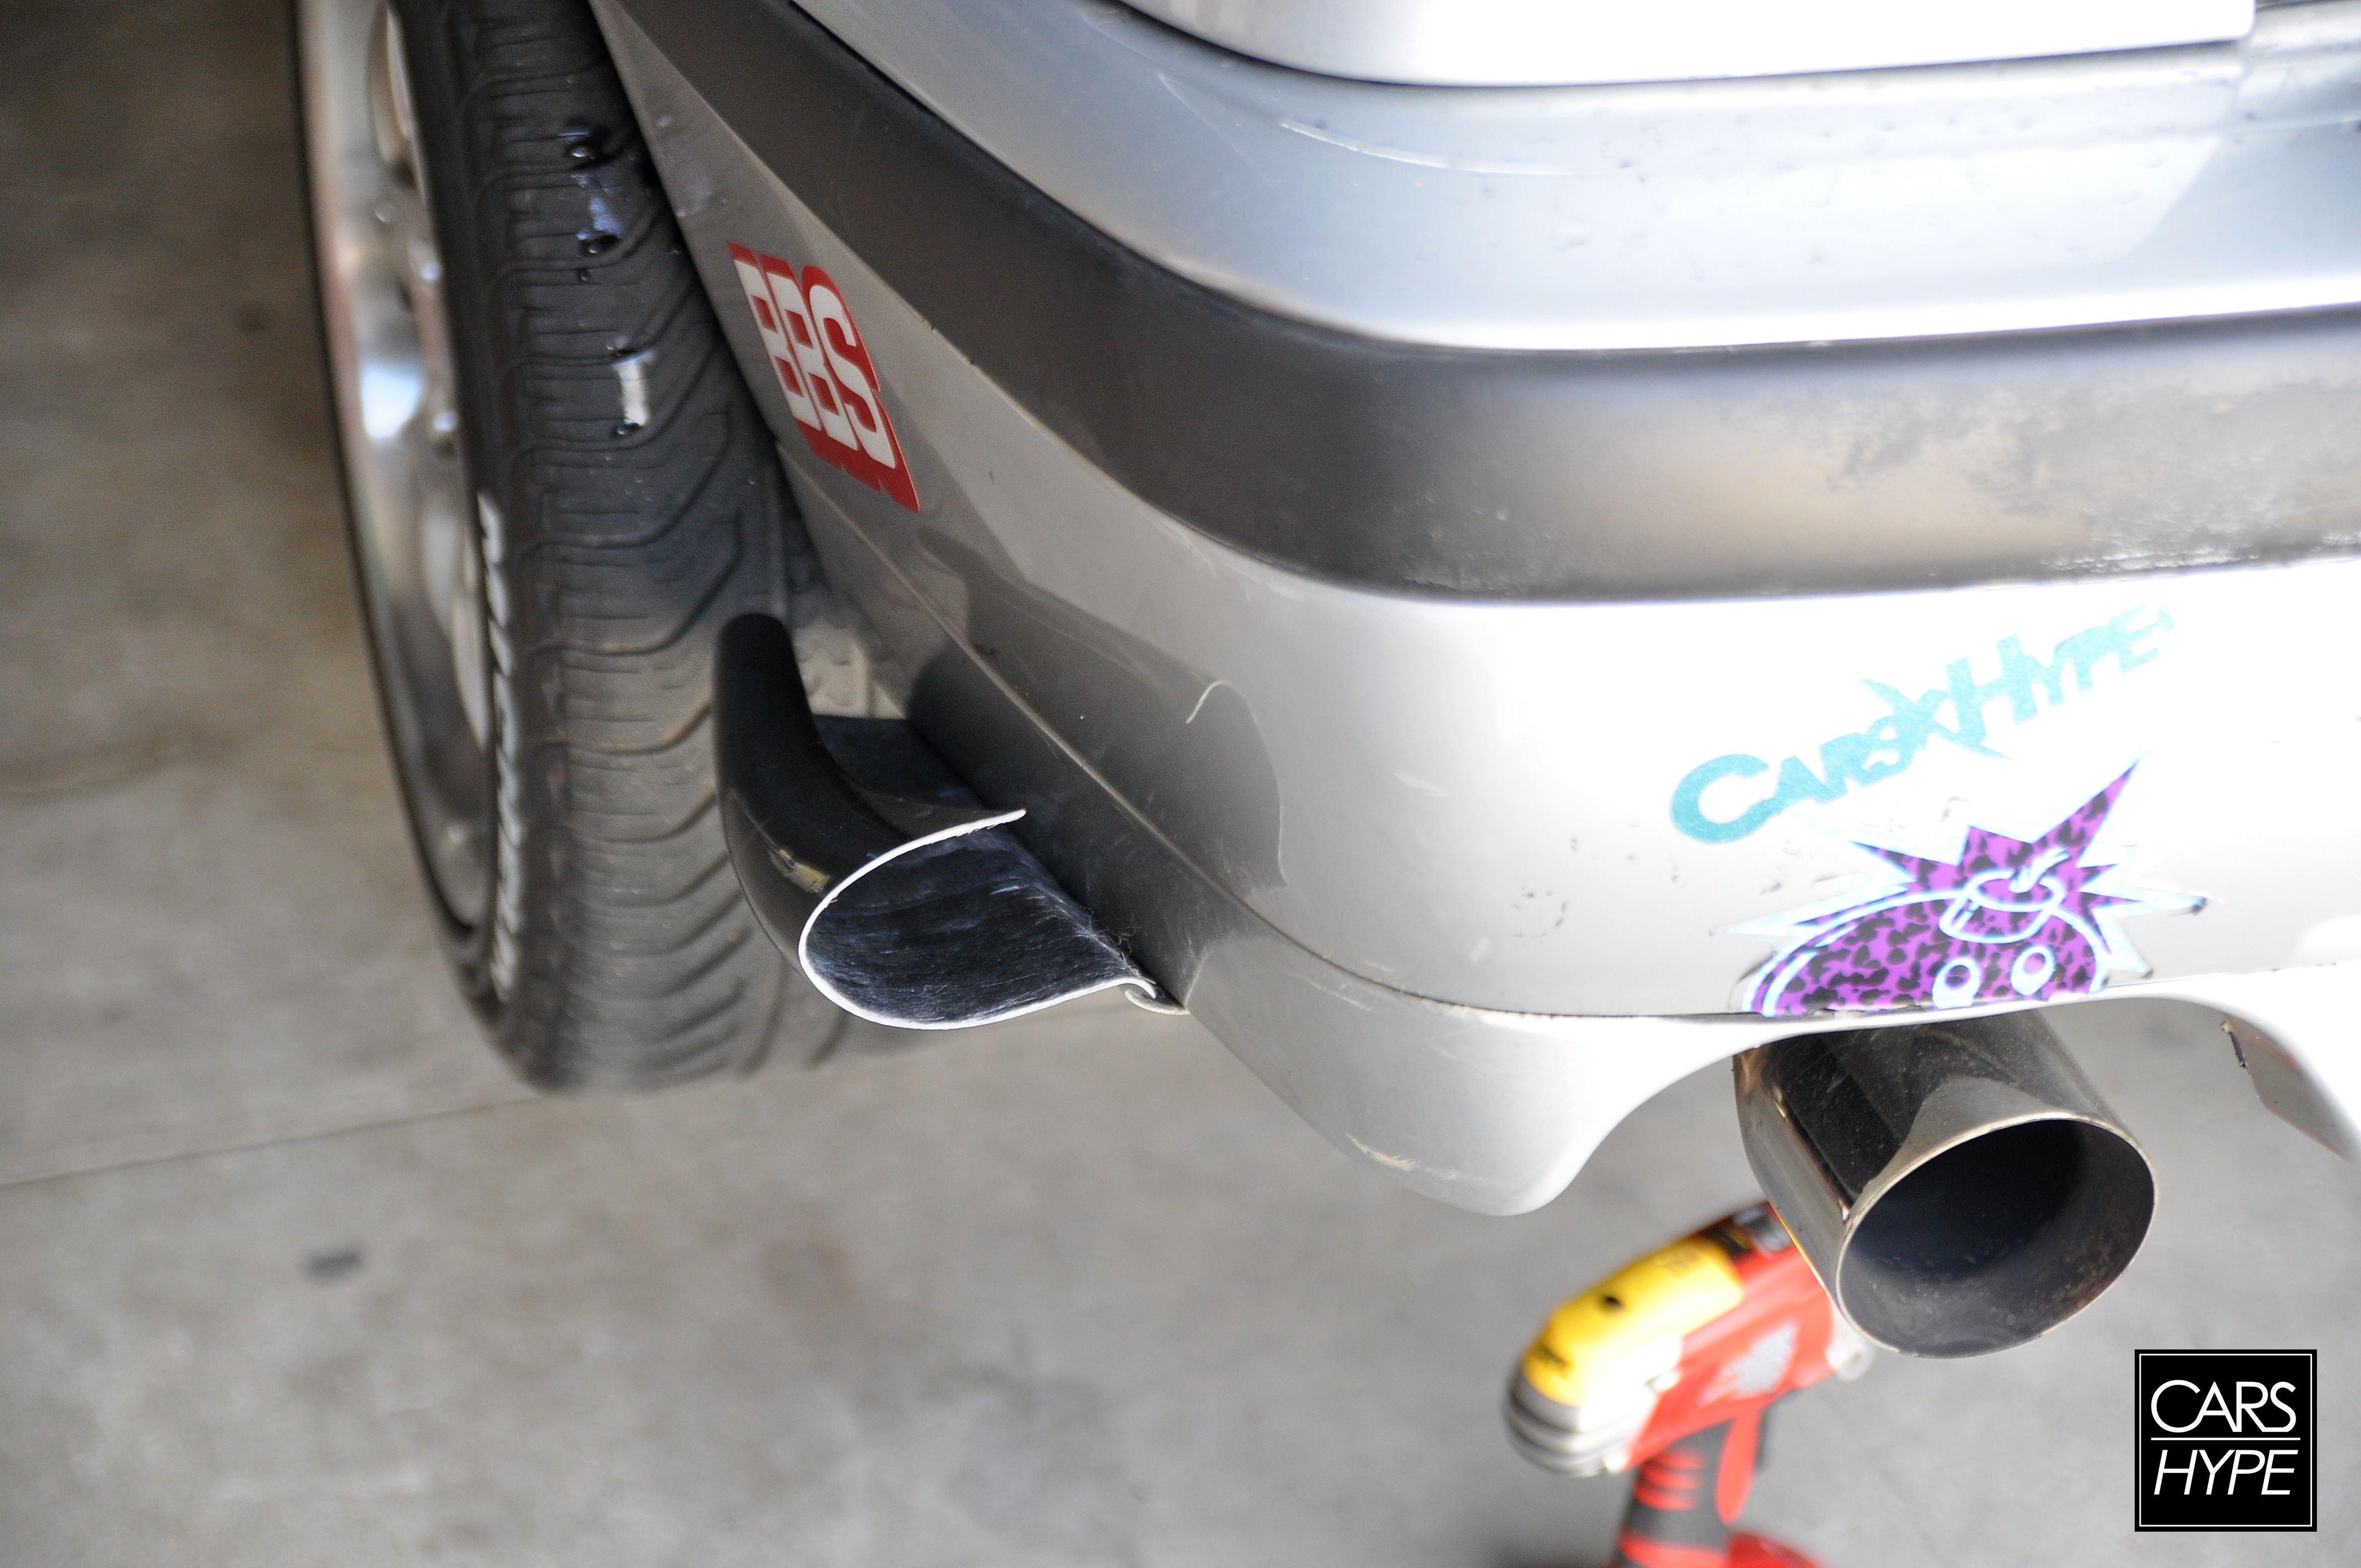
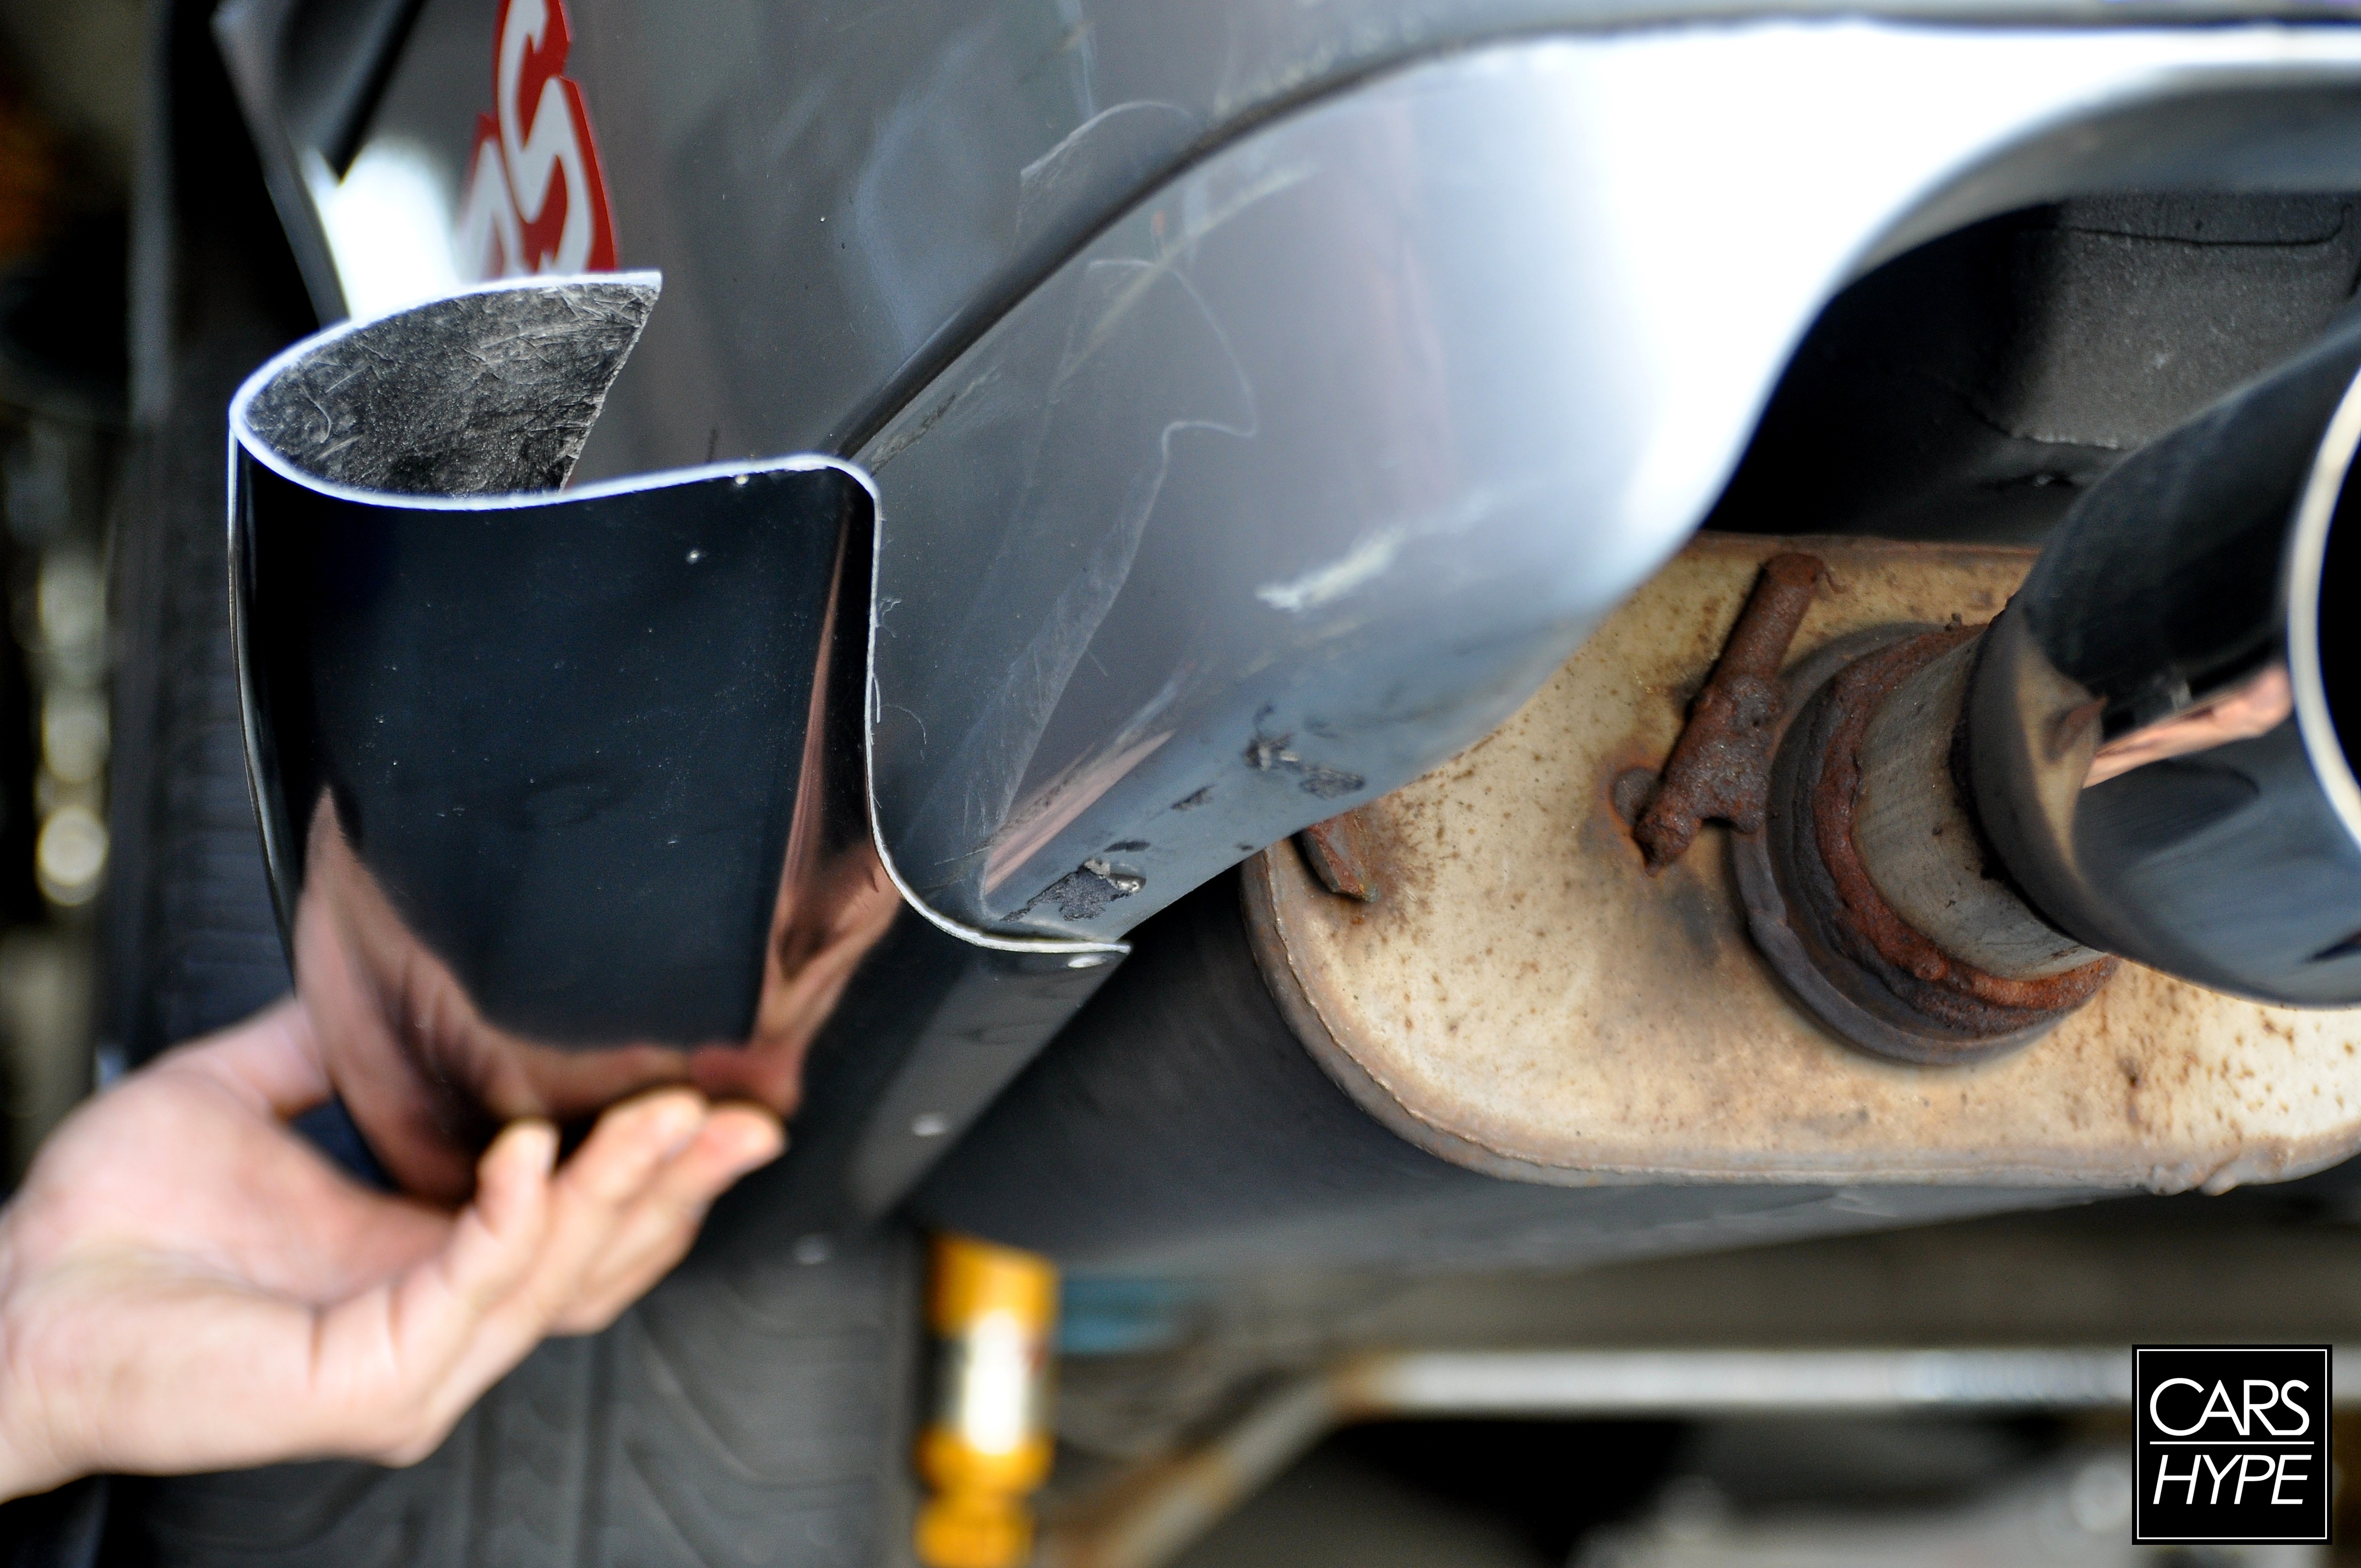
Also, my muffler (which will be changed, I know it looks hideous) was partially wrapped with thermal tape in the spots it came close to the diffuser so we don’t encounter and melting or flaming issues.

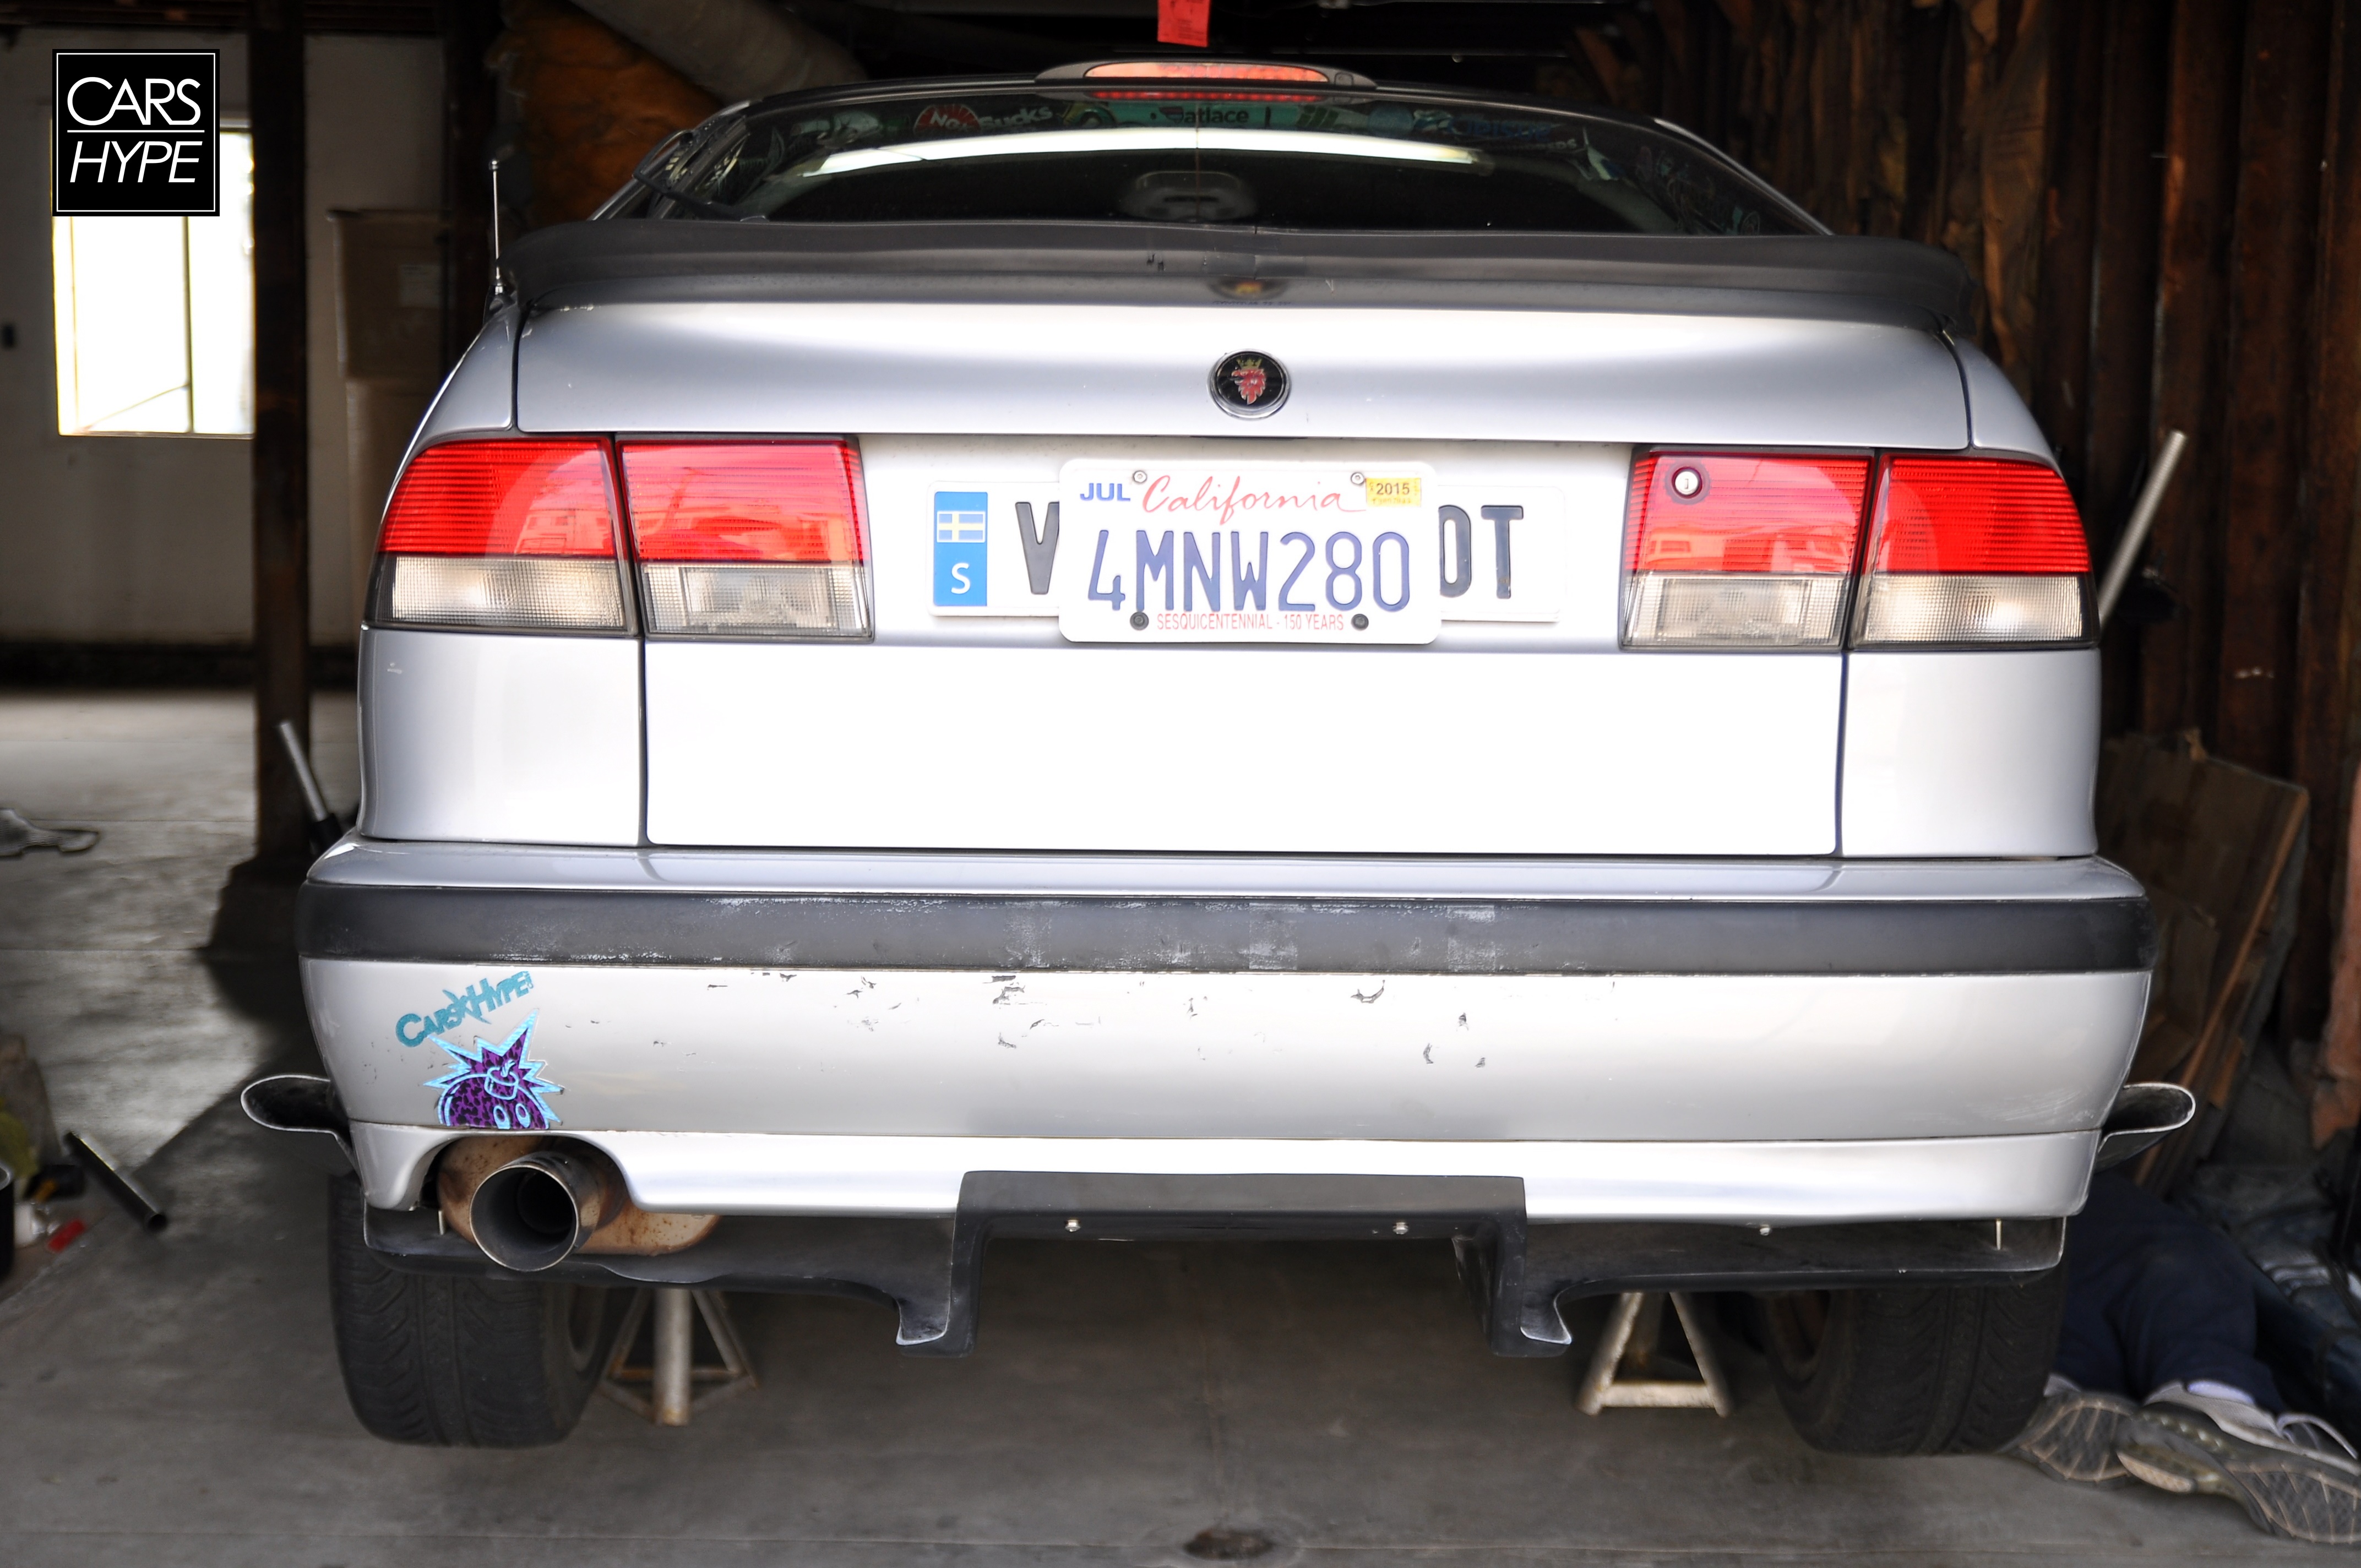
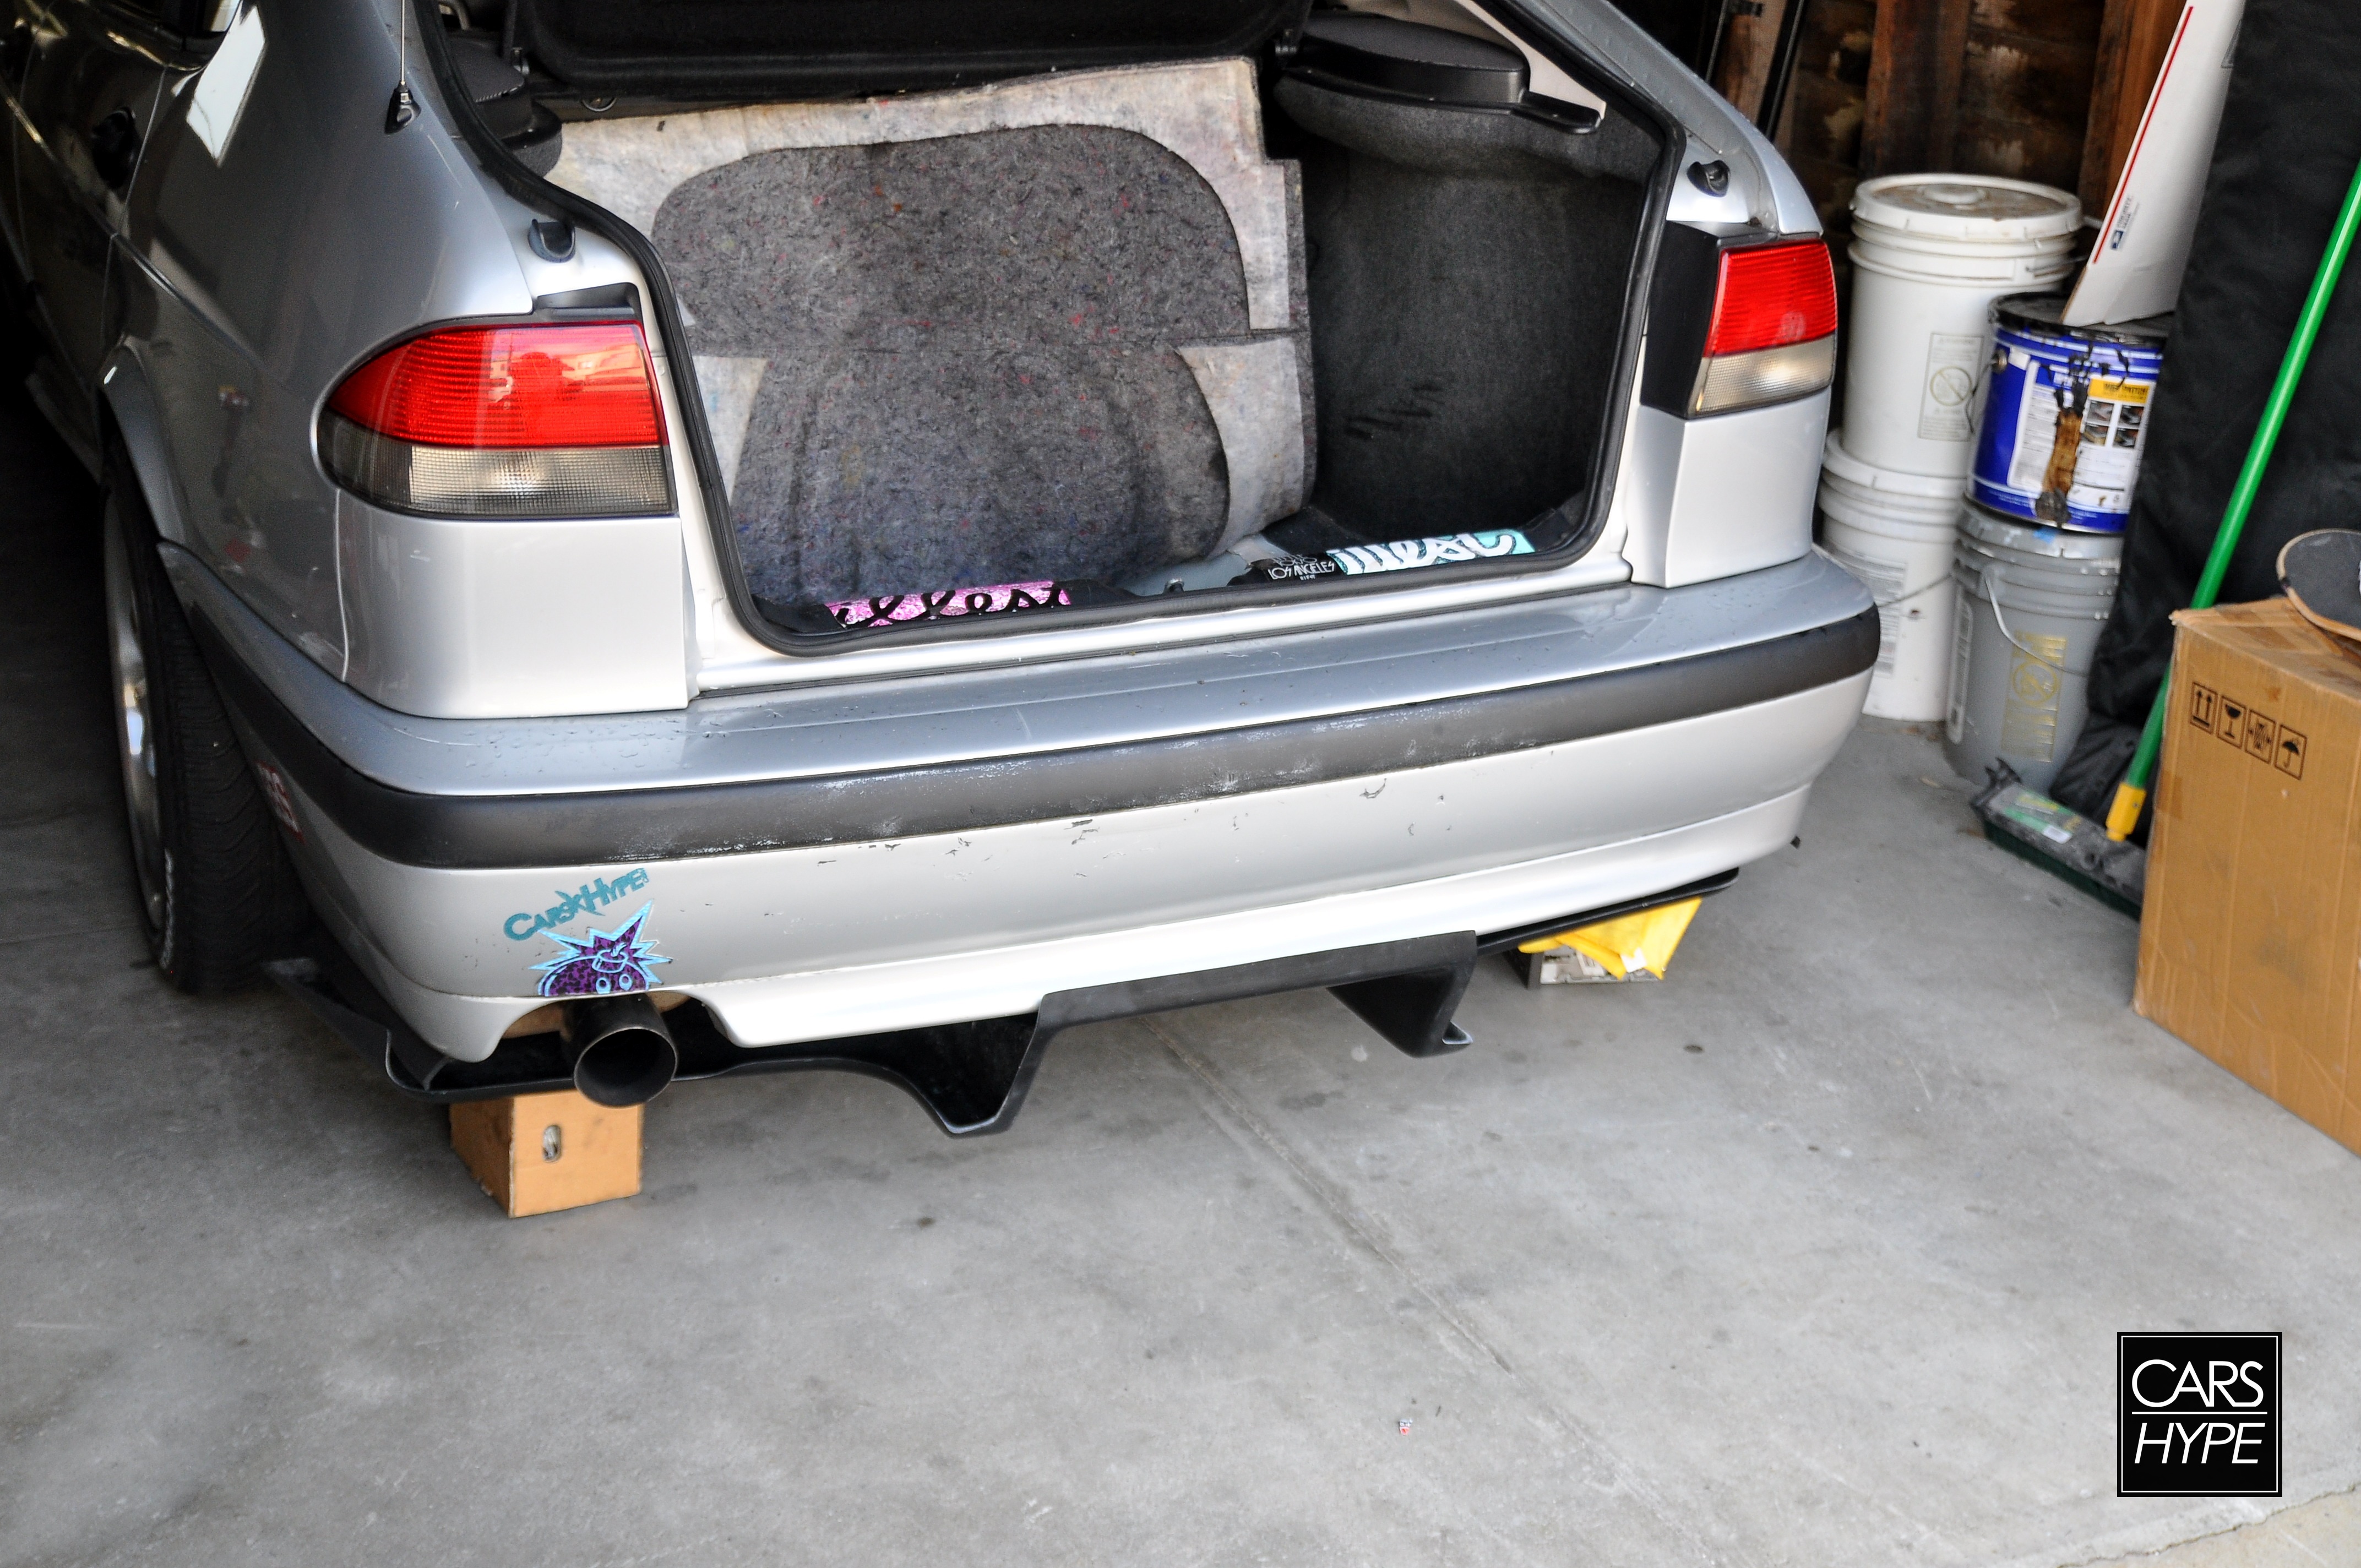
There she is, all finished. Total time, including lunch and trips to the hardware store, approx. 5 hours.
I love it, it looks great and is something to stand out a little bit more. Big thanks to Geremy Lewis and Reg Rivera for all their help, certainly could not have done it without them.

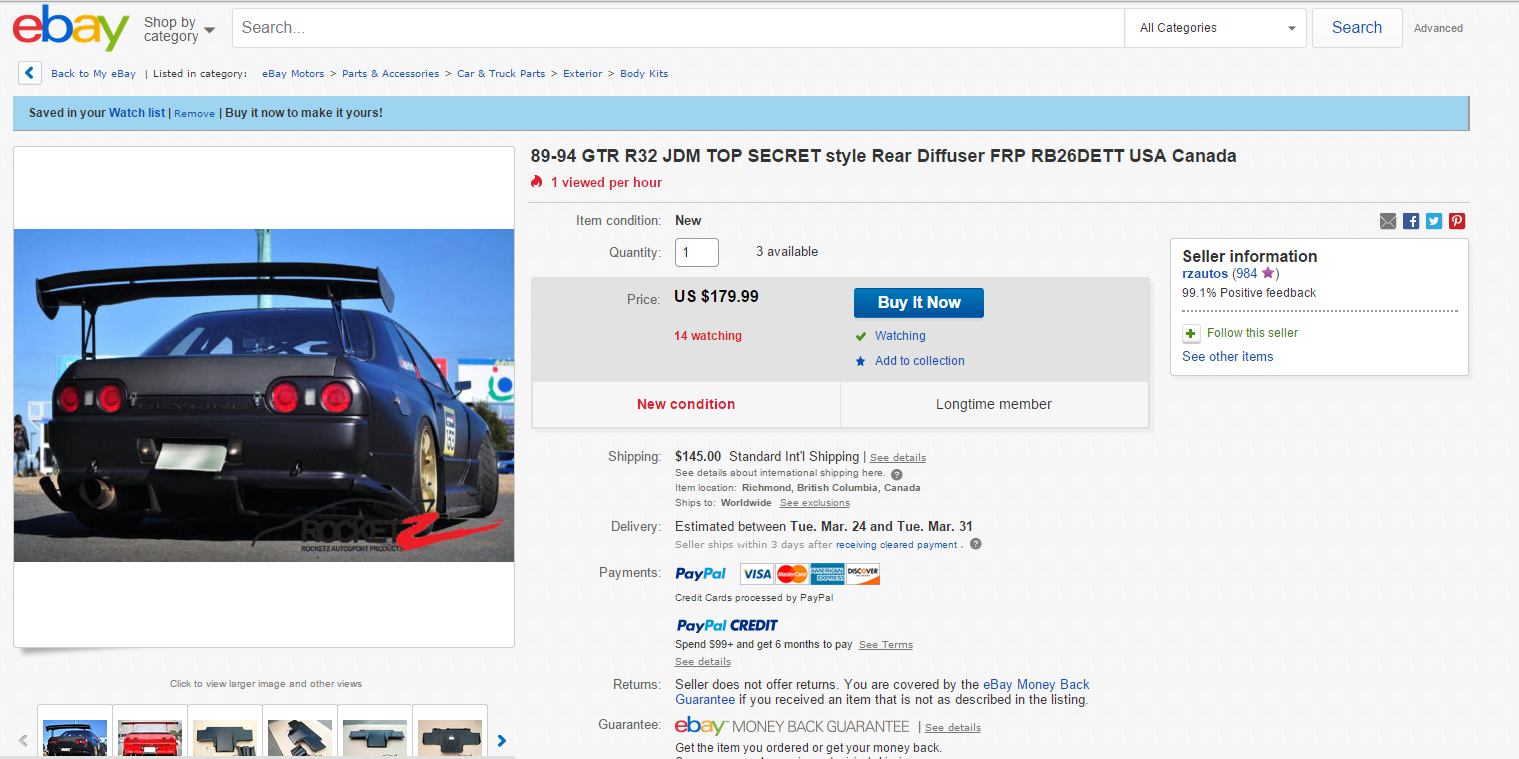
Thanks to Rocketz Auto Sports Products for giving me a deal on the diffuser, check out their eBay store HERE. I’ll be honest, initially I was sketched out by them, but after sending multiple emails back and forth with Eddie from Rocketz, and learning that they actually have a warehouse in Washington they ship from for USA customers my worries were put to rest.
Remember to follow us on Facebook to stay up to date on all of our features and adventures!
Hope you enjoyed!


No comments