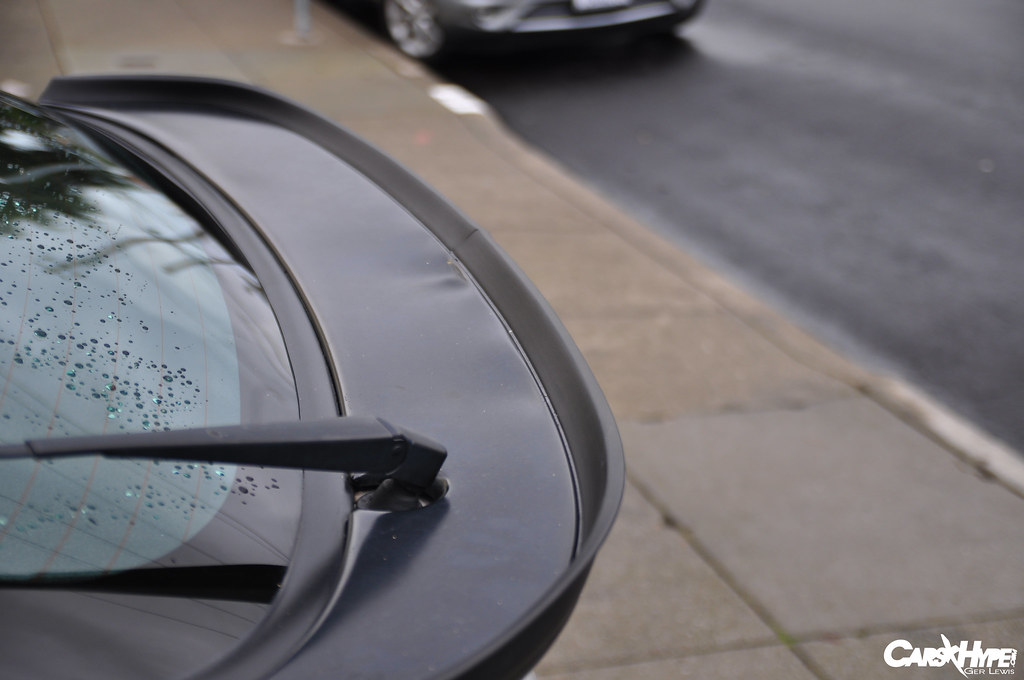
Having a unique chassis is like a double edged sword, on one side its great because you can do things no one else has done and stand alone in a see of civics, 240s, e36s, *insert common JDM or EDM car*; but on the other hand, you’re pretty strapped to find parts. Many things are either discontinued, crazy expensive or usually just need to be custom fabricated. Welcome to my life, or if you’re in the same boat as me, welcome back aboard.

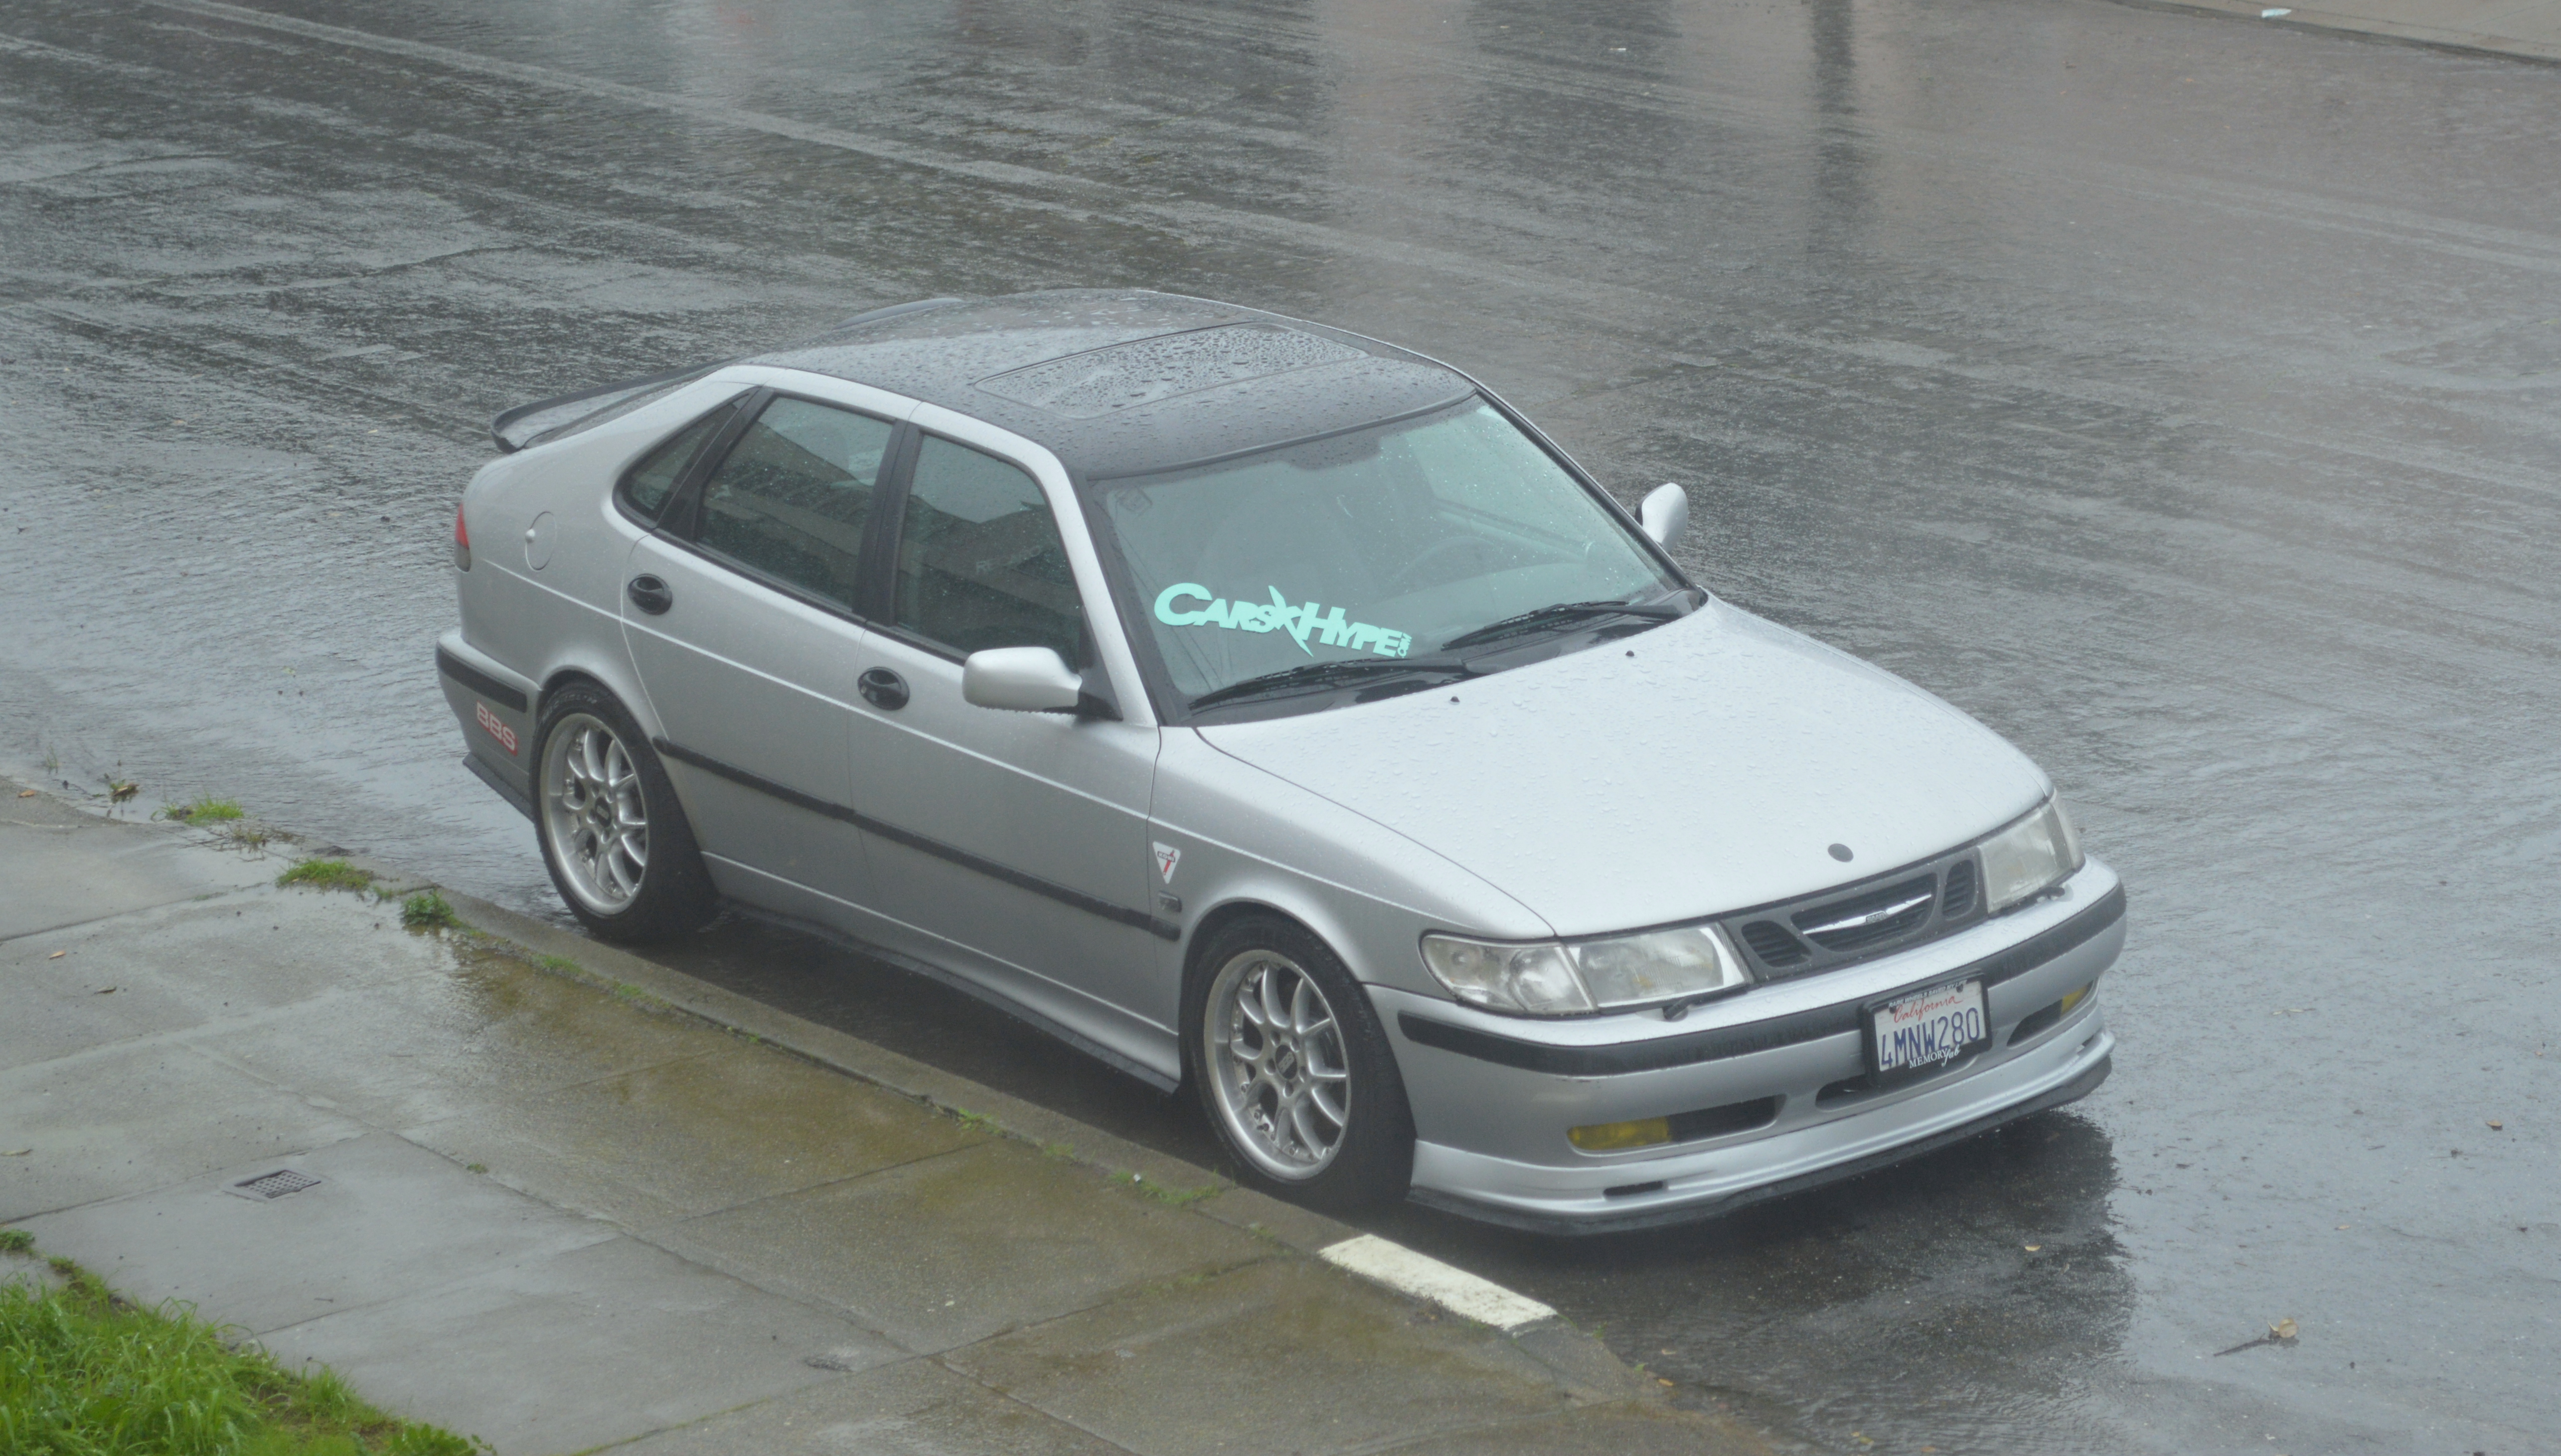
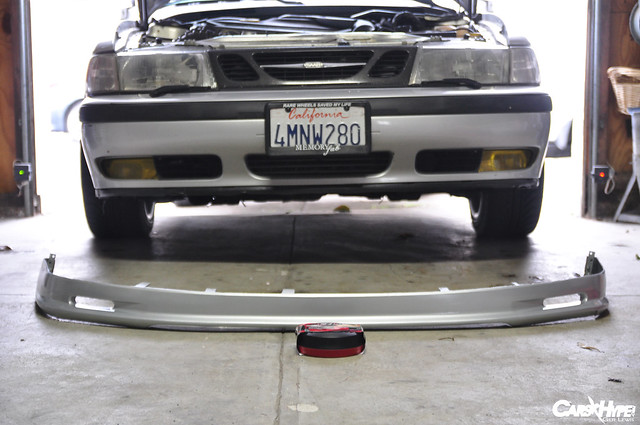
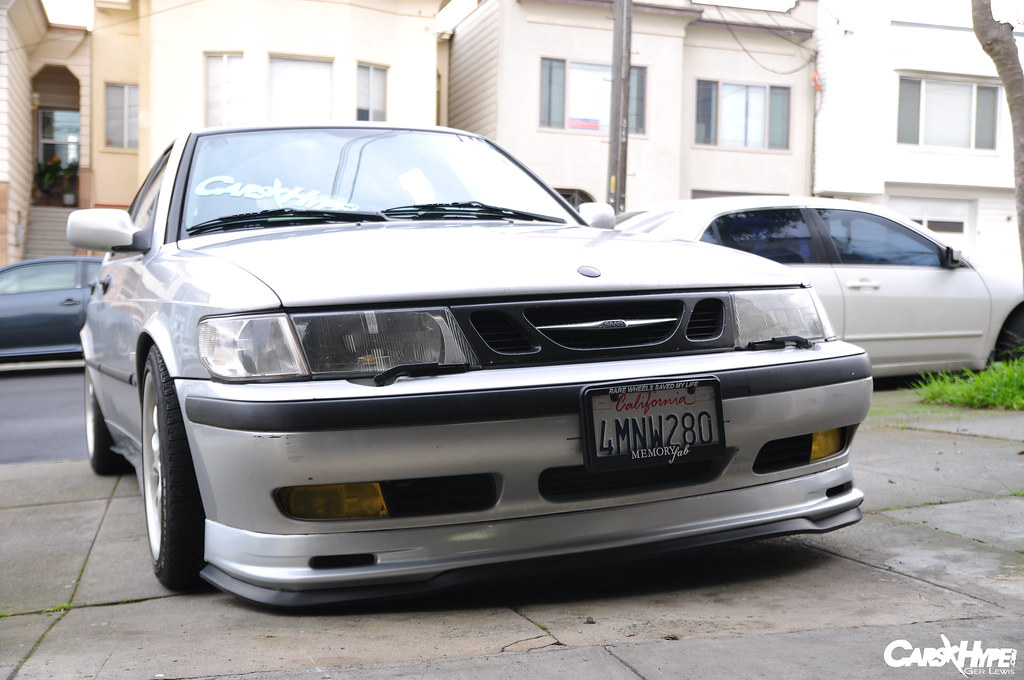
In the case of my saab, there isn’t much. No normal bolt pattern (5×110), no off the shelf coilovers, and definitely no wide array of body kits to choose from. So when it came time to find that “extra bit of low”, it took some creativity. The lip you see is from an Integra Type-R, and let me tell you, it is not a simple bolt on affair. But even after adding that lip, I still wanted just a teensy bit more low…
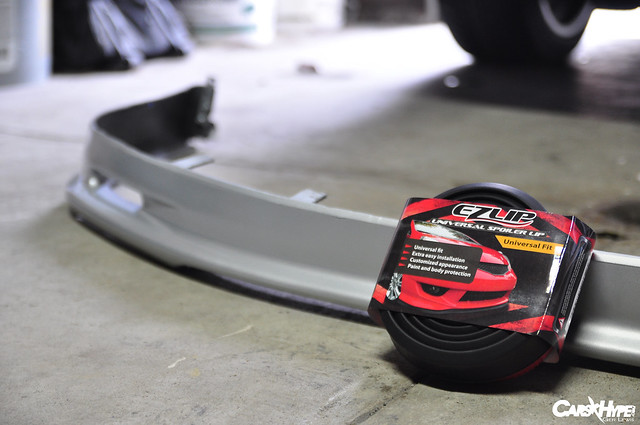
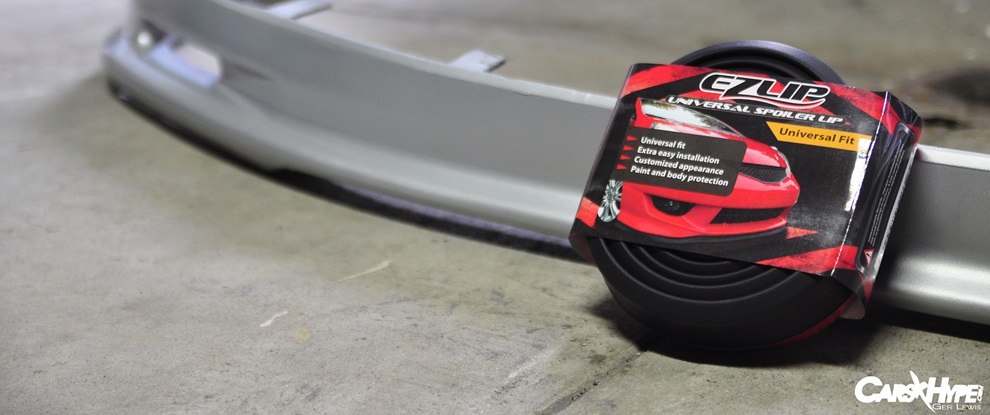
That’s where EZ Lip comes in! Their lips come in a few different lengths and are ready to mounted on any car. Before you say “oh just go to home depot garage door sealer its the same thing”, honestly its not. It may be similar, but EZ-Lip foam is thicker, comes with adhesive on it already, and doesn’t come all wrinkled and messed up in the packaging.
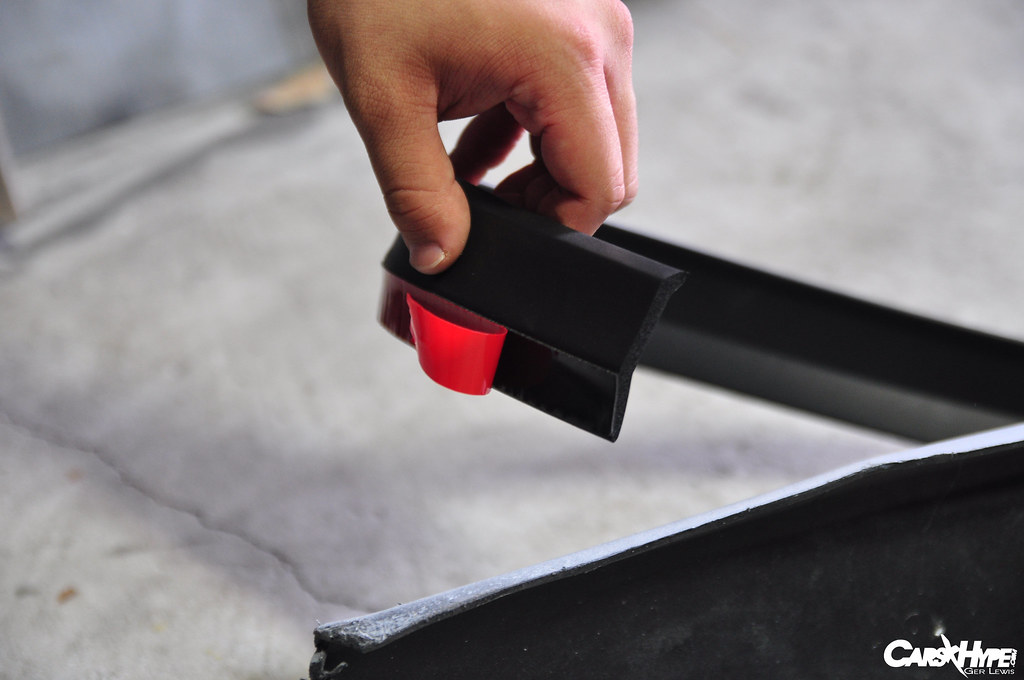
See that, nice pre-stuck adhesive.
Anyways, as the title points out, this is meant to be a little DIY/install story about my EZ Lip, so let’s get started!

As I alluded to before, there are a few sizes for EZ Lip so you’ll want to measure you’re lip first to double check the length. After I received mine, the first thing we did was mock it up next to the ITR lip to make sure it fits.
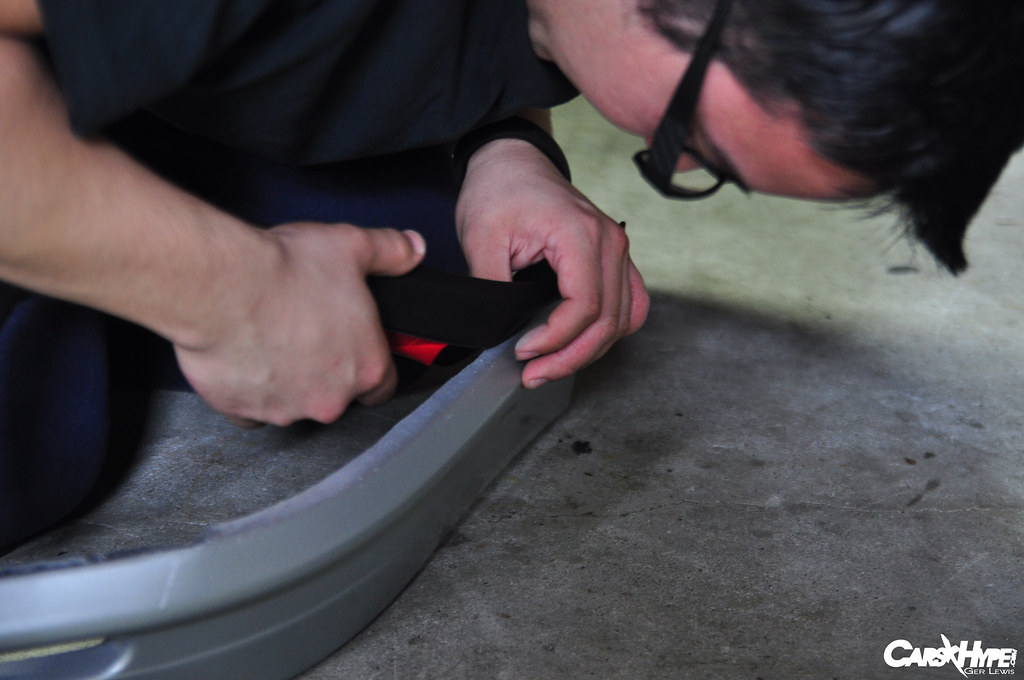
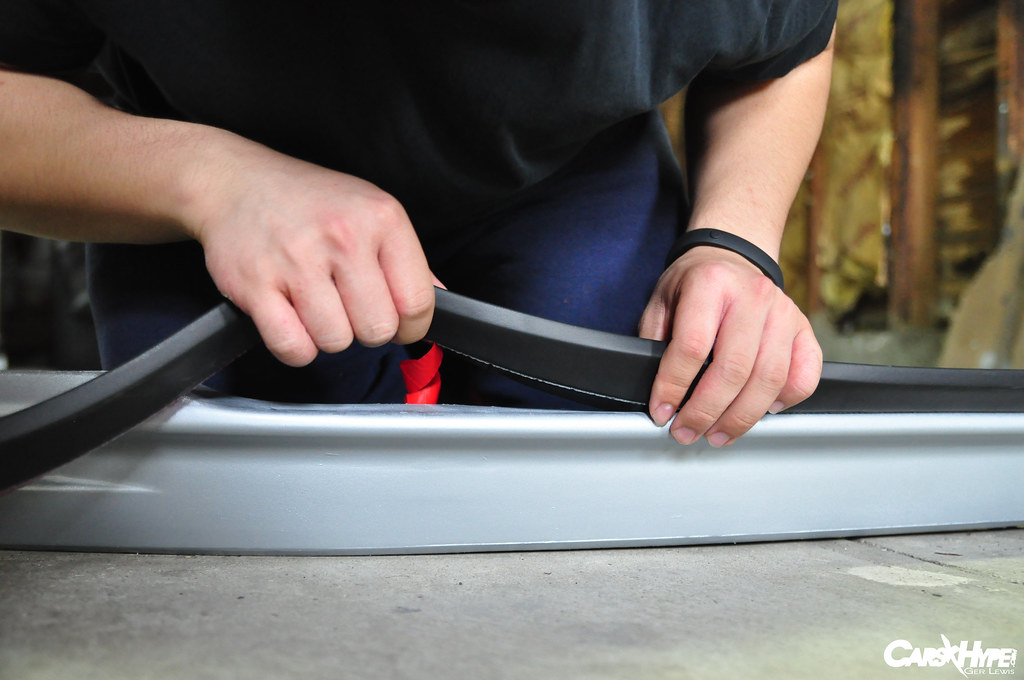
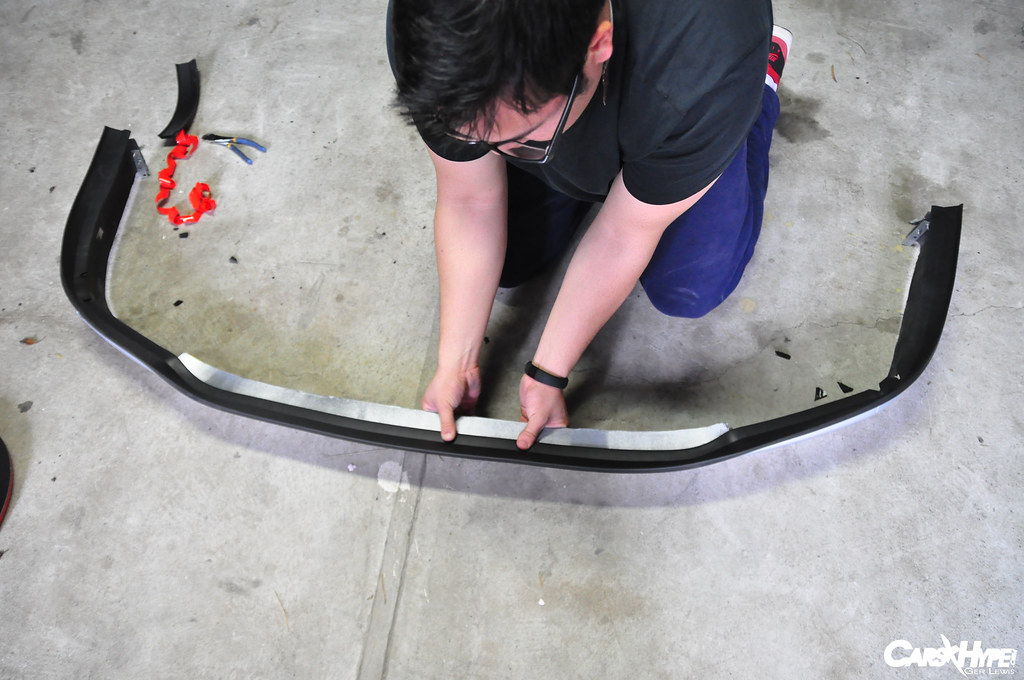
Even though you don’t need to take you’re lip/bumper off to install the EZ-Lip, I highly recommend it if its not too difficult. By doing it this way, you can ensure its installed straight and your bottom surface is properly prepped for maximum adhesion.
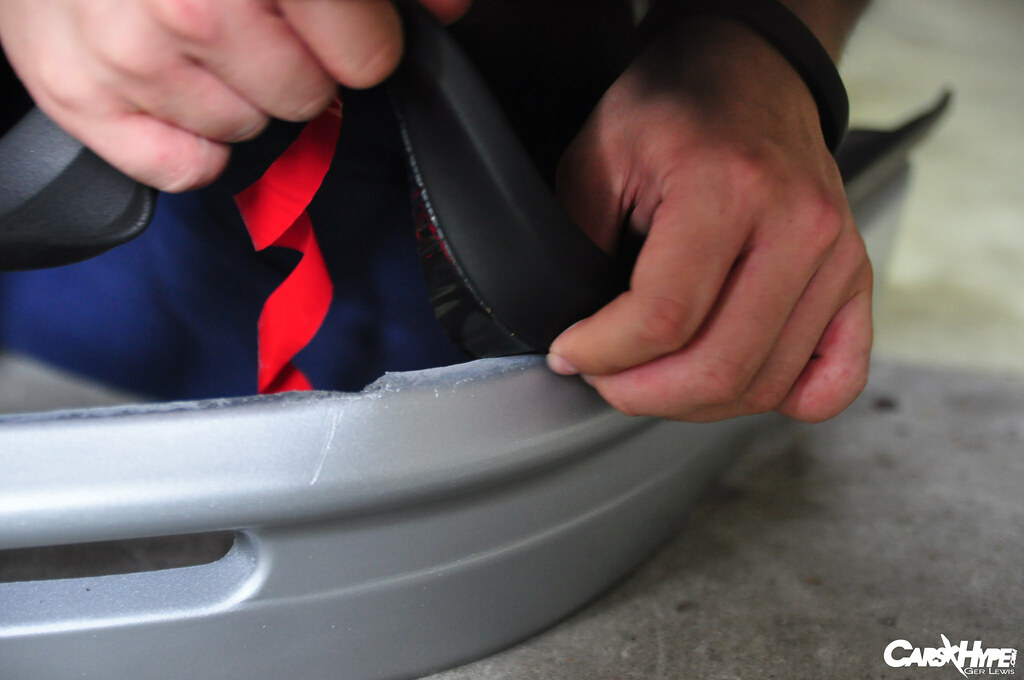
Plus it will really helps when it comes to curves in the lip.
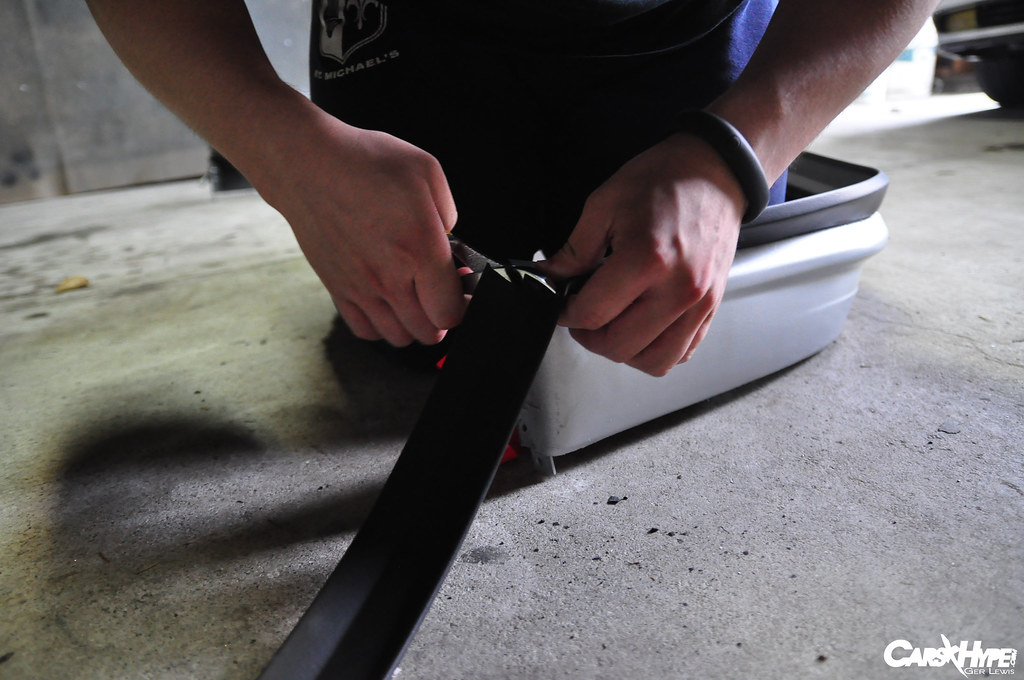
We didn’t like the way the lip inevitably goes more horizontal at the curve rather than horizontal, so we needed to fix that.
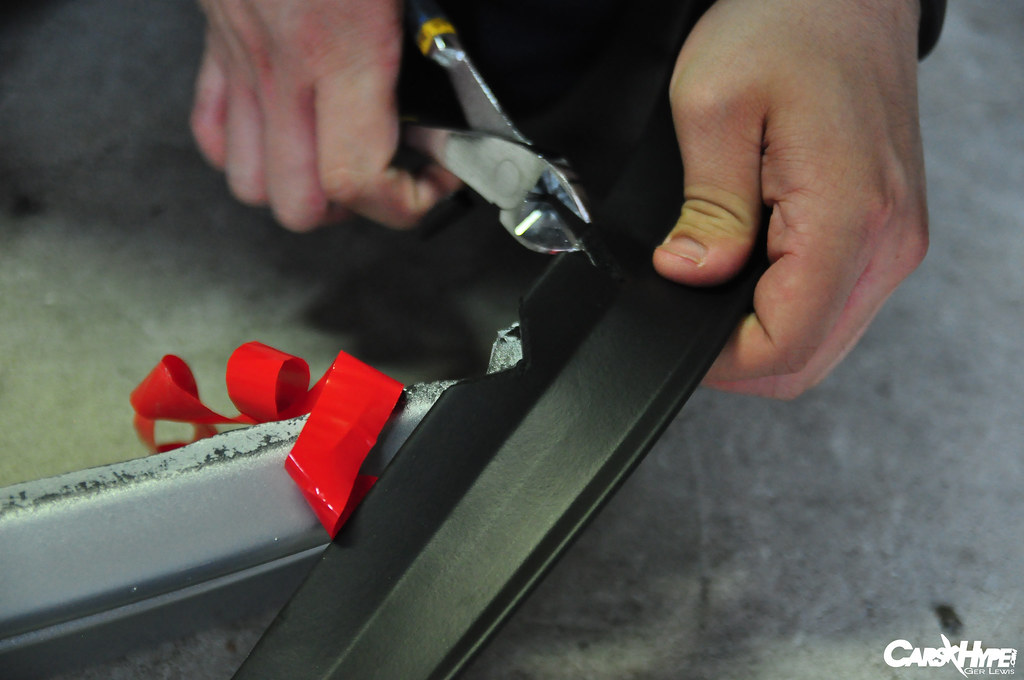
By measuring out the curve with the lip, we were able to cut a couple triangles which helped the lip flap down less and follow the curve with less resistance.
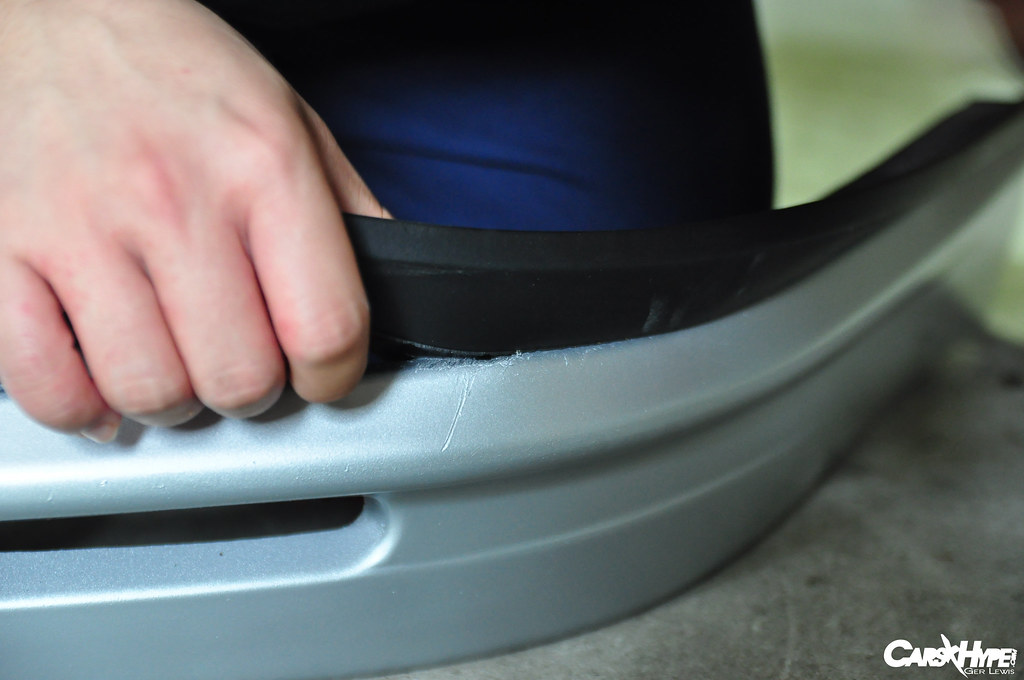
Just keep following the bumper…
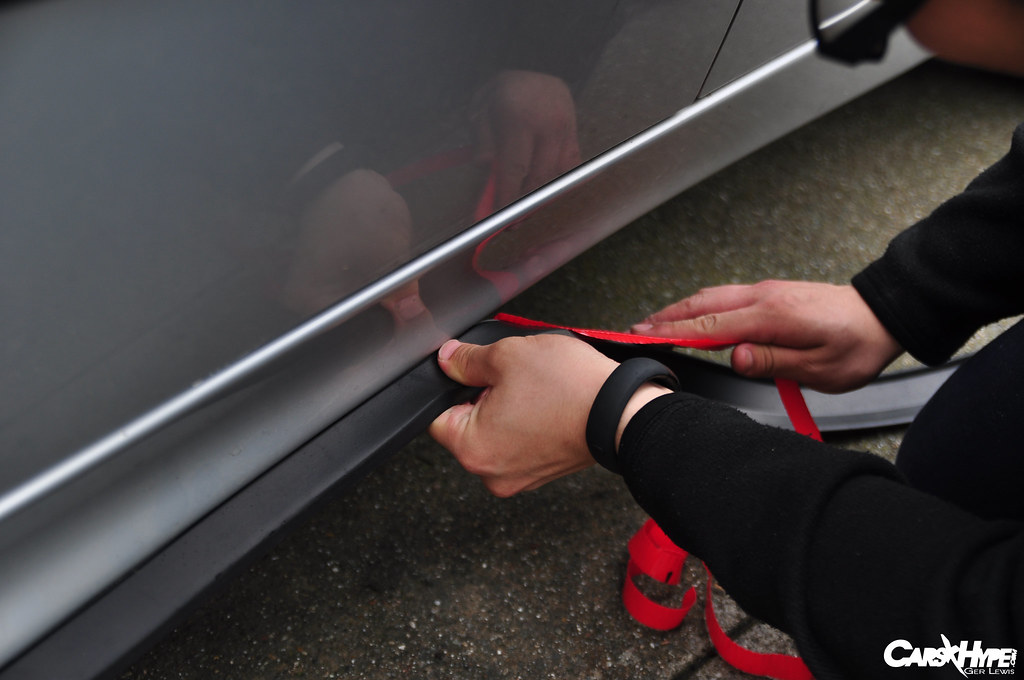
Pealing a little bit of tape at a time….
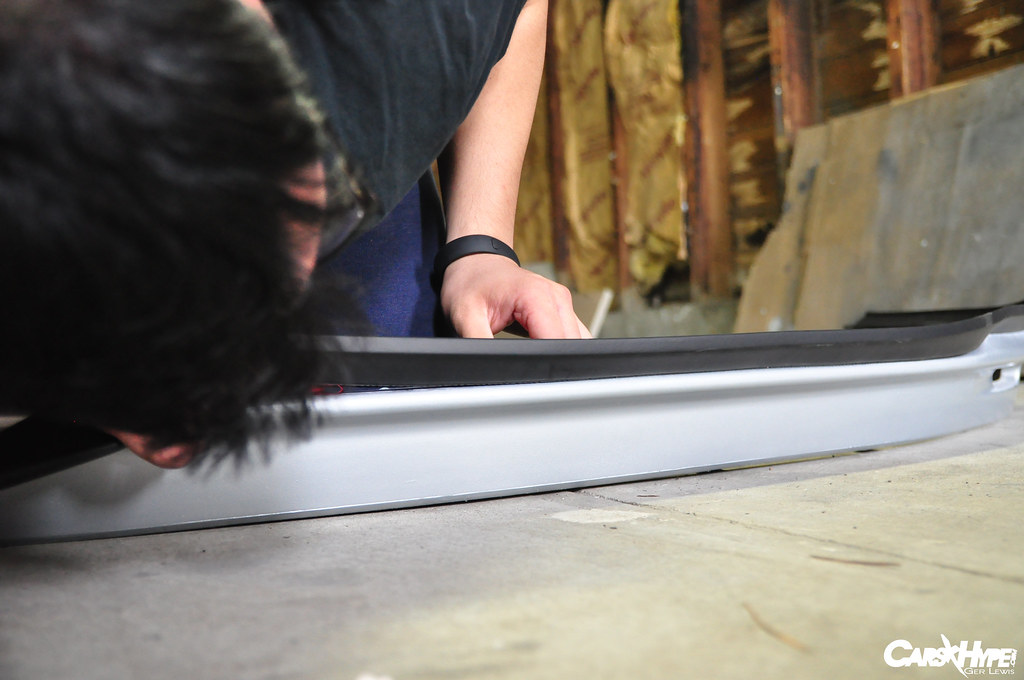
And periodically double checking to see if all is straight.
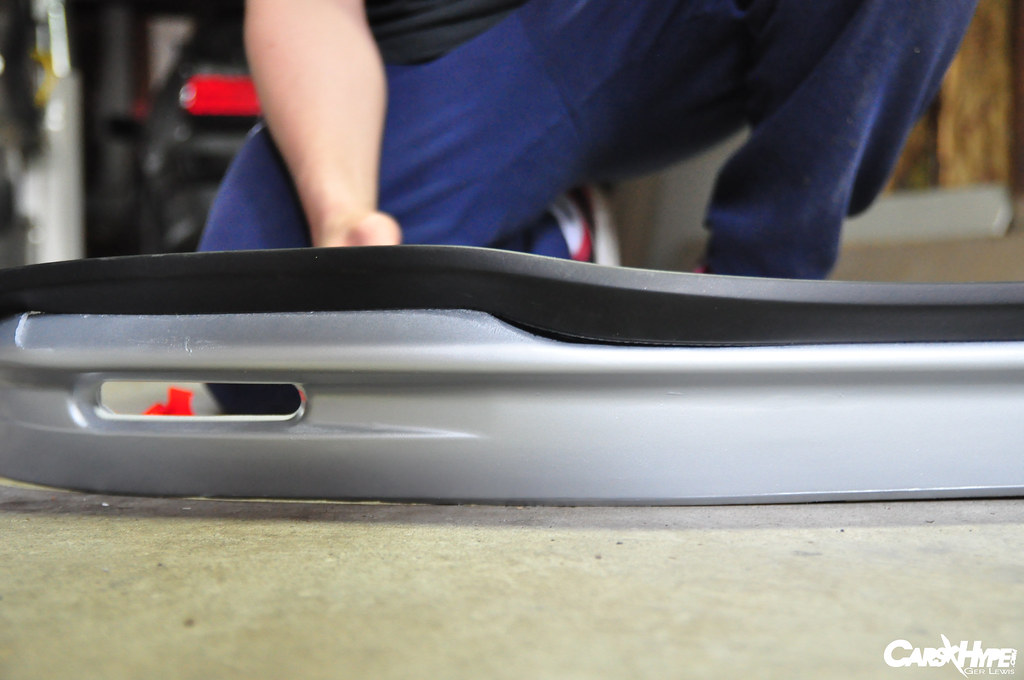
It forms to the up-curve rather well.
Once it’s all the way around, cut off the excess.
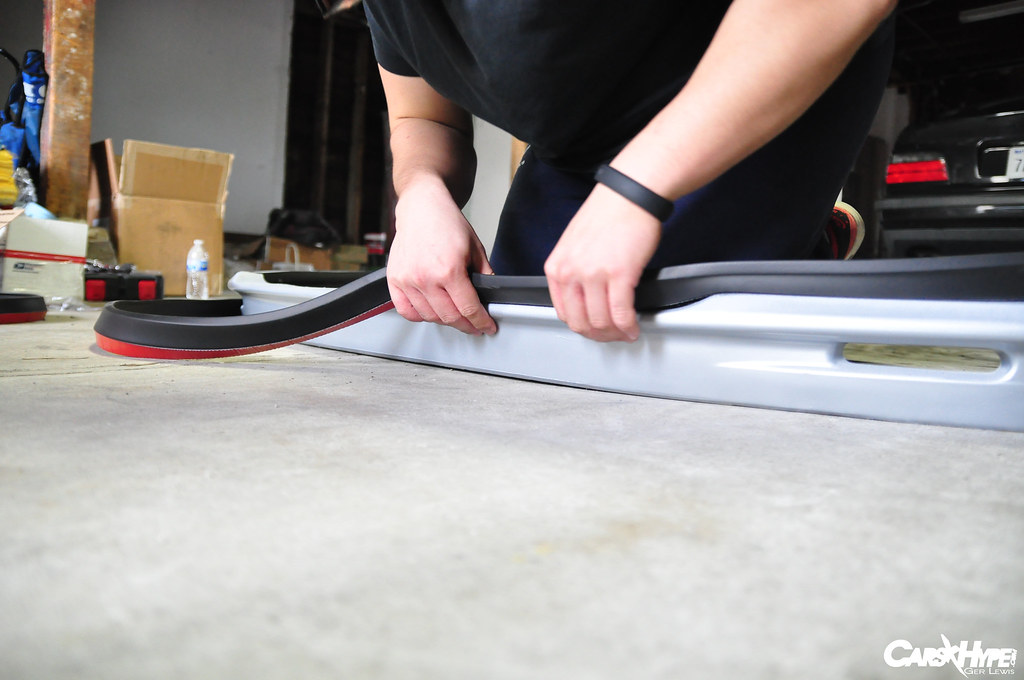
Apply pressure all the way around to ensure that its stuck on there really well.
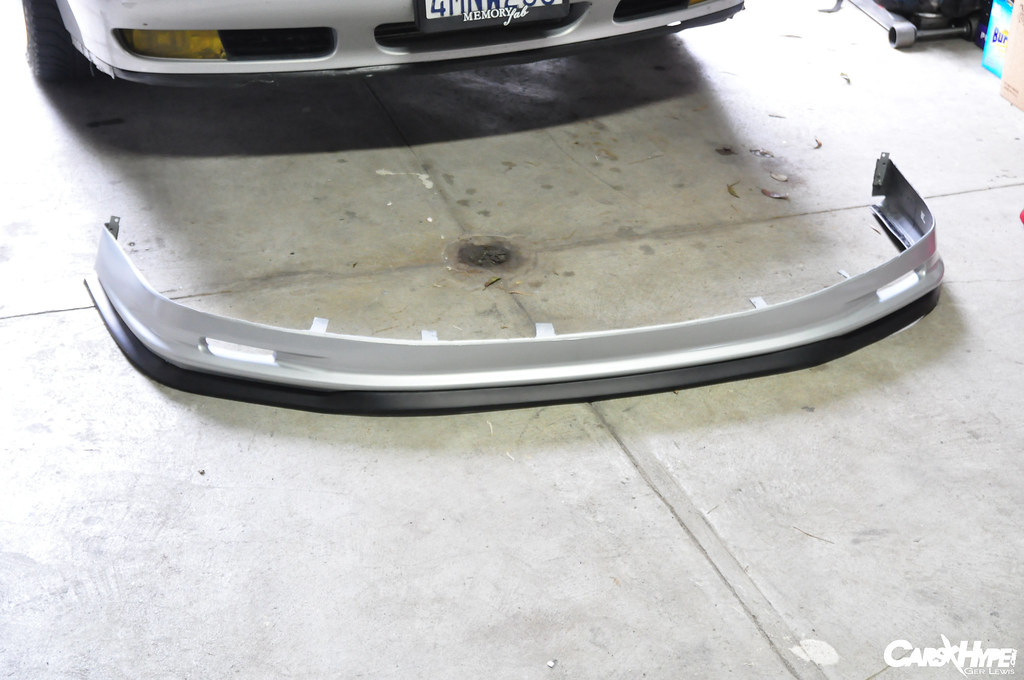
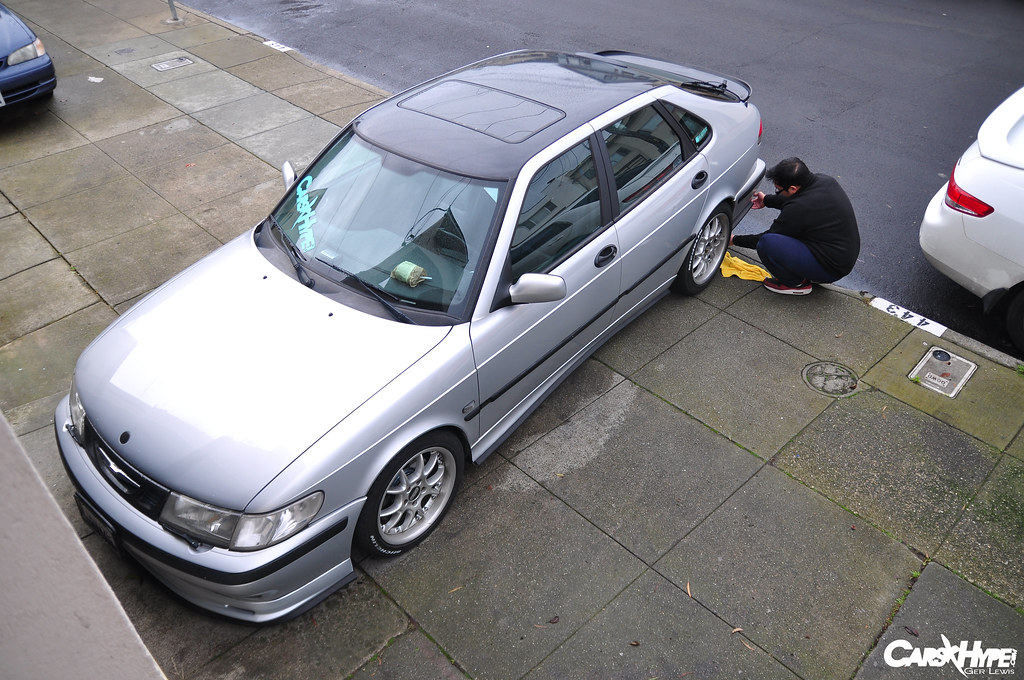
Step back admire what you’ve done 
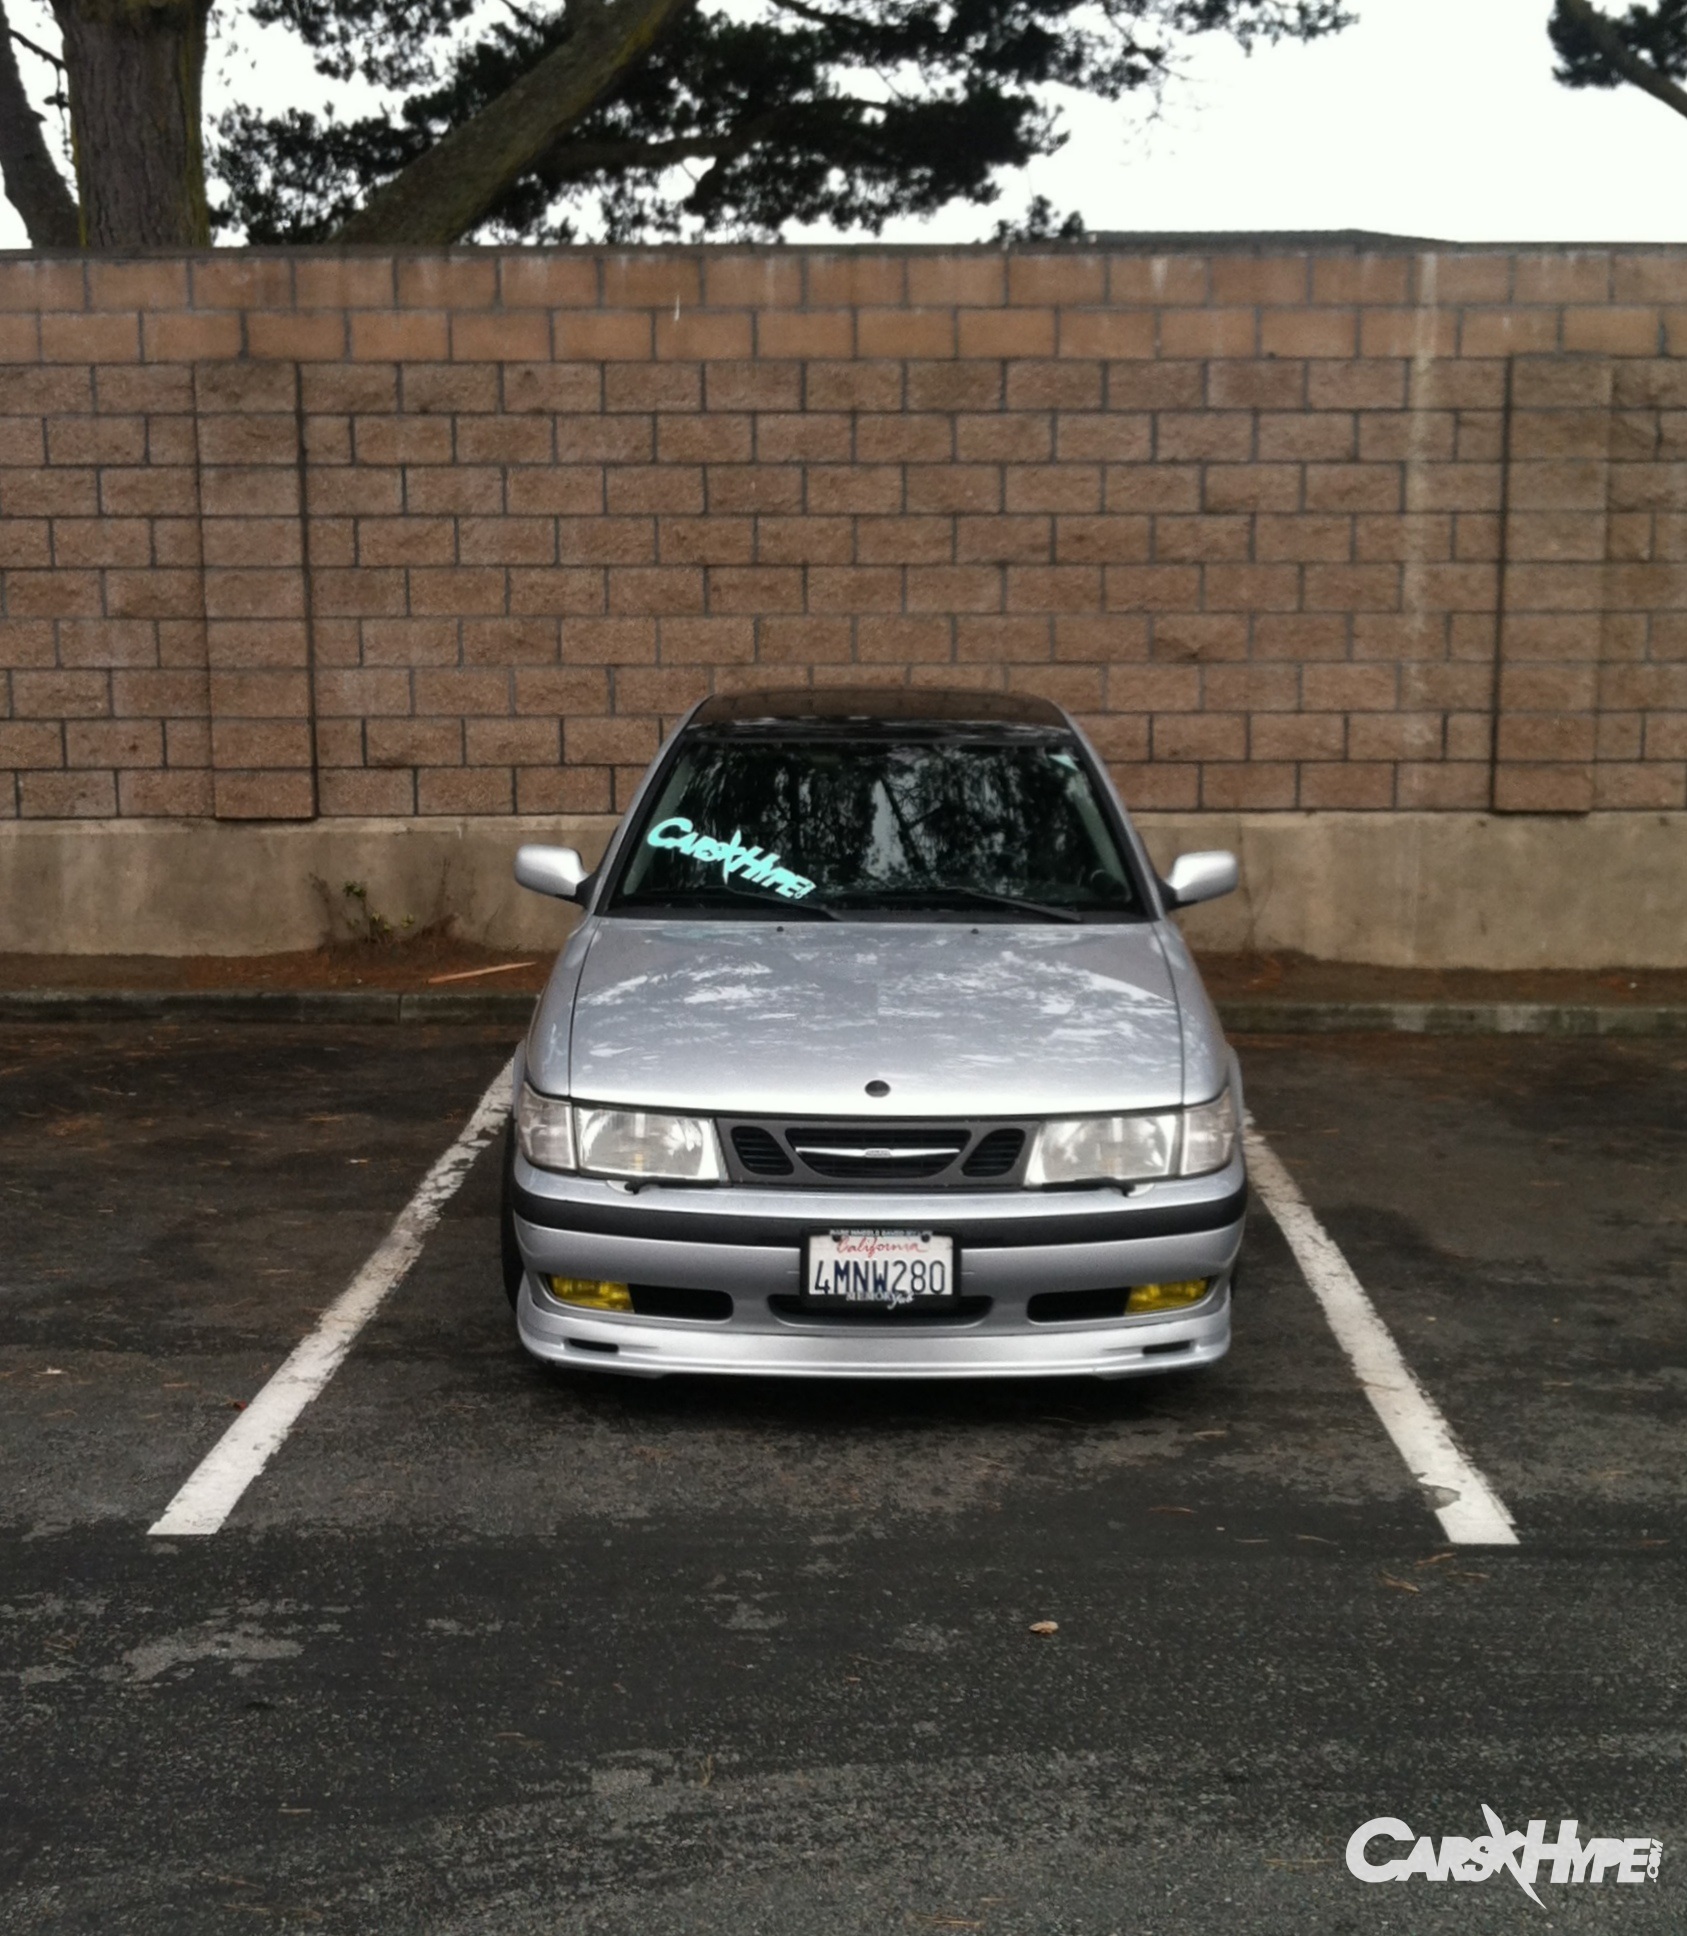
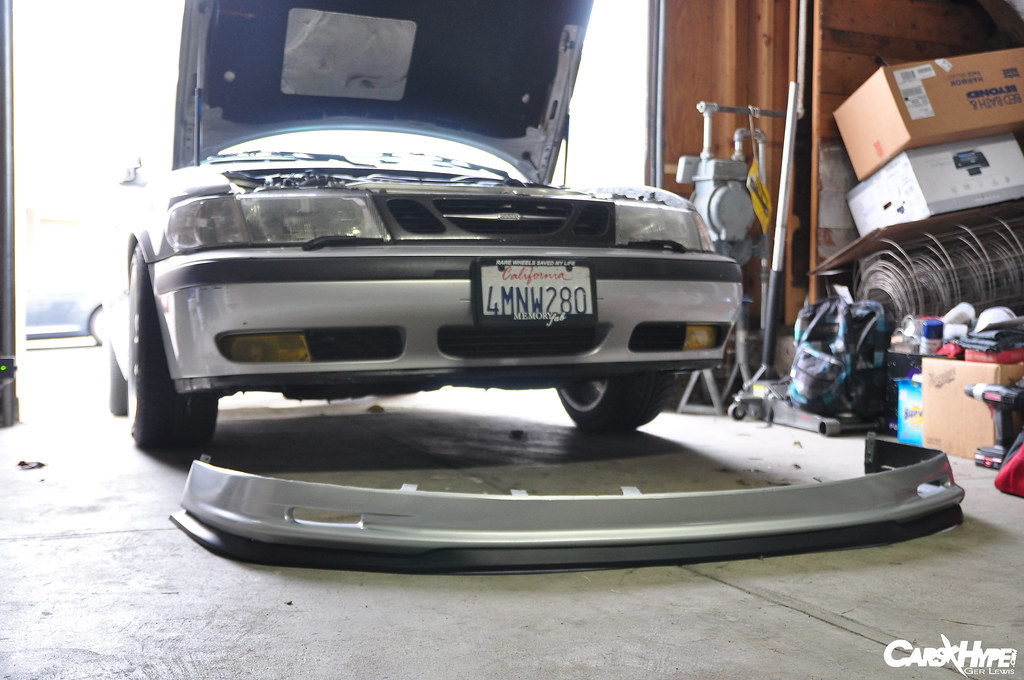
Mount it back on!
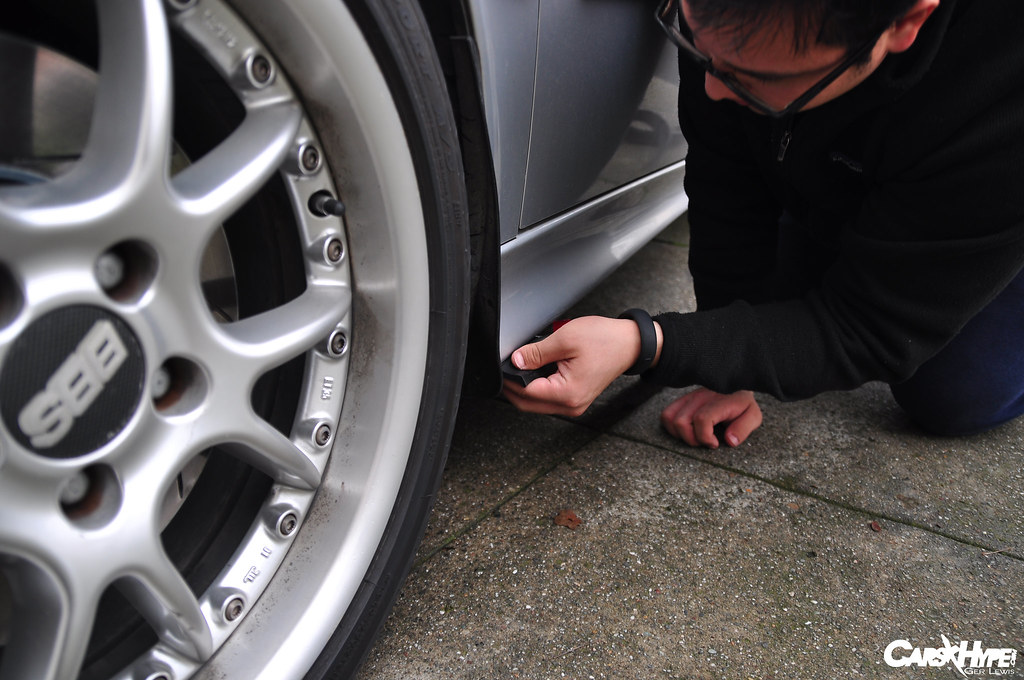
Putting EZ Lip on the side skirts also added an extra bit of aggression.
Its the same process but even easier because there are no curves.
We had some left over and decided to see what else we could do….

Before.
After
Disclaimer: I’m not a paid spokesman for EZ Lip. I genuinely wanted to try their product on my car. Additionally, after a couple of days, the front lip began to fall off, however this was do to lack of surface area for adhesion not due to a poor product. I ended up having to take off the whole lip and drilling screws into the EZ Lip to keep it on my lip.
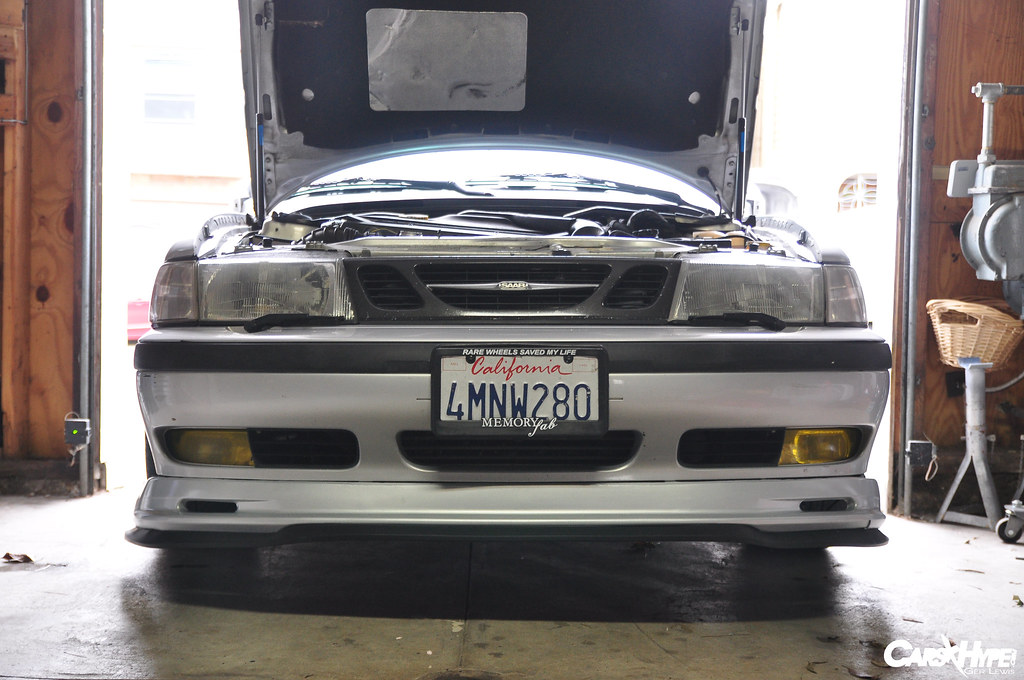
In the end I am extremely pleased at how everything looks and I’m very glad I did it.
You can get your EZ Lip HERE
Check out other people’s uses on their Facebook page.


No comments